Steering

Haven’t added much to the Jeep lately, besides some off road mud. 😉

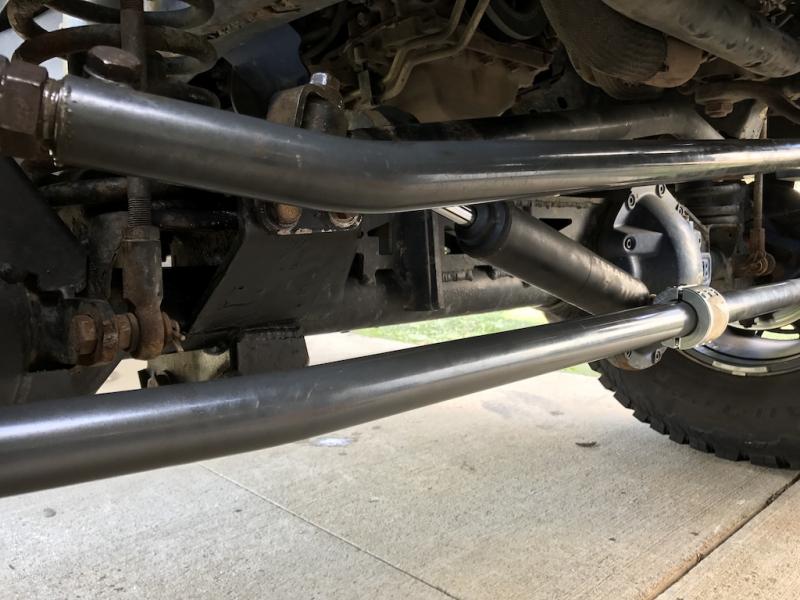
I bought a Synergy drag link from Rob about a year ago and still hadn’t put it on the Jeep. Then I won a Rebel Offroad gift certificate at Freak Fest, so I used it as part payment for a Synergy tie rod.

I was going to hold off on installing these until I pulled the trigger on hydro assist, but I may be back burnering hydro, so I went ahead and installed them this weekend.
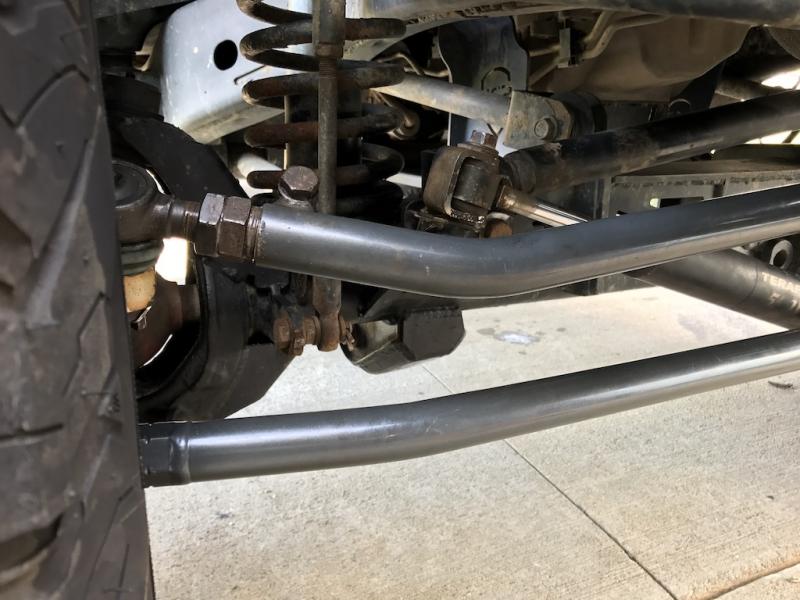
When I put my Rubicon axle in, I also put in this steering stabilizer flip bracket.
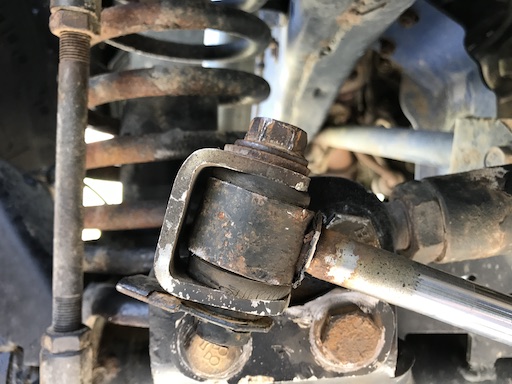
For some reason, with this tie rod, the angle seems awful steep. I thought about building my own bracket, but all I had in 3/16 was some rusty scrap metal. I could have cleaned it up, but got this to “work.” I may revisit this mount in the near future if I don’t get hydro installed this year. I don’t really “need” hydro since my tires are barely 34.5″, but it would relieve a lot of stress on the rest of the steering components.

I couldn’t mount the tie rod end of the SS to the top of the bracket, which is what I would have preferred. No way to get it straight enough to go on the bolt of the Synergy bracket. Speaking of which, the bolt on the new bracket was bigger than the bushing in the SS and I had used a 1/2″ drill and reamed out the bushing.

Took some time and measured the front alignment, I think I have the TR at the right length. About 3/32″ of toe in should be good. I really like the double adjuster on these components. Makes adjusting very easy. Just need to make sure to keep them as rust free as I can so they will continue to be adjustable. 

Oh, and about a week or so ago, I replaced the driver’s front wheel speed sensor.

My best and favorite mod

I was recently asked this question:

So even though with every Jeep build there is always one more thing after that one more thing that is added. But from a new Jeep owner to a experienced one, what would be your words of advice & your best & favorite mod?

I’m not sure just how experienced I am. But, these are good questions. Each mod has its own purpose, and to isolate most of them individually would be almost futile. But I’ll try and answer them in reverse order.

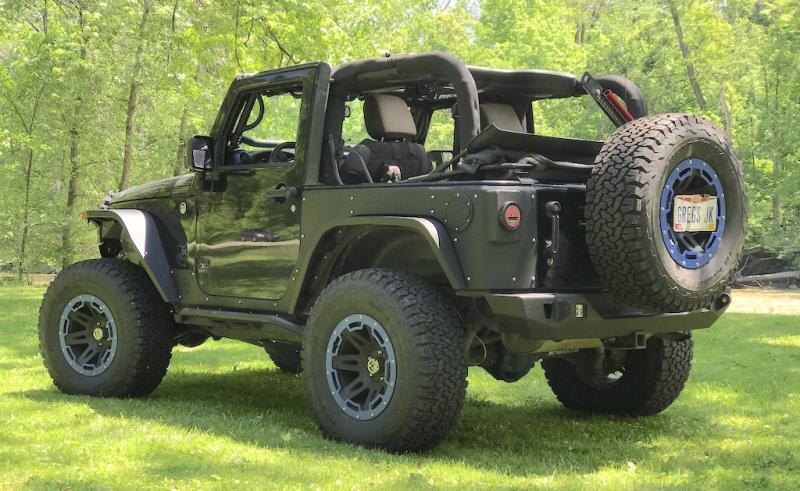
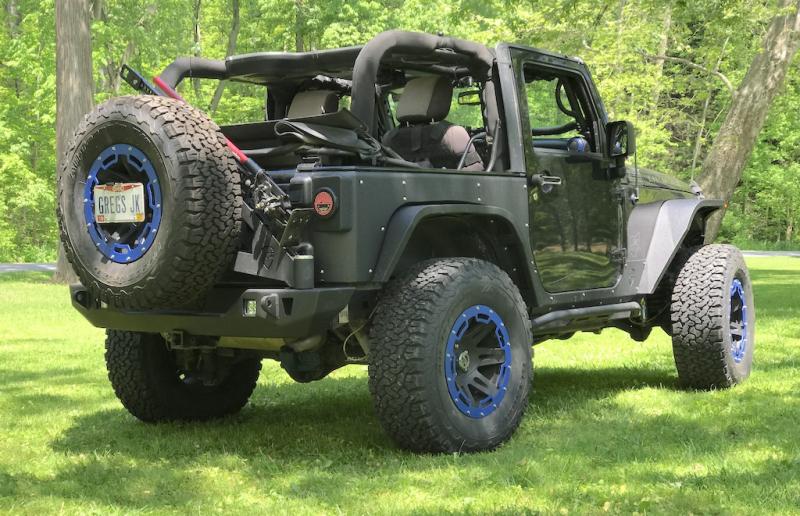
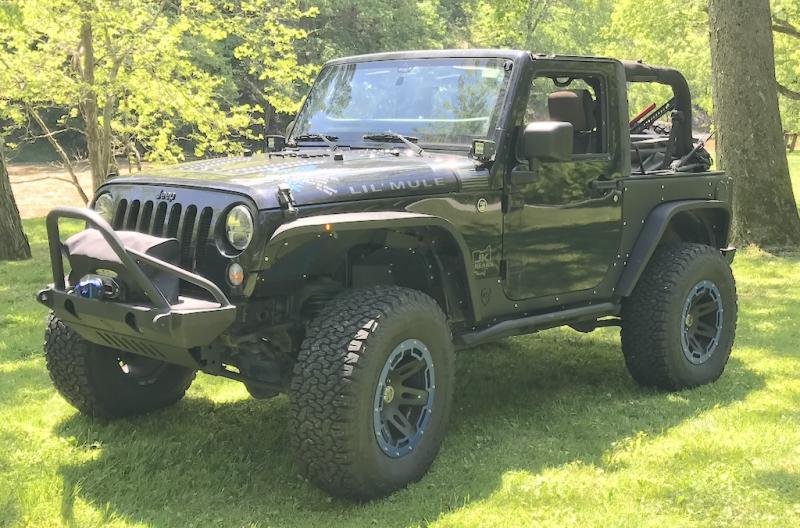
My favorite mod, today, is the one I had the most hand in creating, my corner armor. And I hope I don’t need to use it. 

 It’s only my favorite because I built it (well, cobbled together some parts someone else made – lol) and I think I did an OK job. I’d love to go back and change a few things. Someday.

Best mod? Hmmm. Depends on perspective. I might say the trail cage if I was talking about safety. But then I might say the winch if I’m talking about recovery. I can’t really say what one is the “best.” Maybe the lift since it gives me the flexibility I want for the kind of wheeling I like.

Words of advice – take your time. You don’t need to rush into anything. Unless you have buckets full of cash to buy the most expensive stuff and then replace it when it doesn’t satisfy you – don’t go out and buy that widget too fast. Wheel your Jeep the way it is. Find out what you WANT to do and then work your way into it. Learn things, like, there is NO SUCH THING as a complete lift “kit” and changing any aspect of your suspension will affect every other aspect. Ask questions and expect competing opinions. There is nothing wrong with civil disagreement.

If you look at this thread, you’ll see I started as a novice (still am, sorta) and I wheeled on 33″ tires and a budget boost. I hate mud, love rocks, so I new I wanted a high articulating lift. I drive it every day, a mud terrain tire would be noisy and uncomfortable. 

But most importantly, keep these two things at the forefront of every decision you make

1. Safety. Make sure what you are doing is safe and won’t cause problems.
2. It’s your Jeep.

Build it the way YOU want to build it and anyone that gives you grief about it can screw off. If you want a mall crawler, build one. You want a show Jeep, build it. You want something that looks pretty good and can crawl, build it and wash it every week. You want to rip the carpet out, throw away the top and let the mud dry on the seats – go for it. 

Finally!

It’s been a many months long process. Between disassembly, having things media blasted, powder coated, making new parts, it’s been time consuming, frustrating, and fun.

But I finally have the Jeep put together they way I want it …. for now. 

There was more I was hoping to do this year, but those projects will have to wait. Time to have some fun!

Not all tires are created equal

I swapped the Duratrac’s with BFG KO2s from 4 Wheel Parts in Cleveland. They had a special buy and I ended up with 5 KO2’s (315/70r17) mounted, balanced, out the door, with tax for $1100. No way I could pass that up right now. They are a C load range tire. Much quieter and smoother on the road.

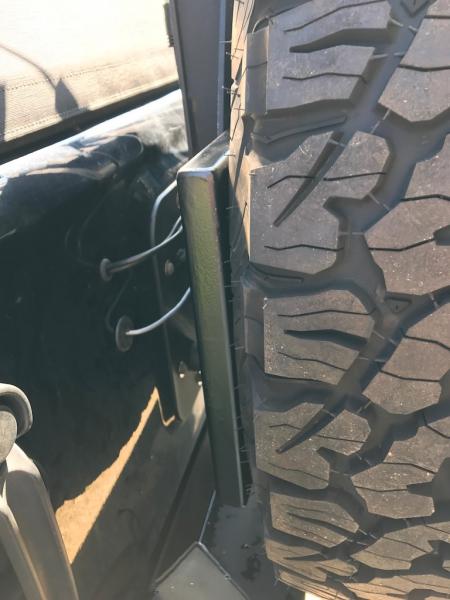
But they must be a bit narrower than the Duratrac. Once I had the tire carrier back on, and adjusted in as far as it would go, there was still a gap between the rubber and the carrier.

This is bad. Without the support, the tire has a tendency to wobble. Eventually, this will either bend something or break a bolt or a stud or something.

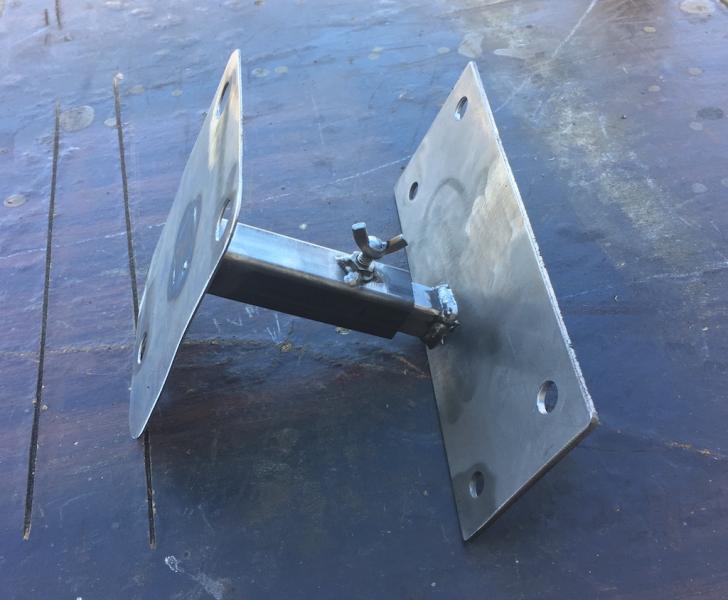
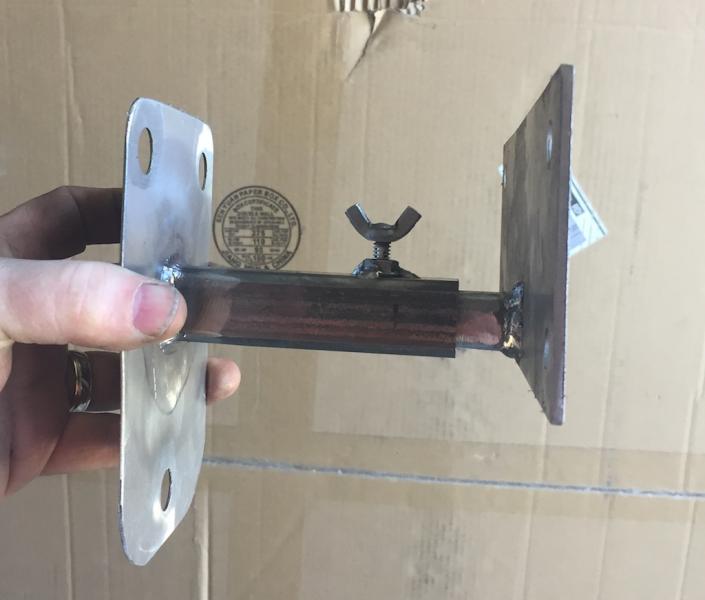
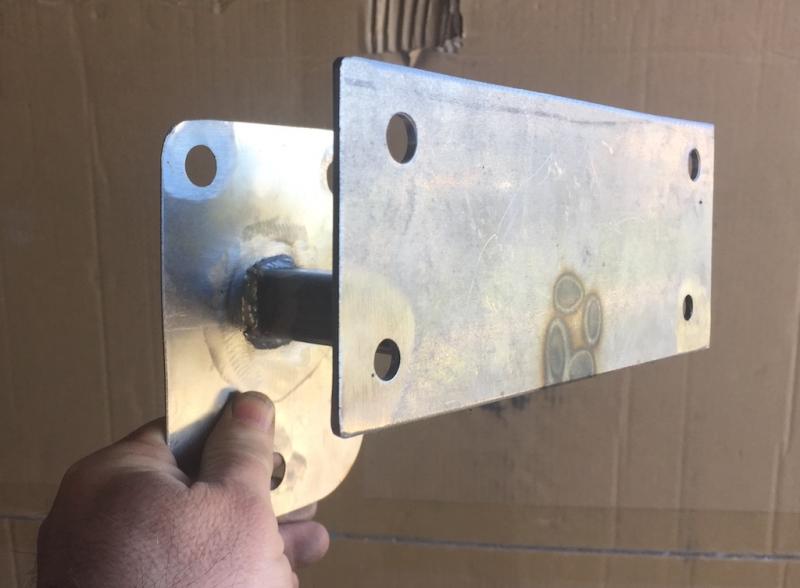
Off to the steel supplier. About $30 in steel and hardware, a little cutting, drilling, welding and grinding and I have this.

With everything readjusted, the spare snugs right up next to this.

I’m thinking I might modify this some in the future. Adding perhaps antenna mounts to move the two further apart. Or even a rack to put a cooler on that would mount over the tire (i.e. Ringer’s) or even a bracket off the driver’s side to come around the tire for a Rotopax gas can mount.

Knowing how to weld and having a good welder makes me happy that I can build stuff like this.

Bumpers, Lights and Fuses. Oh, My!

A few updates over the last week or so.

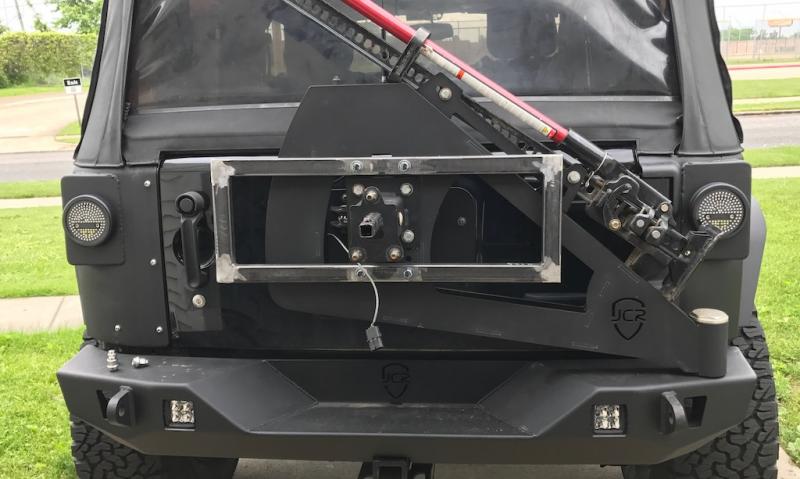
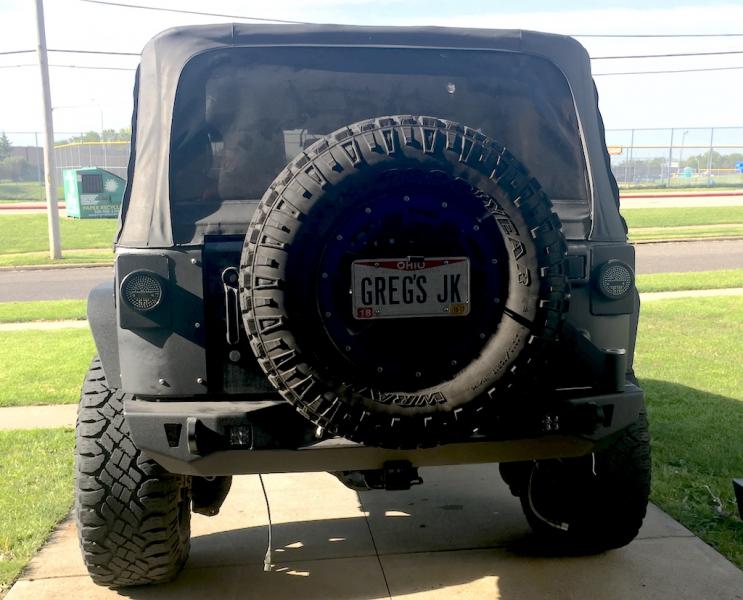
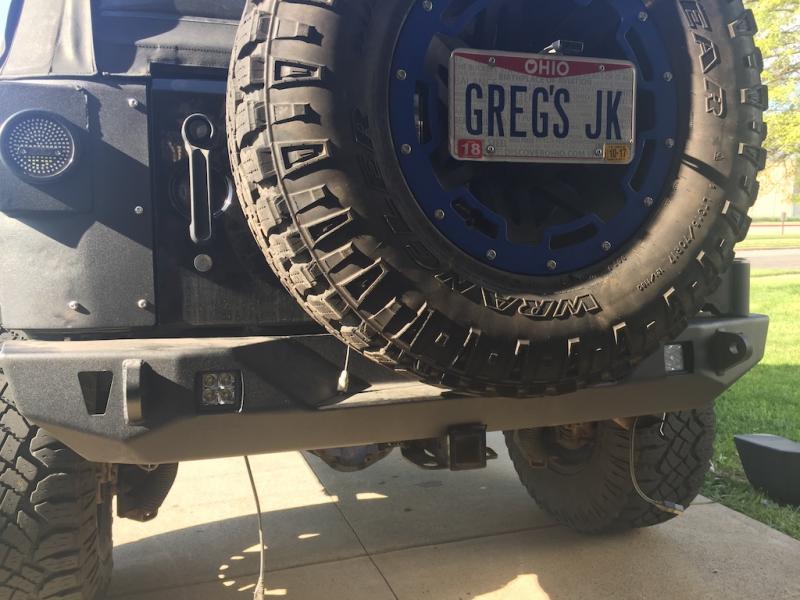
Got the rear bumper and tire carrier back on. Replaced some of the hardware. I also replaced the bearings and the oil seal in the tire carrier spindle. For what they cost, why not.

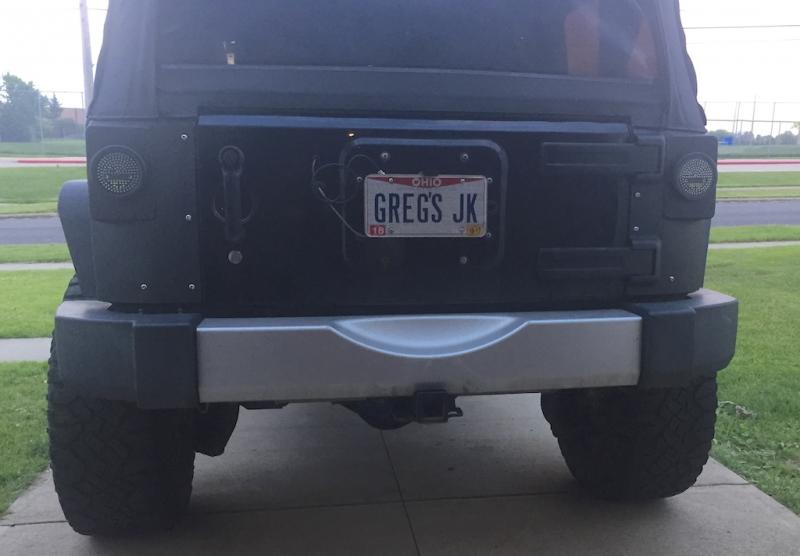
I also mounted my DIY license plate bracket. It removes very easily so the spare can be taken off if needed.

I also got the roll bar padding back on and the Spider Webshade back on (no photos).

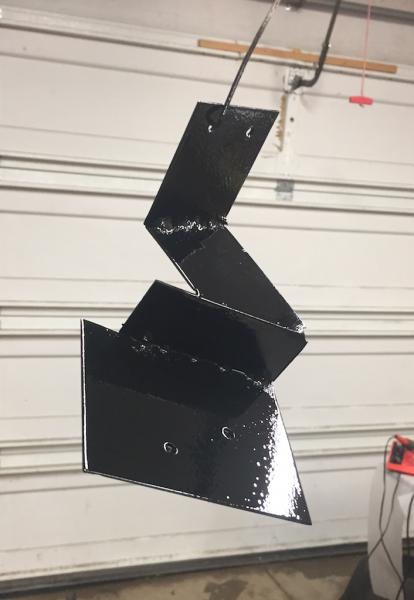
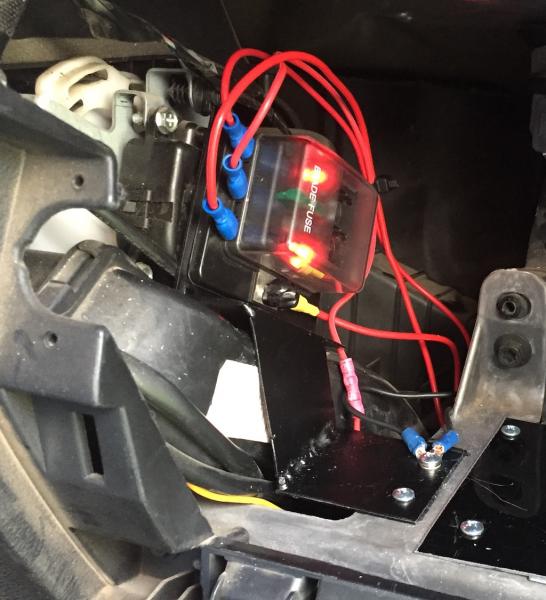
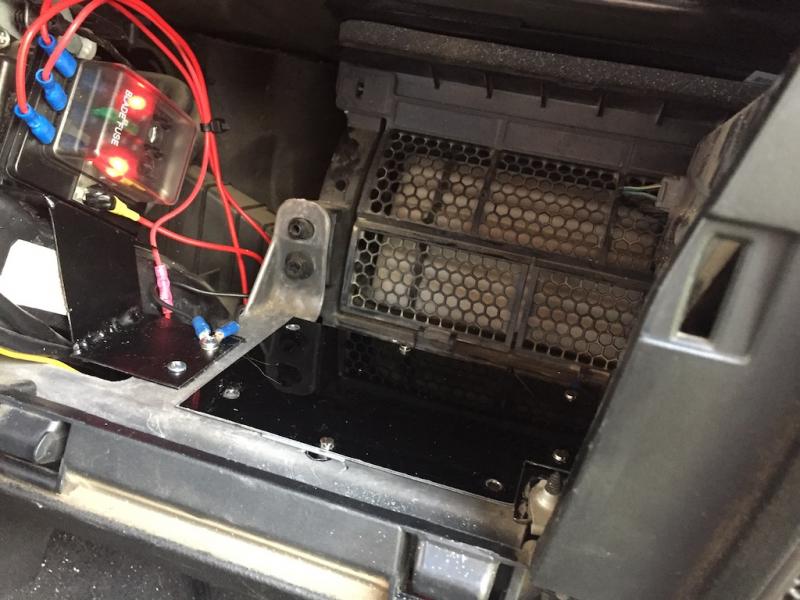
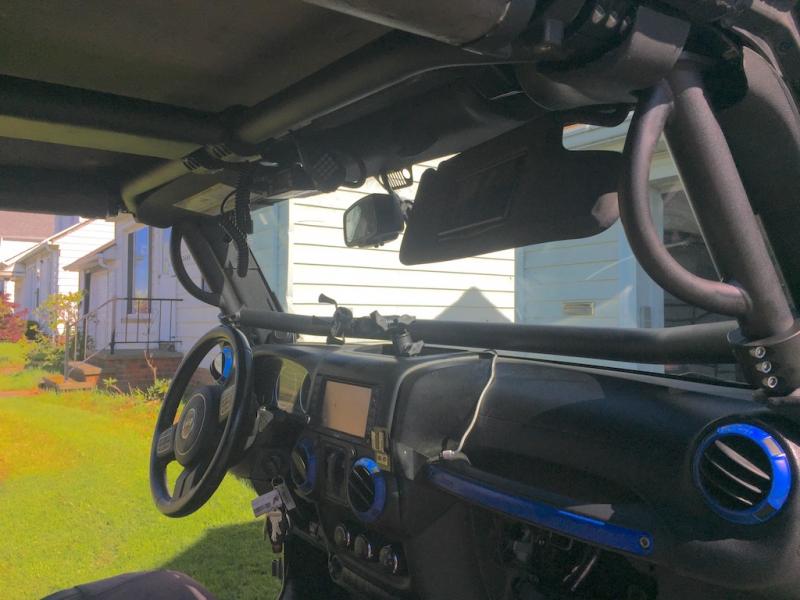
Ran the wires from the GMRS radio down the middle of the cage. The power leads run behind the glove box. I wanted to put a fuse panel back there, so I made this bracket from some plate I had in the scrap bin.

Took some of the sheet metal I had cut out of my hood when I put in the louvers and mounted the CB and USB power supply to it.

Name:  IMG_4879.jpg
Views: 59
Size:  44.1 KB

Tucks up nice and neat out of the way. And the glove box still fits!

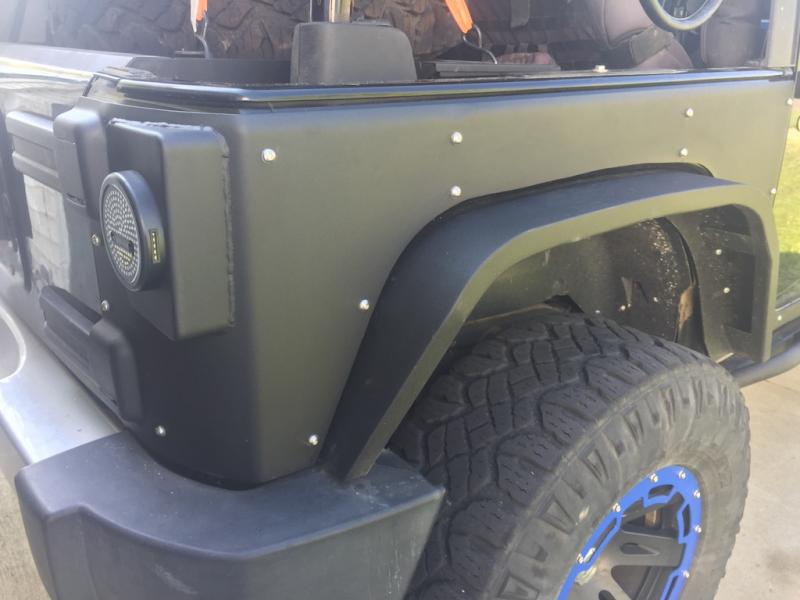
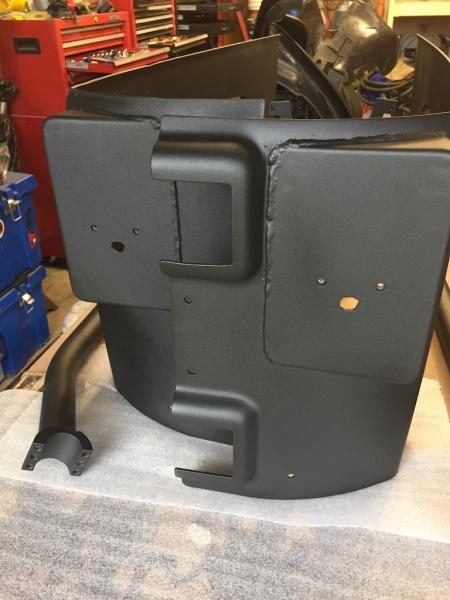
Frankencorners are on!

Frankencorners are on!

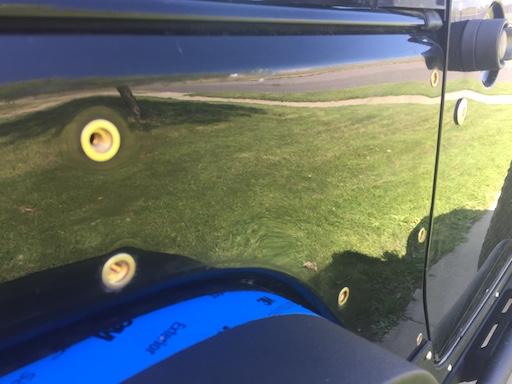
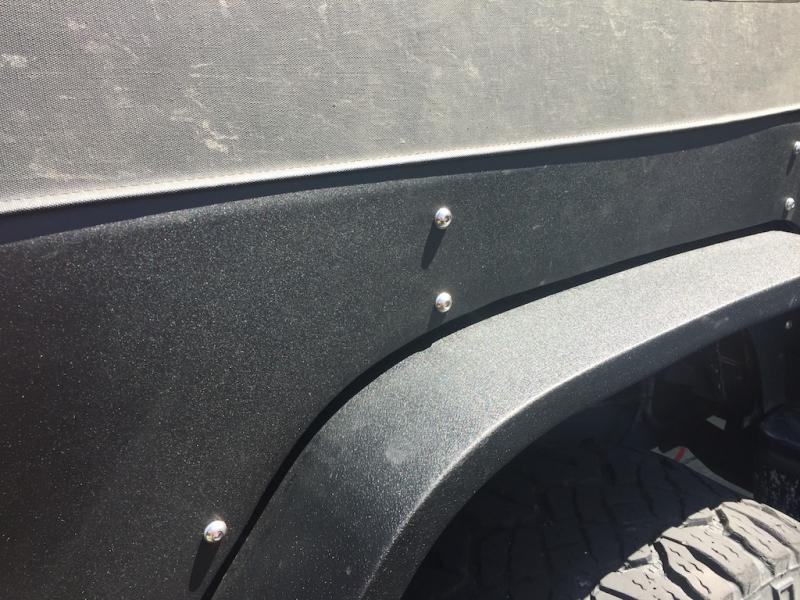
Over the last month or so, I’ve put in over 60 of these. I think I got the whole nutsert thing down.

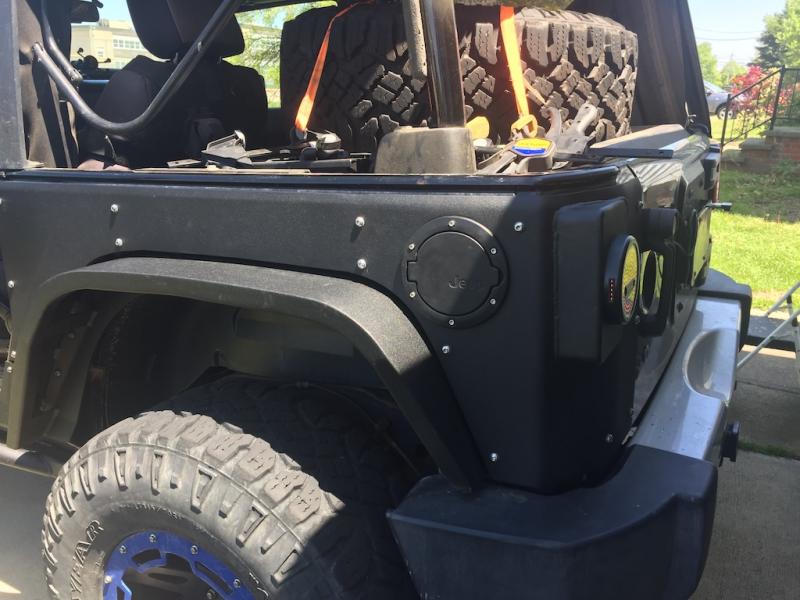
Everything went as expected. The fuel filler fits perfectly in the hole for it.

Got the tail lights wired up. I really like how this all turned out, if I do say so myself. The trail tails are really bright. I put a large wattage resistor between the ground and the turn signal, however, to keep the computer from thinking the light is burned out.

I am so glad I went through the trouble to have that small bend placed at the top. With the soft top on, it covers the edge of the armor.

The mule is caged!

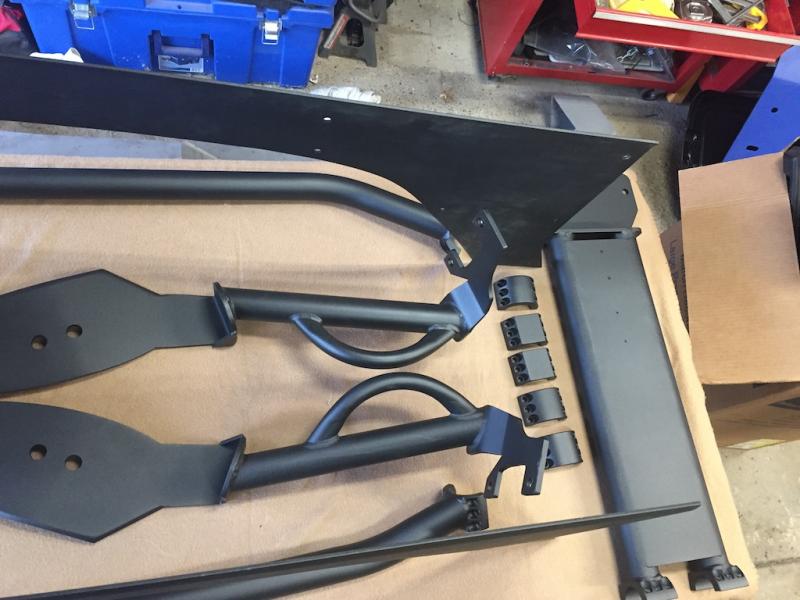
I got the cage and corners back from the powder coater last week. SK Finishing in Lorain, OH did a really good job on these. Started with a zinc rich primer and then the top coat of Carbine Black Textured.

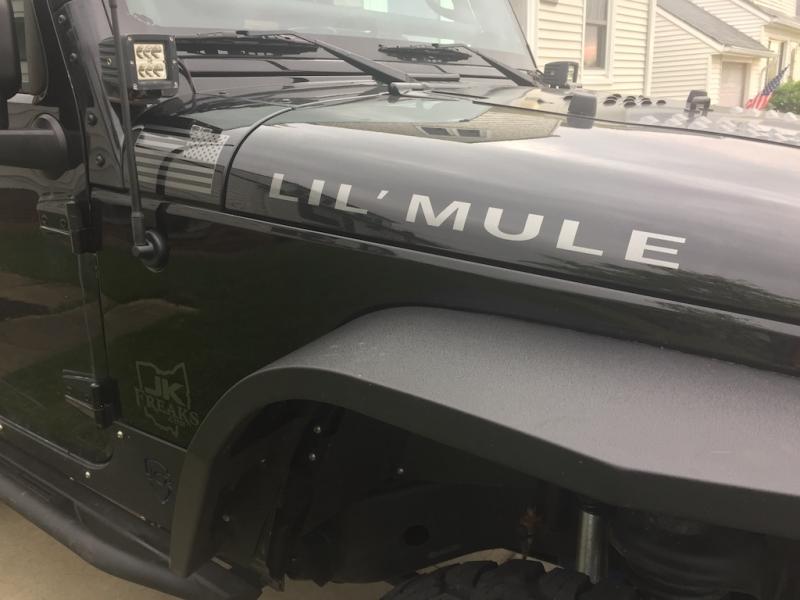
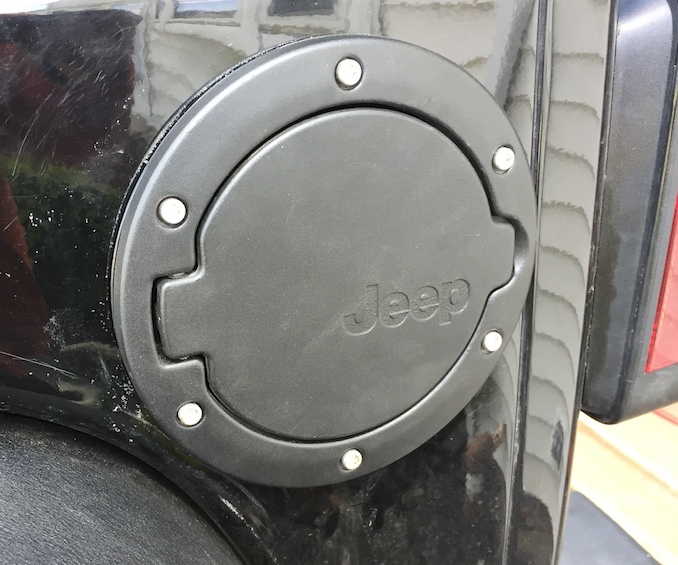
Picked up this Jeep branded fuel filler spout from a jeep forum. Removing the old one gave me an opportunity to smooth out the wave that the sheet metal sustained when my old Bushwacker flare was jammed into a tree.

Also picked up this JCR Offroad transfer case skid. I installed it and reinstalled the JCR engine skid I had removed before winter. I installed a small spacer between the cross member and the skid. With the Teraflex exhaust spacers, I have to separate the skids from the exhaust loop or it will rattle.

I think removing the skids each fall and installing back in the spring will be SOP for me unless it becomes a garage queen. NE Ohio salted winter roads are murder on these.

The only thing I don’t like about having a full transfer case skid is I can no longer get to the transfer case side of my drive shaft to grease it. That means I am going to have to remove the transfer case skid every 5,000 miles. Hmmm.

Spent an afternoon and got the cage installed. Took my time. The extra thickness of the powder coat made it a little bit of a challenge, but it went in pretty easy. I am so glad I had these colored black. I was originally going to do them in blue and my wife made a weird face. I took that as a sign.

I had planned on upgrading my climate control to Auto Temp (I have most of the parts) before putting the cage in. Maybe in the fall. It would be nice to have this installed before winter.

Frankencorners

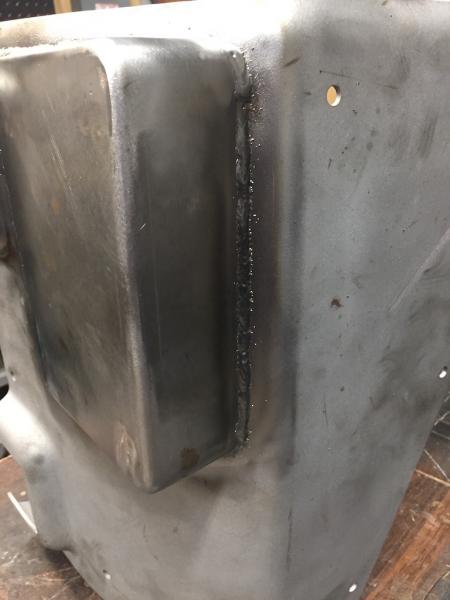
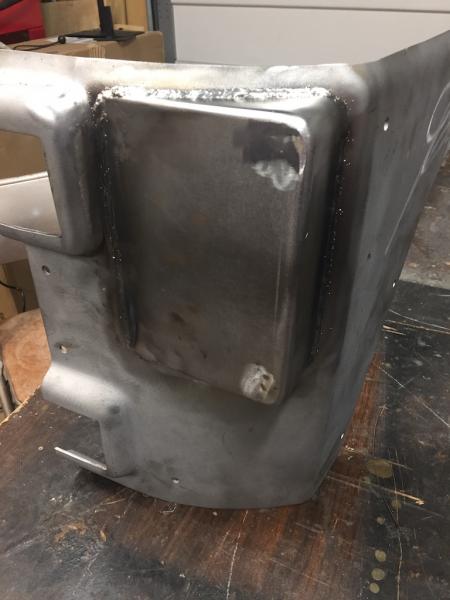
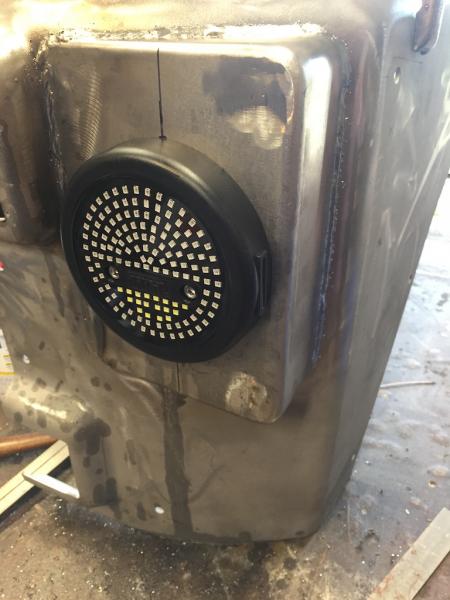
More progress on my Frankencorners. Finish welded the seam between the AEV corners and the extension. Finally got the guts to weld the tail light boxes on the corners. They don’t stand up to anything Andy would do, but I am happy with the result. I had to stop and start a few times, I still have trouble seeing the material when welding. But progress is progress.

I also drilled the holes for the Trail Tails and welded nuts to the inside of the tail light box. This will make it easier if I ever have to remove them, I won’t have to take the corners off.