Time to refinish a few things

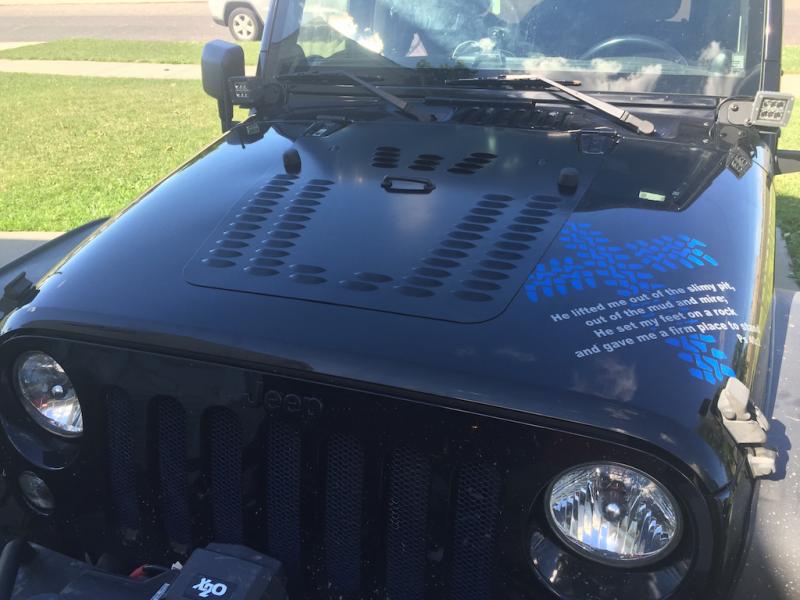
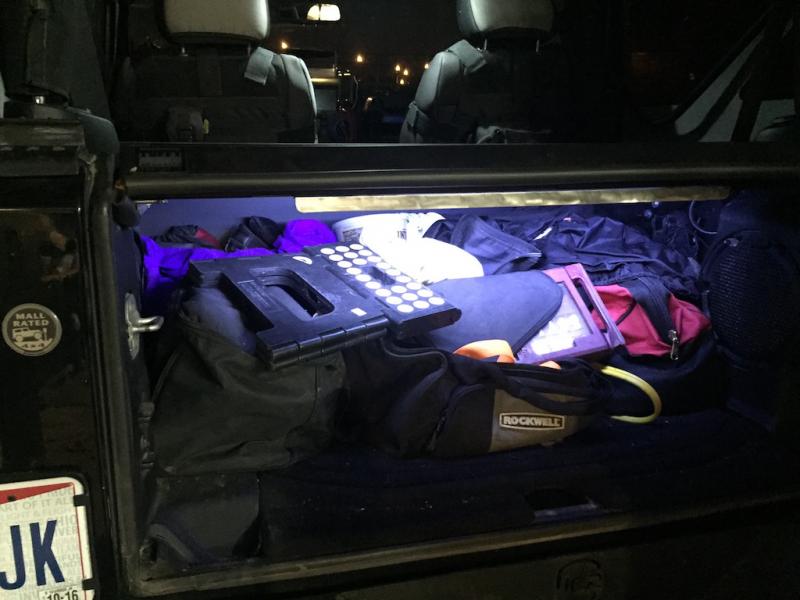
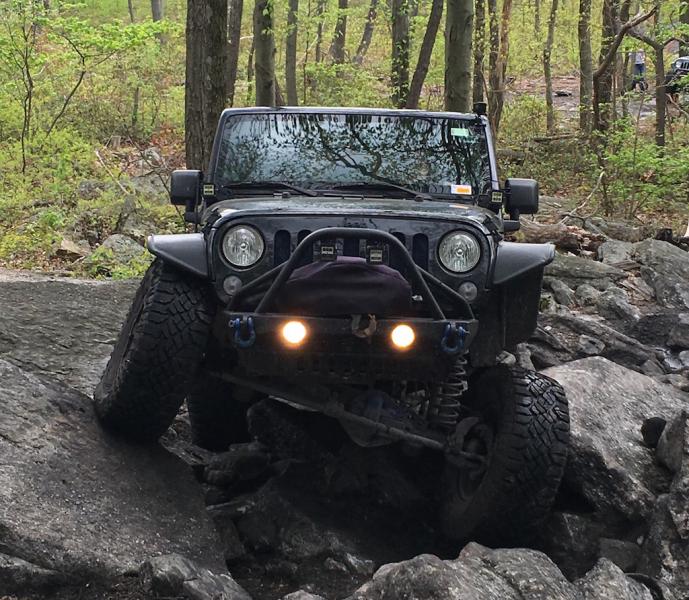
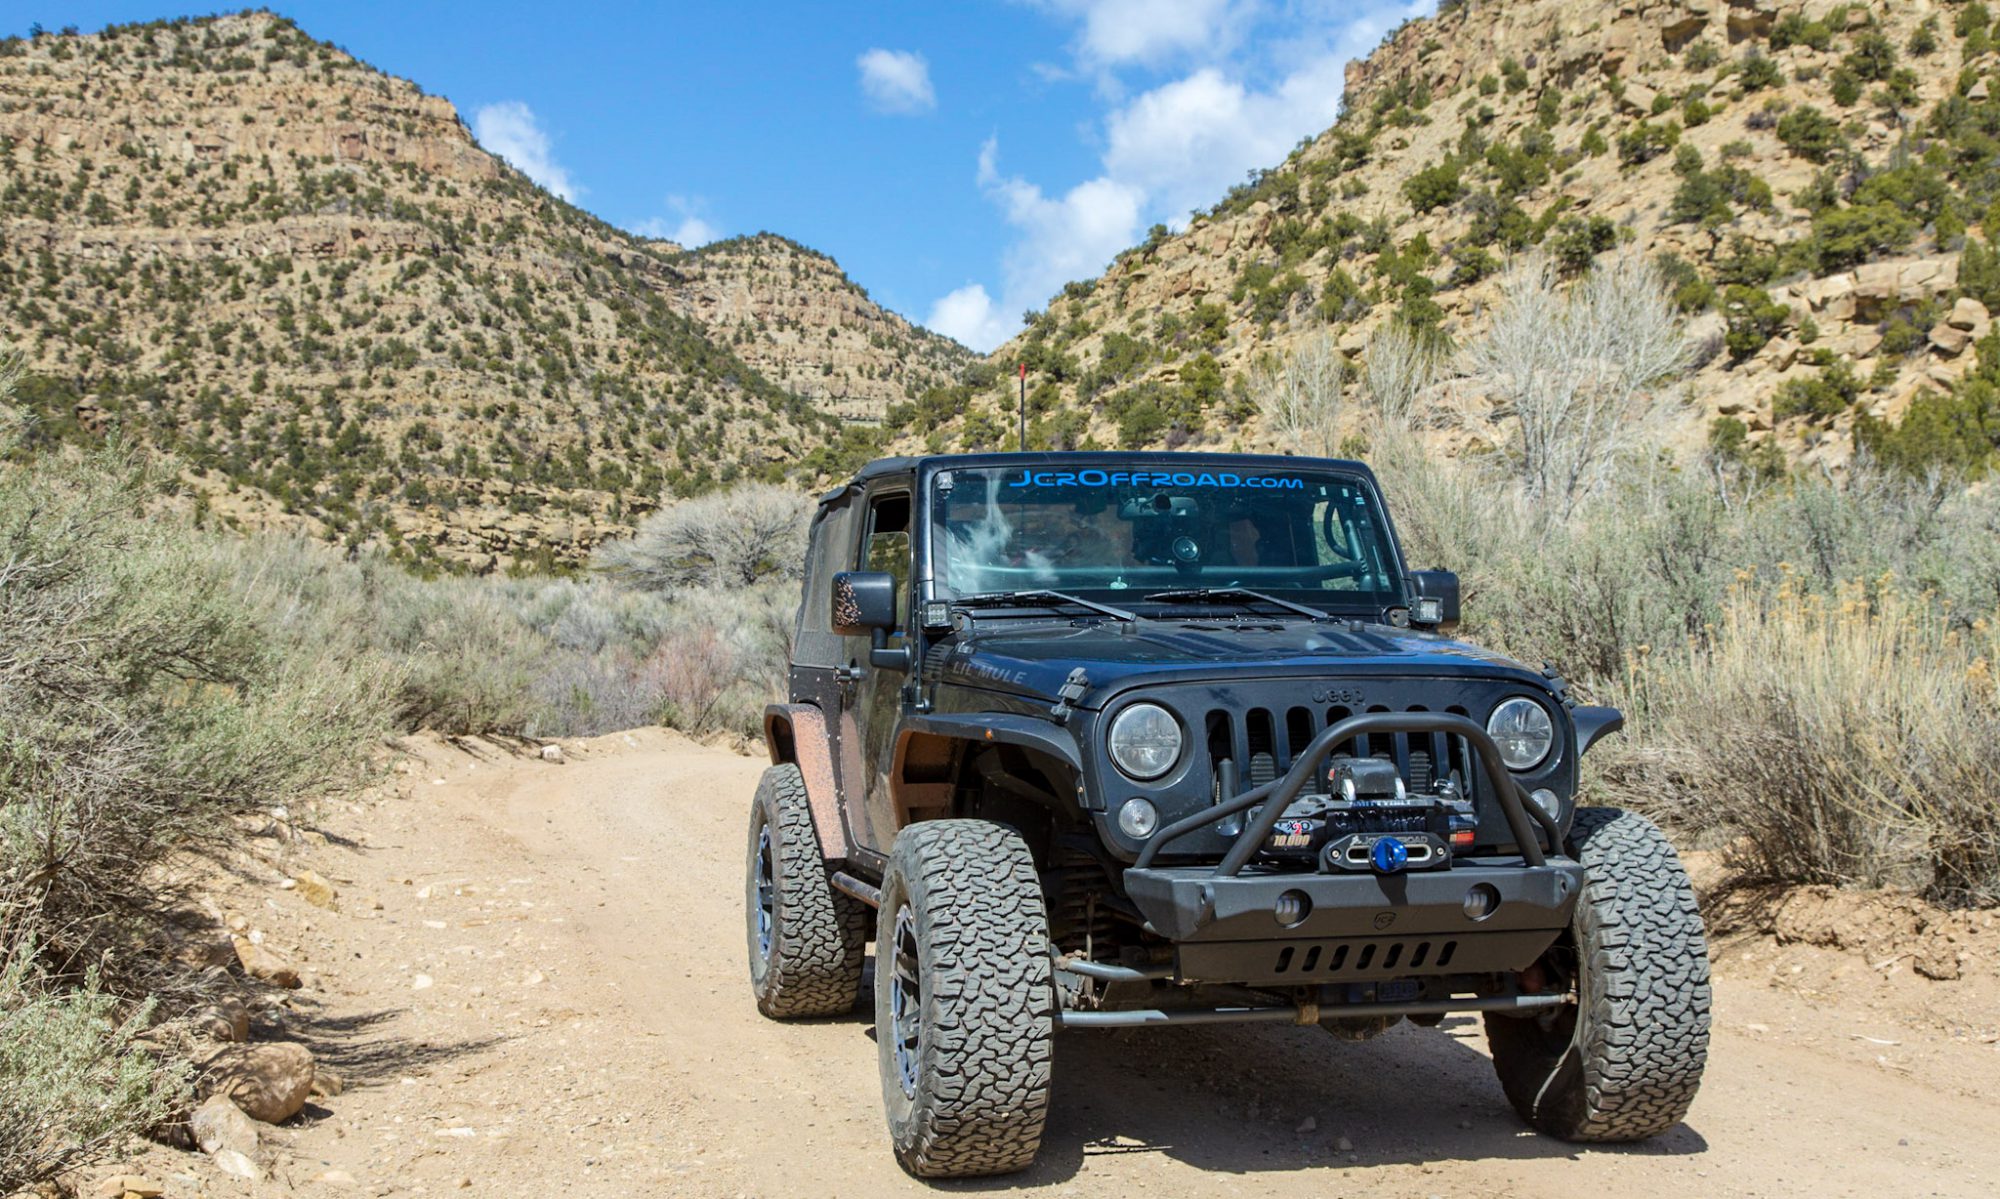
I live in NE Ohio and we love to salt the roads around here in the winter. I hate it. It makes everything rust. My daily-driven Jeep is no exception.

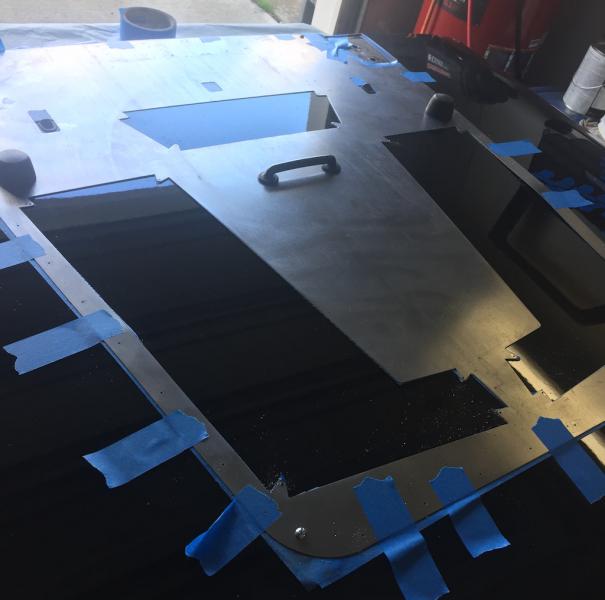
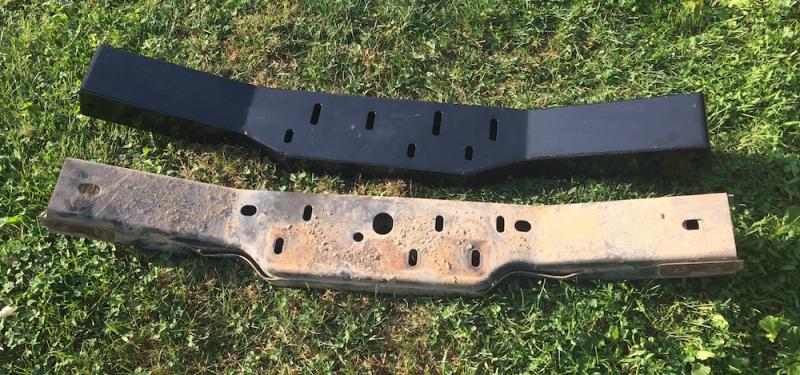
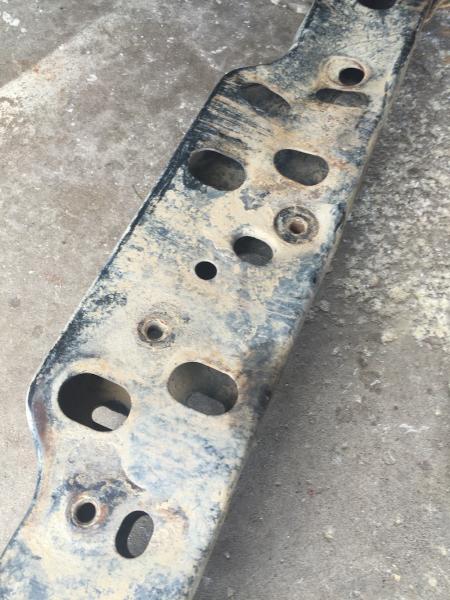
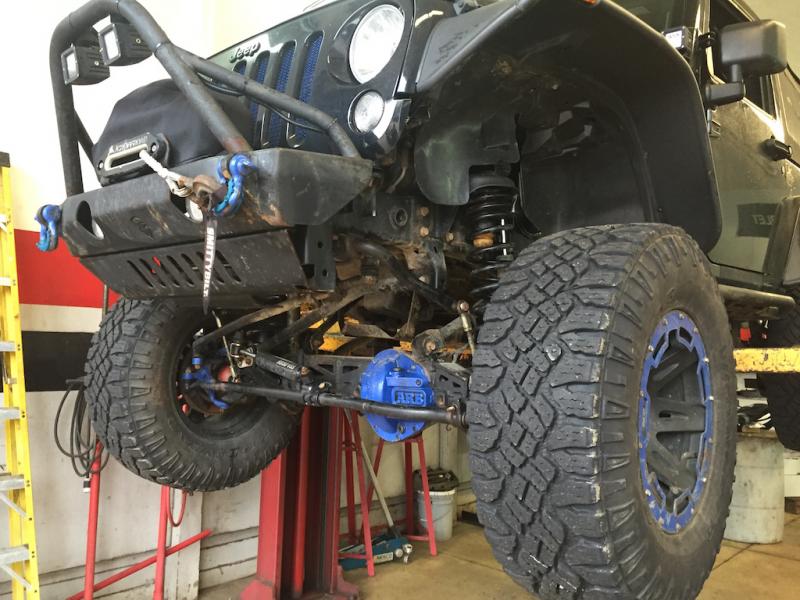
After returned from an awesome wheeling trip in Kentucky and Tennessee last week, I decided it was time to start removing the steel from the Jeep, have it blasted and new powder coat applied. This time, I plan on having it zinc plated, then e-coated, then powder coated. This should protect the steel from everything that’s not scratched. I can touch up the dings and scratches with POR 15 and paint, but the zinc and e-coat will keep the rust from spreading too far, too fast.

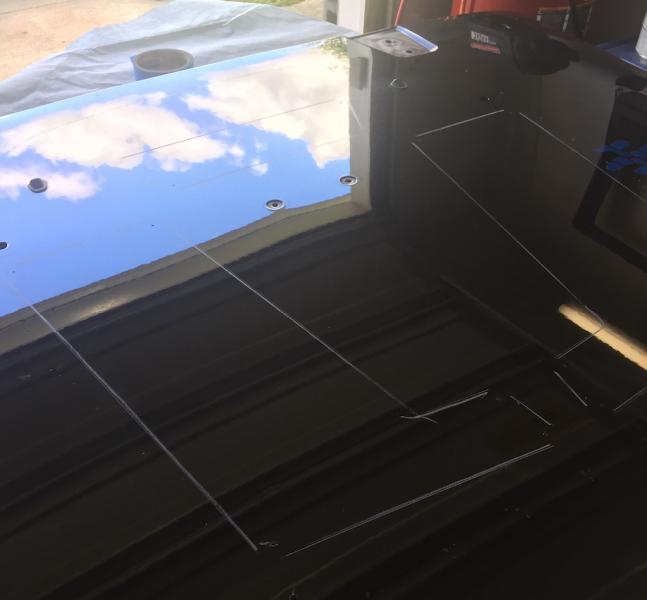
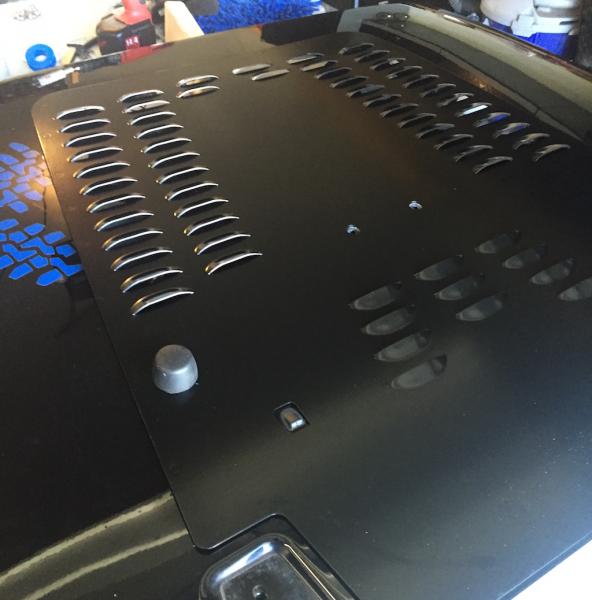
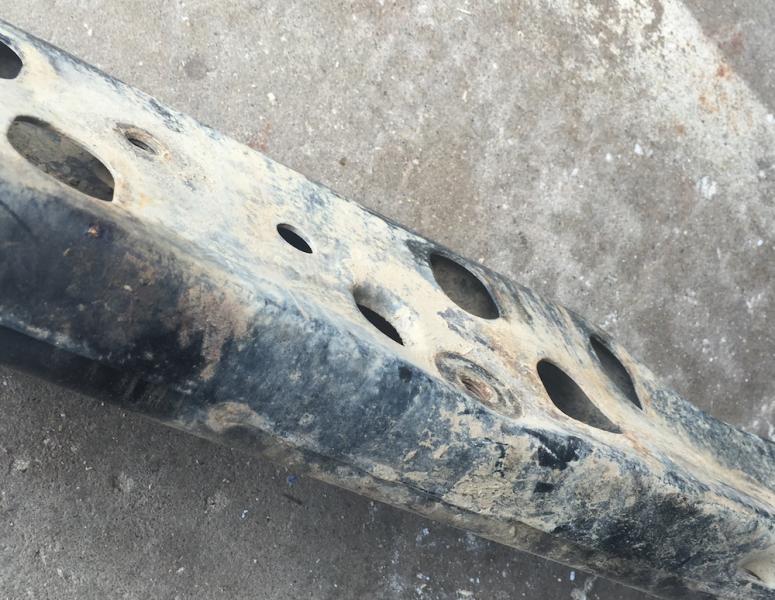
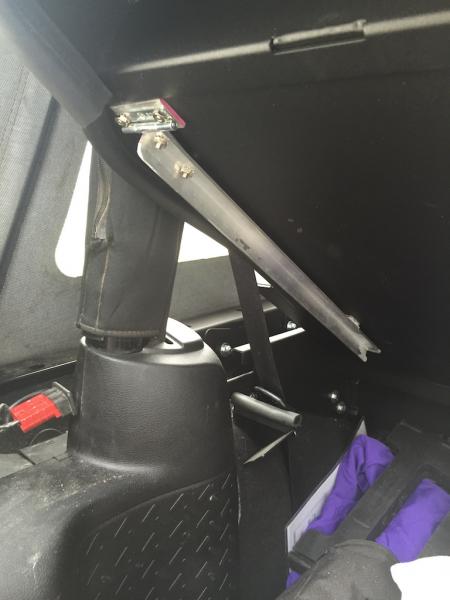
I’m going to be building a license plate bracket for my spare (need to practice my welding!), so I will be losing the antenna mount for my CB that currently resides inside the stock bracket, shown in this photo from a while ago:

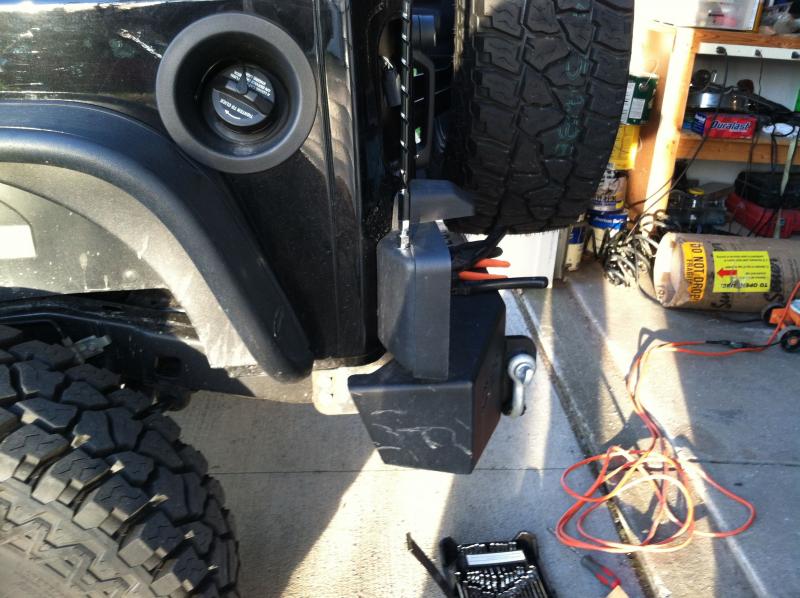
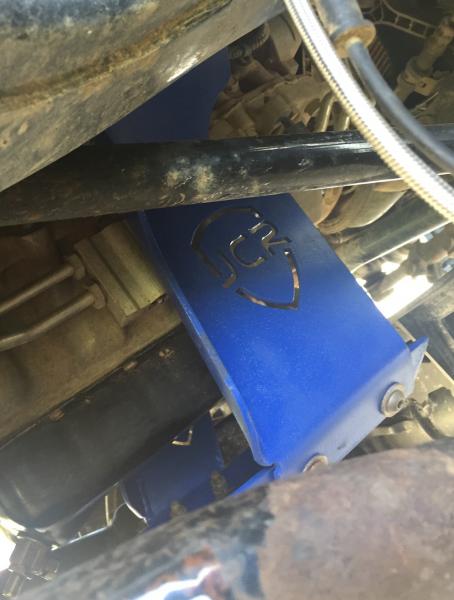
After I removed the JCR tire carrier, I fabbed up another tab for a second antenna mount. I have two radios in the Jeep, a VHF/UHF radio for HAM and GMRS, and the CB (yuk). I want to get rid of the CB, but it is a bit too popular. These are not ideal antenna locations, but they seem to do the trick anyway.

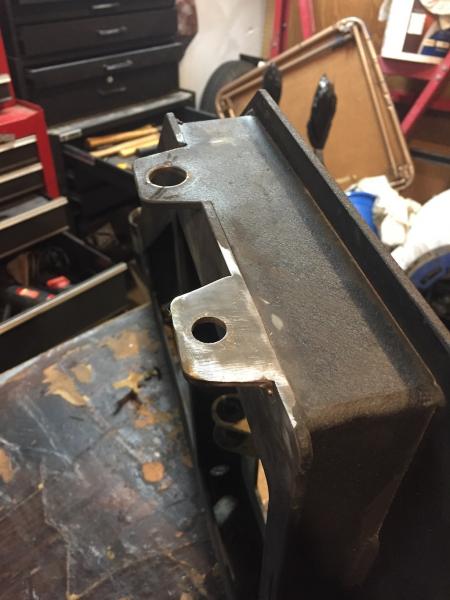
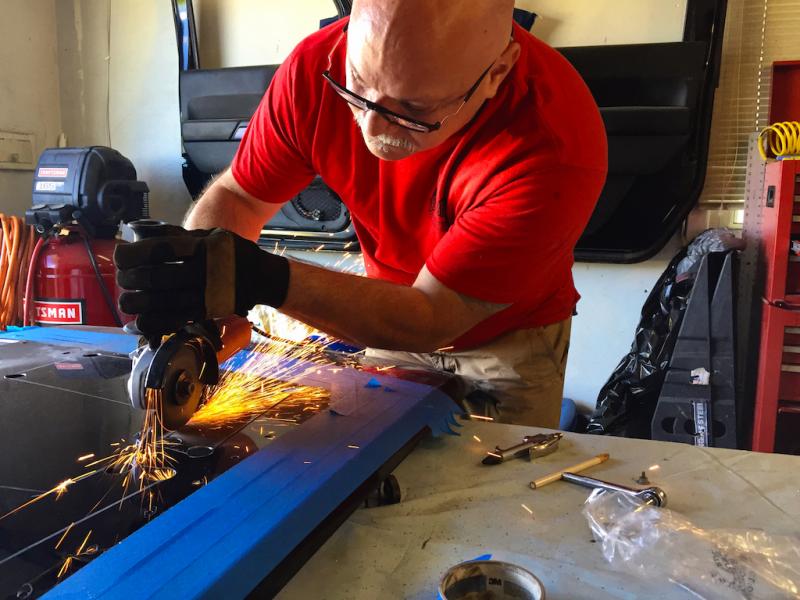
My welding skills still suck, but my grinding is getting better!

A little cooler

I haven’t seen temps below 220 in a looooonnnnnng time. Never at 75MPH. This was on the way home, 81 degrees outside, with the A/C on. Normally, this would be 226* plus. As high as 235*.

Getting the heat out

Some of you know I’ve been having some minor heat issues while daily driving. My coolant temp gets hotter than I would like it. Not dangerously hot (240 max) but hot enough that I wanted to try my hand at seeing if I can shed a few degrees. The option of a heat reduction hood is out of the budgetary question right now, so I decided, based on a friend’s recommendation, on a Hyline Offroad hood louver. It’s aluminum and comes bare or powder coated. I opted for PC. Ordered from Hyline directly and had it in two days.

I like this design over the Poison Spyder louver because the bolts are welded to the louver itself. I think it’s a much cleaner install. Plus Hyline sends along a steel template that makes locating the few dozen holes that have to be drilled painless.

Things didn’t start off too great. While removing the footman loop off the hood, one of the bolts busted off. Cheap junk. I’ll be ordering a replacement soon.

Got the hood off, and with the help from T.J., we got it done in about 3 hours. Some things that are noteworthy.

  • The instructions have you drill 1/16″ pilot holes. Have a few extra drill bits on hand. 
  • A good hole saw could not be more important. But even if you are off a little, it’s all hidden.
  • The outer sheet metal is glued or double-stick taped to the supporting structure. Took as a minute to figure that out.
  • Paint the exposed edges and the hood structure black or some other color.
  • Make sure you thoroughly test fit everything. I ran into some issues with the threads on the welded-on studs catching on the holes, making it nearly impossible to secure it flat. I had to remove it, enlarge the holes, and the test fit again. You don’t want any binding at all.
  • Take your time, go back and forth between each side, front and rear, securing the studs with the nuts.

Here are a few photos and a short time lapse video.

Skids

Been doing more things around the house and just haven’t had a ton of time to work on the Jeep. I’m behind on so many projects.

I did manage to get some stuff done today, with the help of my friend TJ. My stock cross member was in pretty bad shape. It’s hard to tell from the photos, but there’s some serious dents and damage there. That thing is a bit of a joke. Ordered a new one from JCR Offroad.

Not only is the JCR cross member made out of thicker material, and it’s welded all the way around, the put reinforcements on the inside of the box to give it some additional strength. It was an extremely easy install, overall. Much easier than I had expected.

Plus, I got a great deal on a JCR Offroad engine/transmission/exhaust loop skid from a JK Freaks forum member. I had to clean up the rust on it and repaint it, but I like this color better. 

I had an engine skid on it before, but the JCR design is so much sturdier. The brackets that hang from the engine mounts look like it would take a brick of C4 to bend them. 

While I was at it, I installed an aftermarket gas tank skid as well I picked up a while back. My stock “skid” was in really bad shape. I guess I need to pick better lines.

The only real issue we had during the install was getting the stock gas tank skid bolt holes to line up with the ones in the cross member. Not sure if the cross member was off, or the stock skid shifted. I only had a half tank of gas, but that might have been enough of it to shift a little. Plus, it was so bent near the front, that it mad have changed shape. Nothing a die grinder and grinding stone can’t fix. I also painted over the rust spots on the stock skid before installing the aftermarket skid.

I did cut off the ears of the stock transfer case skid so it would fit flat under the engine skid. At some point, I’ll replace it with something that covers more. I like the idea of a flat belly.

It’s too bad I almost have to driving over top of you to see these logos. 

Let there be light!

Added some rear cargo lighting. Not super bright, but enough that I can see back there. Tied it in with my dome light.

I used a couple of strip LED lights I picked up on amazon, stuck those to some left over angle aluminum from my last project.

Security enclosure improvements

I wanted something the would prop the Tuffy deck open when I needed to get into something in the back. Got this idea from a Jeep forum.

A little aluminum angle iron, a hinge and some super lock velcro.

Tuffy sells some material to go on the deck for a non-skid surface, but it is uber expensive. This is tool box shelf material I picked up from Harbor Freight.

JK Freak Fest 2016

Took it to Rausch Creek for the 5th Annual JK Freak Fest.

Love the flex on this lift! This is going up Yellow Jacket. Pretty happy with how the Jeep is functioning these days.

Axle Seals. Yay.

Took it to Nella Enterprises in Streetsboro and got it up on the lift. The owner/mechanic was pretty cool. Listened to what I had to say.

Discovered why the seals failed. I installed them perfectly, so says the mechanic. But the pinion bearing was worn and loose. Found a not-so-nice present on the end of the drain plug.

That’s a lot of shavings!

Which meant these were all junk.

Replaced all of the bearings with a set from G2 @ Summit Racing. My driveline vibration is gone!

It was money I didn’t want to spend, but money well spent.

GoPro Power

Getting ready to head to Tennessee for the first Jeep Jamboree of this year. This will be my third Jamboree and I have 2 others scheduled this year.

My wife bought be a GoPro for Christmas a while back so I could video my trips. I have a few batteries and typically use an app on my tablet or my phone to monitor the video and to start and stop. But the bluetooth/wifi connection drains the batteries pretty fast, so I wanted to get something that was wired in and waterproof.

Put a water proof USB port under the hood. This is meant for a motorcycle, but works for Jeeps, too. 

Also bought a waterproof back for the GoPro case that has a connector for a wire that plugs into the back of the camera where the LCD screen would normally plug in. This provides power to the GoPro. Set up some connectors for the window mount.

Also made a setup for the front bull bar. I used a handle bar mount my son bought me for Christmas last year, plus a BUNCH of connectors to get the GoPro horizontal again. 

All of that setup, I can run the GoPro app on the tablet in the upper console location.

Can’t wait to get some good video this year!