Downspout diverter

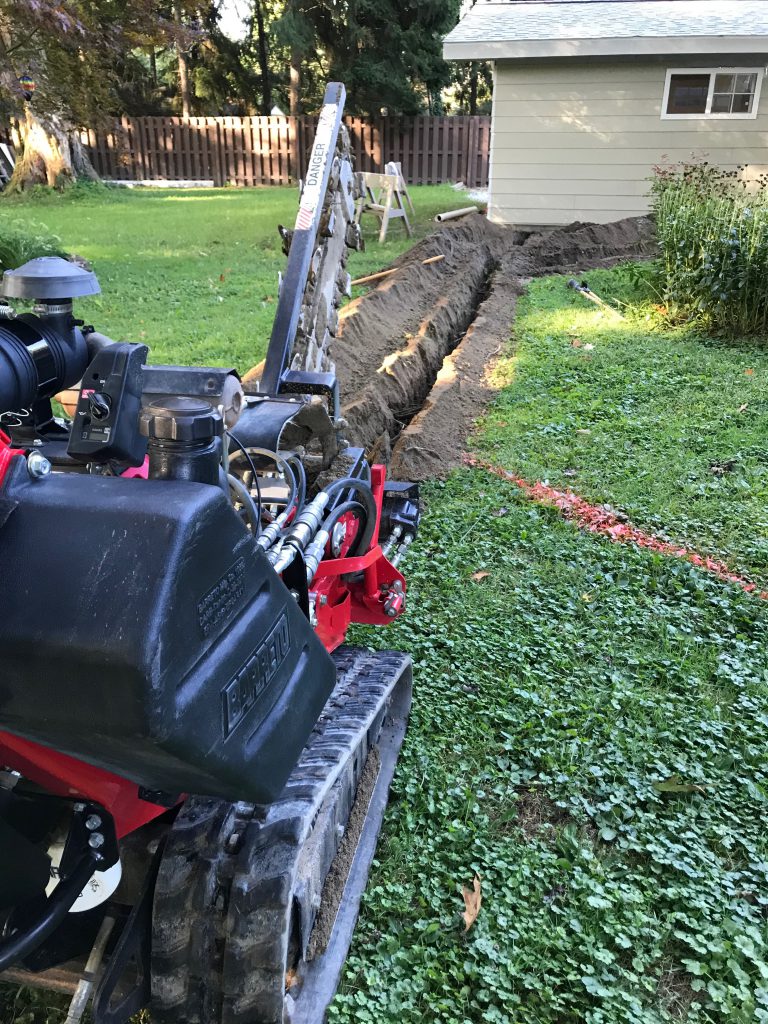
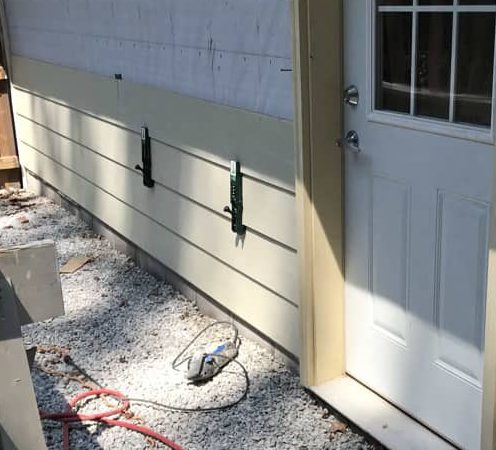
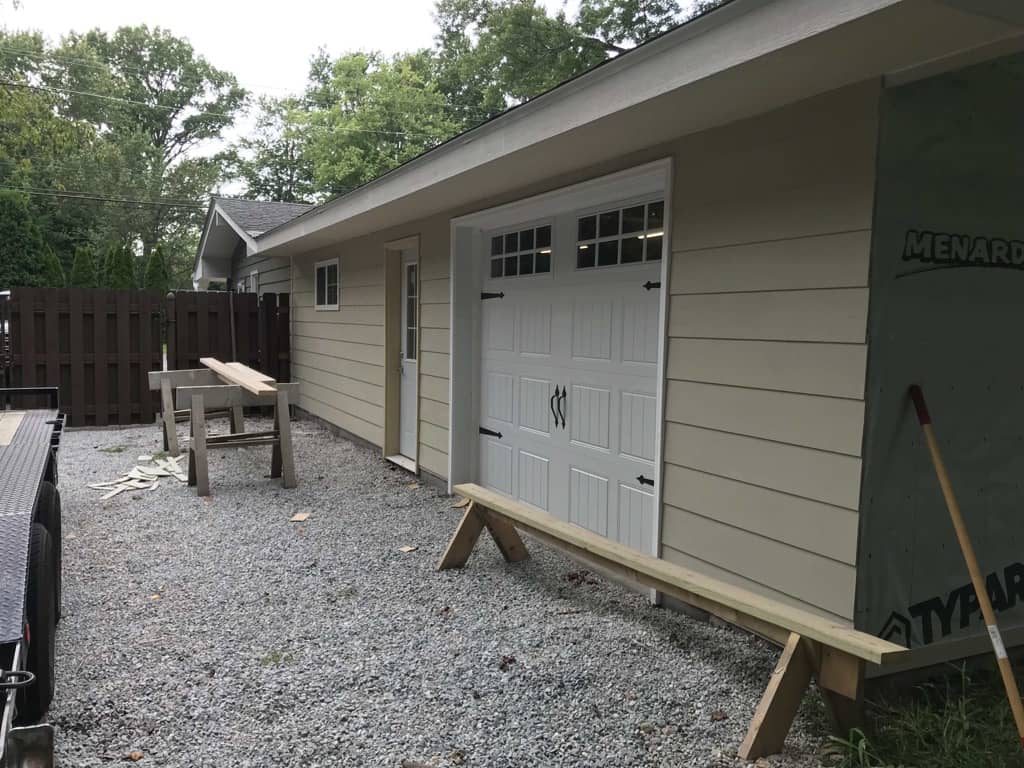
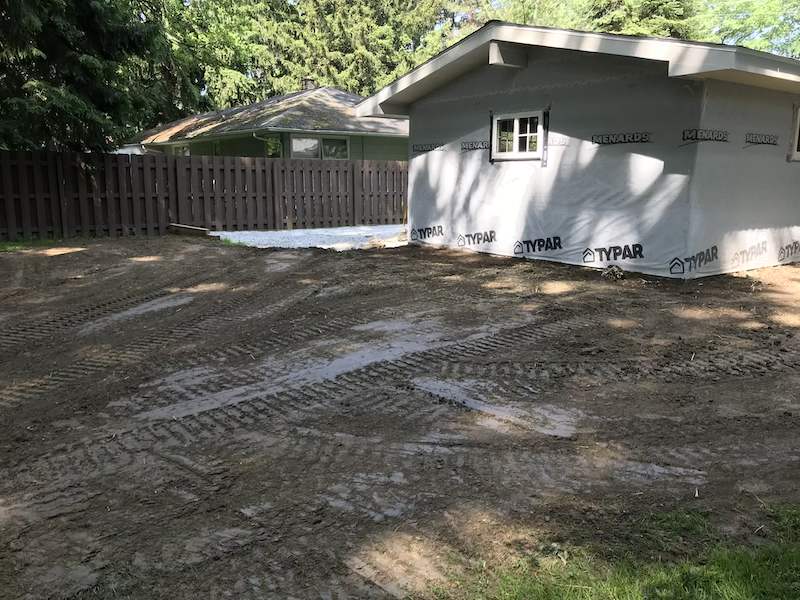
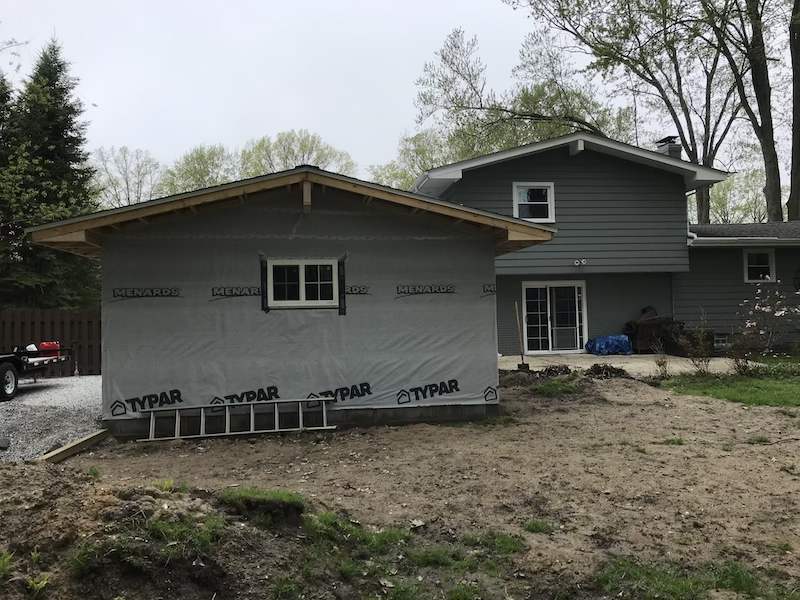
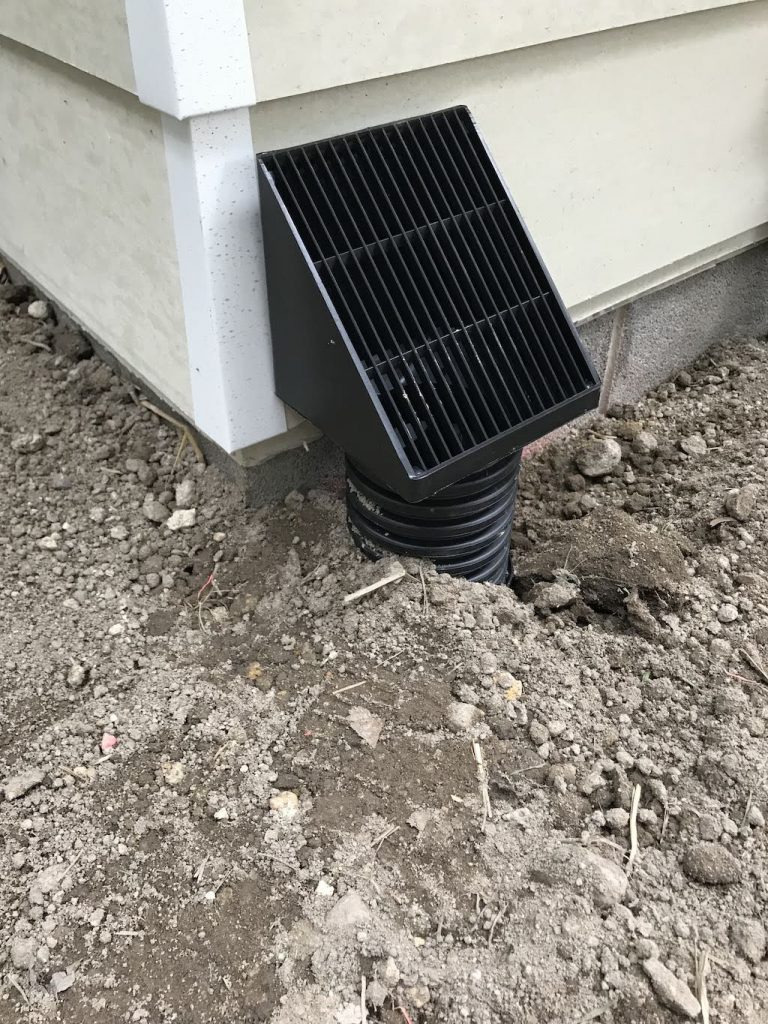
One of the things about this house that I didn’t really like, is we don’t have storm drains for the downspouts. The rainwater just hits the ground and is diverted away from the side of the house. Not very effective. A while back, I installed these underground diverters on the house and wanted to add them to the shop as well.

The come in two parts, one, a collector that you place under the downspout. It has an angled face on it that screens the large leaves and such from the entering the drain. The second part is a popup that you place in your yard an appropriate distance from the structure. They work incredibly well and it was a no brainer for me to put these in.

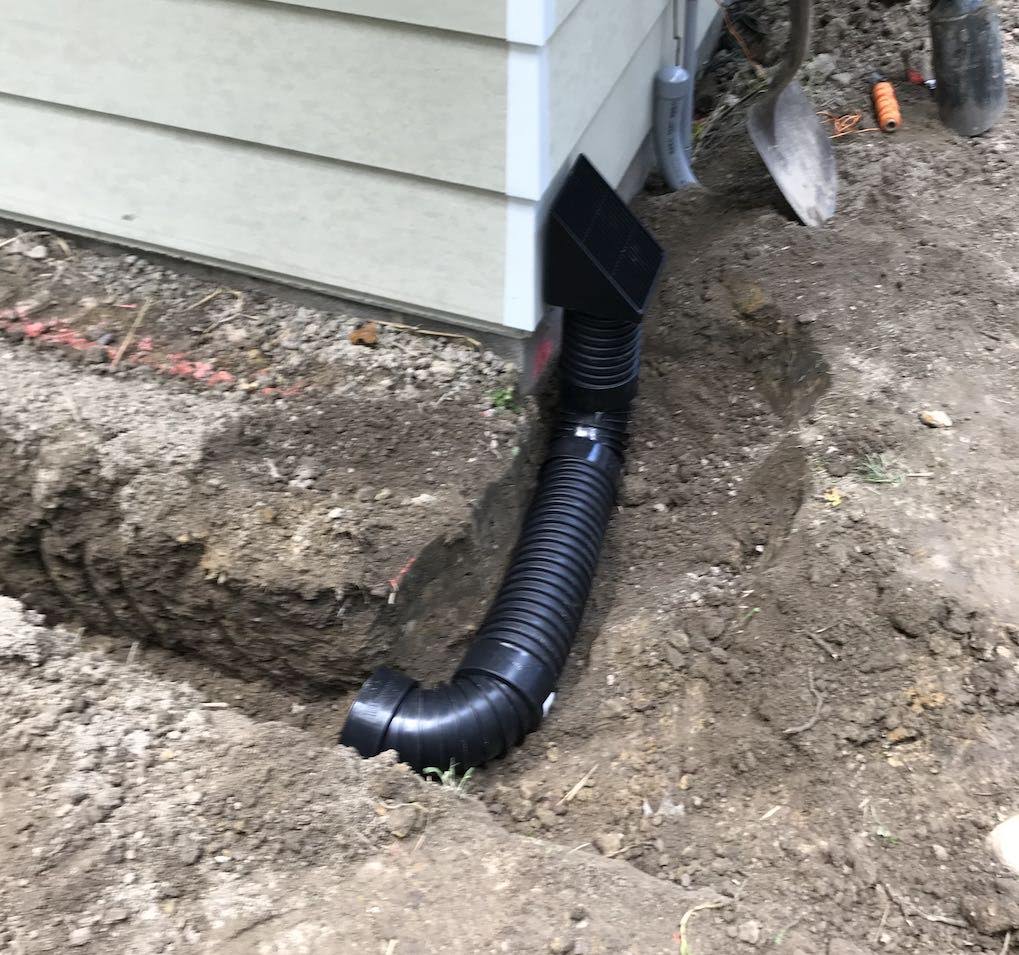
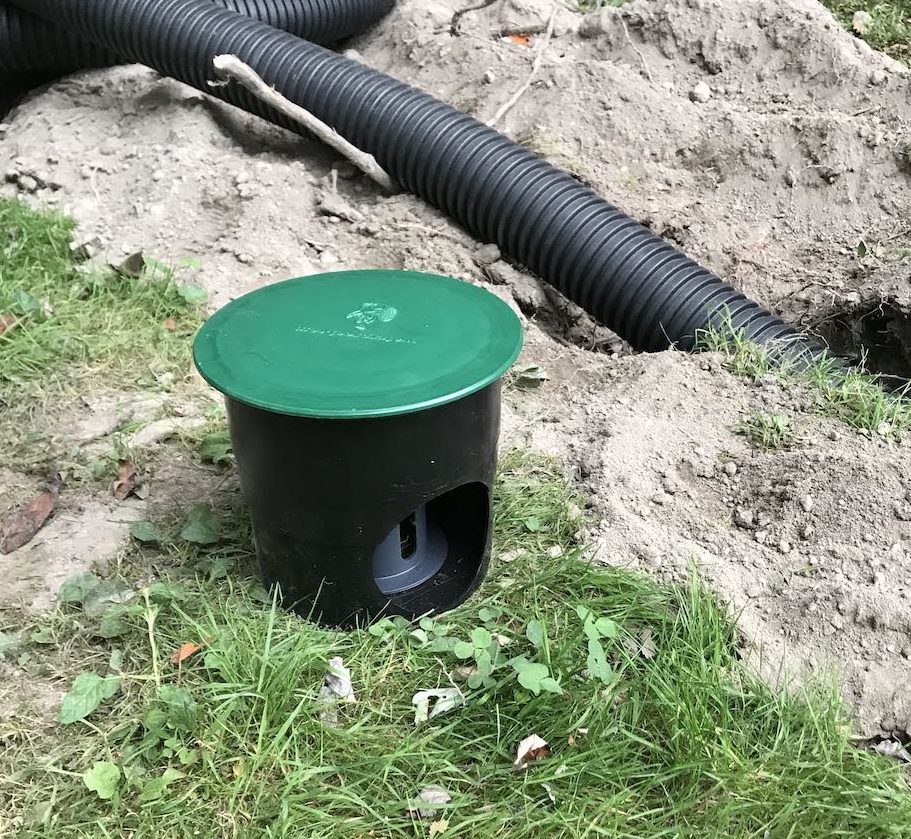
I didn’t get the popup buried. I need to get a different connector to attach the drain line to it.

Workshop Power

I rented a 6″ x 36″ trencher to dig for th power line I need to run to the shop. The shop is attached to the garage, which is attached to the family room of the house. Both of those are on slabs, which means I have no way of running any kind of wire through the main structure from the basement.

My only option was to trench. Code requires 24″ deep trench for direct burial wire. This is about 30″ deep in most places. Once it passes inspection, I’ll get the wire in the ground and go from there.

While I had the trencher, I went ahead and dug for some downspout drains. I don’t have storm drains here, so the rain water leaves the downspout right to the ground. I don’t want it next to the building, so I am adding some underground pipes that will lead to a popup in the yard.

Downspout drain trench

Compressor Rebuild Part 2

I took the rest of the compressor pump apart. It was a mess. I figured that the piston seals had probably failed, and decided to replace those along with all of the gaskets. Everything was available on eBay. I also gave the tank a fresh coat of paint and replaced the wheels.

Once I got it all back together, it rand and filled up to 135 PSI and shut off as expected. I ran it for a while without issue. And then all of a sudden, it started making a horrible noise. I shut it off and took the head off, only to notice a blown gasket.

I don’t think I tightened the head bolts down enough. Another gasket is already on the way. Once that’s in, we should be good to go.

I am still hearing a small leak next to the tool pressure regulator. I’m not sure what I can do about that. I tried some teflon tape, but that didn’t help. It could be a crack in the plastic. I ordered a new regulator valve off eBay. That should take care of it.

Workshop Siding Update

I picked up about 2,000 pounds of fiber cement siding for the workshop. It’s not as thick as the cedar siding on the rest of the garage and house, but it shouldn’t be that noticeable. Plus, it’s fire resistant. It’s nice having this trailer. It saved me from having to pay a $50 deliver fee.

Once the first row was up (with the help of my wife) the rest of it is pretty much a one person job. I used a set of the Gecko Gauges from Amazon to hold up the next piece. You slide them under the last row and clamp them down. They are calibrated to the exposure you want on the siding (in my case, 8″) and provides a little shelf. Cutting this stuff is super dusty. Wear a respirator.

Each 12 foot section weight about 22 pounds and they are very bendy and can break if not handled in the vertical orientation. But once I got going, it went pretty well.

Compressor Rebuild Part 1

I saw this old compressor on Fakebook marketplace and when I went to go buy it, the seller just gave it to me. That was a clue that it needed work.

It appears to be an old Sears single stage compressor, probably maxes out at 135psi. But it had a 3 horsepower motor attached to it that ran off 220v, so it should have some guts to it. I put a plug on it and the motor ran great and the tank held air. It wouldn’t shut off, so I ordered a new pressure control switch.

But the thing was covered in oil. I was sure it needed new seals and gaskets. When I drained the air, the tank had some pretty rusty water in it and there was oil in the water. Another sign that there was a bad piston seal. I went ahead ordered new gaskets and piston seals. I also needed to order new flapper valve plates. Once I got it apart, one of them was broken. I started cleaning some of it. I wish I had a parts washer, it would make this a lot easier.

So far, I only have about $100 into it for the parts I ordered. I shouldn’t need anything else. I’ll clean up the tank and give it a fresh coat of paint. If it all goes back together, I’ll use this as my shop compressor and hook it into some permanent piping with outlets around the walls.

Workshop Layout

Spent some time in SketchUp trying to figure out a workshop layout. It’s amazing how small this space becomes when you start filling it full of stuff. This will also help me figure out where I need outlets.

I know I want a large work table, 4′ x 8′. Big enough for some pretty large projects. I want to build into it a flip top to hade a surface planer, as well as a build in router table.

I also wanted room for a small 2′ x 4′ welding table and my welder. Add in the table saw and a miter saw station, and it gets pretty cramped. Everything including the drill press and band saw will be on movable bases. If I need more room, I can always move other pieces out of the way. The work table, table saw, miter saw table, welding table and band saw table will all be at the same height.

This is laid out in winter mode, when the Jeep would be parked in the shop. When the Jeep isn’t in here, I can move the three large tool boxes against the wall.

I’m sure I’ll stare at this for a while and make more changes. I started this to try and figure out what kind of shelves I needed to get for storage. But at this point, I have no room for shelves. Eeek! I need a bigger shop. LOL!

Moving dirt

The concrete contractor was able to come by today and level out the dirt we removed when building the shop foundation. Going to get grass planted before it starts to rain later.

Fascia

Spent a bunch of time working on the workshop soffit and fascia. I am using a product called MiraTEC. It is man made and is rot and moisture resistant. It cuts really nice. I took my time measuring and setting the angles so the miters would line up just right. I like how it is turning out.

Soffit

Spent some time, with the wife’s help, in getting the soffits framed out, and finished with fiber cement board.