That’s not supposed to do that.

A couple of updates.

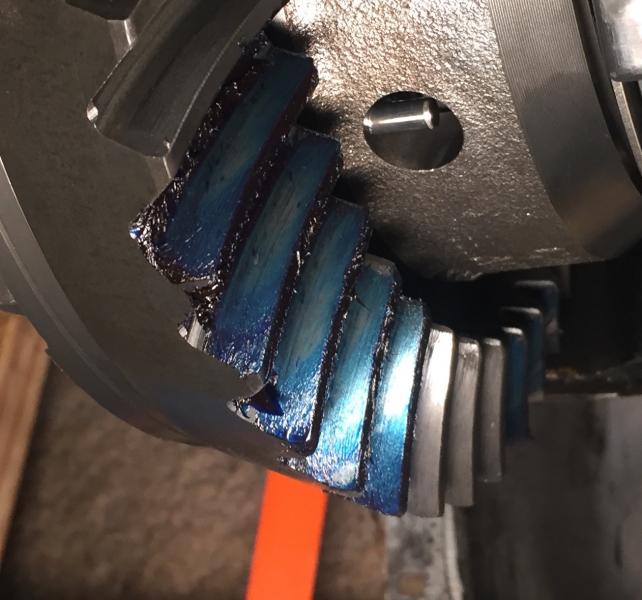
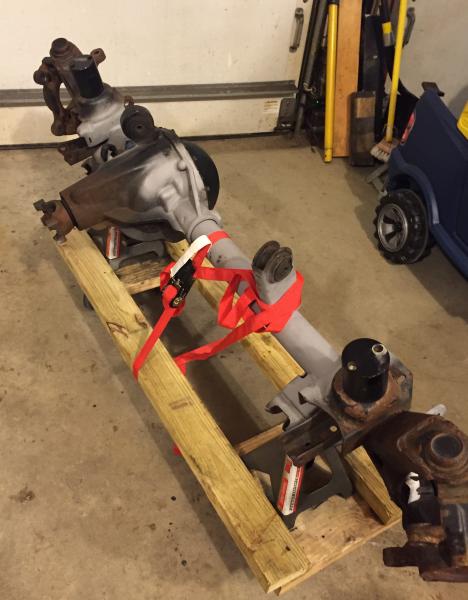
Got the housings back from Davis Race Car on Saturday morning and the situation was much better than expected. Jason went ahead and took apart the rear carrier and the pinion to make sure everything was OK. Everything checked out just fine. He did notice the bulkhead connector for the locker was broken, so he replaced that. Put it all back together and installed the stock pinion flange. Even after all of that, the total bill was only $65.13. He could have easily charged me a lot more. Super nice guy. He came highly recommended, and now I know why.

Davis Race Car is about 45 miles from my house. I borrowed a trailer from my old boss for a while to drag the housings from place to place. Went and picked them up, got about 500 feet from my house and CLANK, CLANK! I looked in my side view mirror and saw the front housing hanging over the side of the trailer by the ratchet straps I tied it down with. Oops. I don’t believe it hit the ground, but pretty scary. I lifted it up and put it back on the trailer. I wish I had taken a picture. No harm, no foul. But I’m glad it happened on my street than at 75MPH.

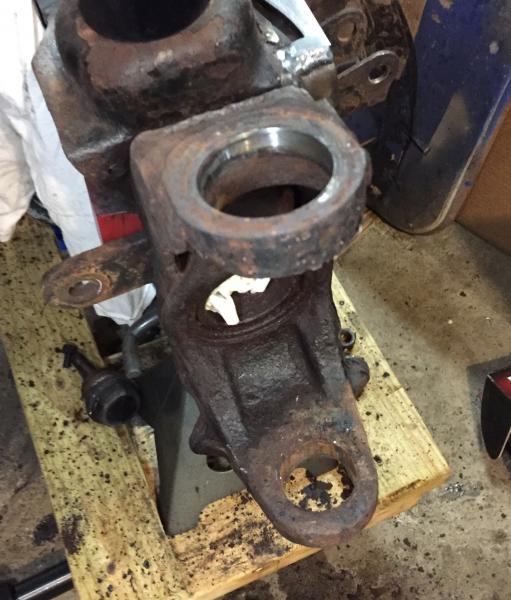
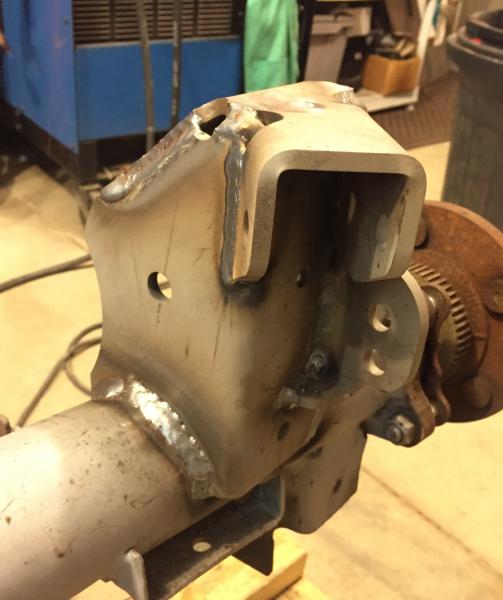
After I got them home, I was looking over the axles, and noticed this:

This is where the truss on the driver’s side is welded to the pumpkin. Not sure what happened. It could have been related to the above mishap, but could have also been a cold weld? Texted Andy and took them back to his place Saturday evening.

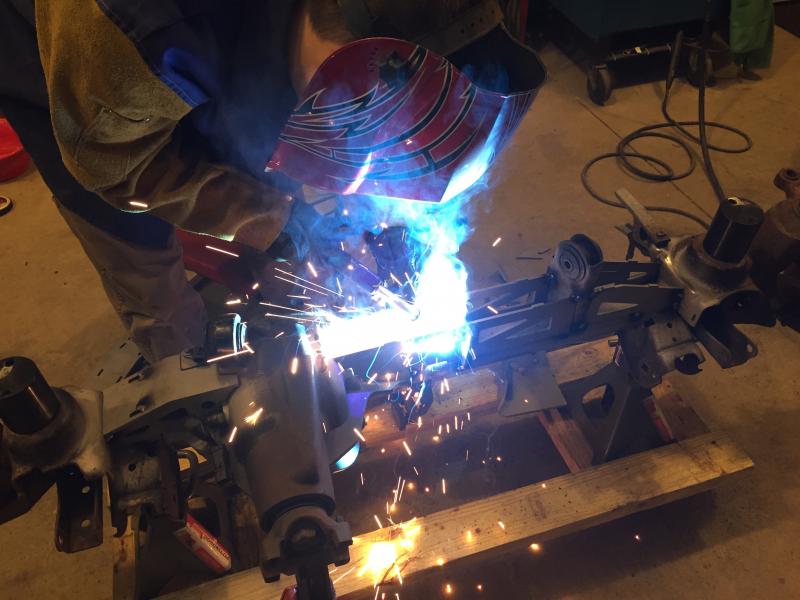
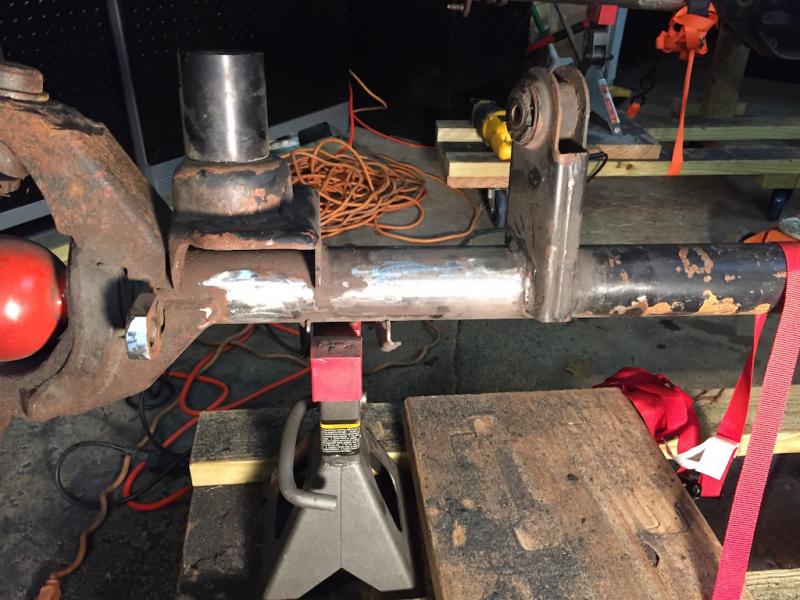
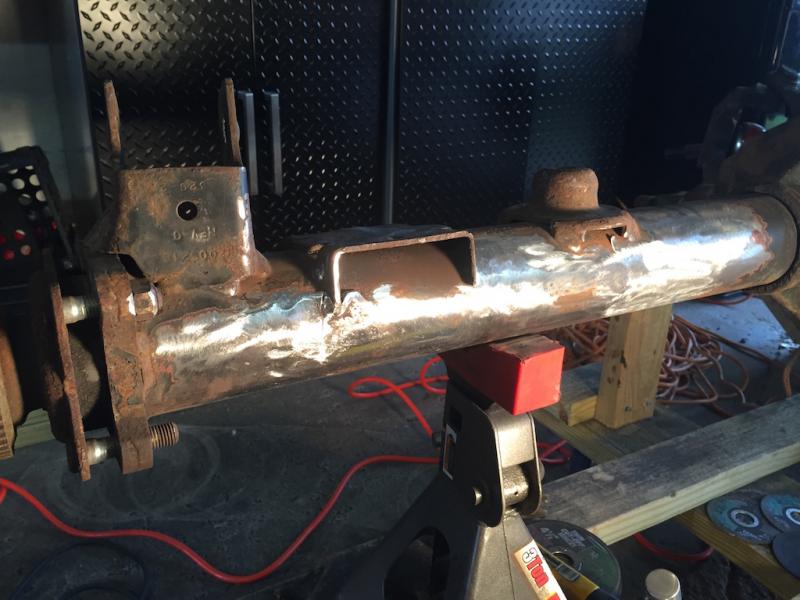
All fixed! Thanks, Andy!

Good news and bad news

Quick update on the gear situation.

I took the axle housings to Davis Race Car in Madison, OH to have Jason take a look at them, just to set my mind at ease. After checking the backlash on both the front an rear, they were BOTH within spec. The front was .006 and the rear was .007. The patterns were acceptable. Great news!

My great news was short lived. 

While I was there, I wanted him to replace the rear pinion yoke with a stock flange, so it would mate with my rear drive shaft. Once he removed the yoke and started tightening down the pinion nut on the flange, the pinion quit moving. Which means there is either no crush sleeve in the pinion, or it was over tightened prior. We hadn’t even started torquing down the nut enough to even start to crush it, had it been intact.

So rather than take any chances, I decide to leave them both there, have them each disassembled and the pinion checked. The gears were fine, they will not be replaced, at least not at this point, unless he finds something else. Plus, I’m going to have him replace the inner seals while he is in the front.

I have really broken the budget on this mod, I think I’ve pretty much shattered it. LOL!

BUT, I am still ahead of the game had I gone a different direction (i.e. new housings, etc.)

More heat …

Well, another 90 minutes, and another 1/2 bottle of MAP gas (not really, it just felt that way) and the other side is done!

The top one came out fairly quickly, less than 10 minutes. The bottom, as expected, was MUCH more difficult. I had to heat it up repeatedly. Got out the wire wheel and cleaned all of the rust off of the top of the joint and the adjacent C. Even used a little Pb Blaster after the heat, and then applied more heat. I’m wondering if that didn’t help more than I think.

I’ve helped do ball joints a couple times before, and by far, these were the most difficult. I’m sure there are quite a few factors that went into that.

I also completely removed the rear shafts. Hoping to take these to a drive line shop on Saturday to have them checked out and anything I can make it easier, and less labor, and cheaper, I’m going to do.

The best laid plans…

So I figured I’d spend an hour or so tonight and remove the ball joints on the front housing.

If only it were that easy! Hah!

With the housing loose, I can’t put a breaker bar on the ball joint press and get any good leverage, so my only option was the impact wrench.

Took me nearly two hours and a lot of heat, and a little sledge, to just get one side off. I’m saving the other side for later in the week.

Back to the axle build

Before I install these bad boys, I want to double check that the gears were done right by the shop that did them. I know at least one thing is wonky, the actuator bracket for the rear locker isn’t right. There’s a tab that fits into a slot on the actuator, and it’s not even close. I bought a new bracket, hopefully, I can take care of this myself.

I also bought some Prussian Blue – man that yellow stuff is EXPENSIVE – painted the ring gears. I put a load on the pinions and tried to run a pattern. Being blue, it’s not as clear as the yellow, but here they are. I just don’t know if these are within tolerance, or do these need to go to a drive line shop for new gears and install.

Any R&P experts out there, please feel free to chime in.

The rear:

The front:

Burning steel!

Spent the day at Andy’s burning some steel! I can’t thank him enough for spending part of his holiday break helping me out.

Authors note: When reading the below, when encountering the word “we”, please substitute the phrase “Andy, while I watched,” in its place.


I kept the axles on the carts I built. Made it easier to load them on a trailer.

All of the brackets and truss pieces are ready to go. Everything was wiped down with acetone, the edges cleaned with a scotchbrite pad and primed with weldable primer.

The rear was fairly straight forward, Artec LCA brackets and the Barnes 4WD track bar bracket. We only needed to figure out just where the LCA brackets needed to go. The Artec web site didn’t give any details. Using my Jeep and the stock mounts for reference, clamped up the new bracket and welded it in.

These things are pretty stout. (Note: the axle is inverted in these pictures.)

The Barnes 4WD rear track bar bracket was next. It is just massive. This thing is going nowhere!

The front was next. First, test fitting the Barnes 4WD truss. This truss is beefier than the Artec, all 3/16″ instead of a mixture of 3/16″ and 1/8″ steel. And, according to Ringer, was much better fitment.

Welding in the truss took a long time. To prevent any warping of the axle tube, we could only weld small beads at a time, moving from one side to the other, front to the back, waiting to allow it to cool in between.

When welding the truss to the cast differential housing, it’s necessary to heat it up first to prevent the weld from cracking, as the two metals heat and cool at different rates, plus have different metallurgical properties.

Next was the Barnes 4WD front track bar bracket, again, beefy. The holes are drilled for 14mm bolts, and my track bar uses 9/16″ bolts, so we opened them up with a 9/16″ reamer.

Next up, Barnes 4WD lower control arm skids! (View from the underside of the axle.)

Lastly, since the previous owner had run coil overs, that required removing part of the spring perch, we had to fabricate a new spot where the spring will index.

All in all, it was a very long day. Over 7 1/2 hours from start to finish.

I cannot express how much gratitude I have for Andy and the Jeep community.

Can’t wait to bounce these off some rocks! (but maybe not too hard.)

Next step is some mild clean up grinding, a wire wheel to clean up some slag (for some reason, the truss was throwing more than the rest), finish cleaning up the rust and getting some paint on them. I still have parts to buy. But my schedule of getting them installed in February or March is still on track.

Hope I didn’t need any of this.

Getting ready to prep the front LCA skids, front and rear track bar brackets and front truss pieces. This stuff is beefy. Most of this is 1/4″ steel. The Artec rear LCA brackets/skids should be here tomorrow and will get added to the pile. Need to clean them up with a scotchbrite and make sure all the tabs fit into the holes and then paint it all with weldable primer.

Axle progress

Another few cutoff wheels and at least one flap disc and the driver’s side is done. As soon as the Artec brackets get here this week, I’ll know where I need to remove the rest of the paint.