Front Axle Swap
Got the front axle installed this past weekend. It was a little easier than the rear axle, mostly because we didn’t have to beat any brake components off the old housing!
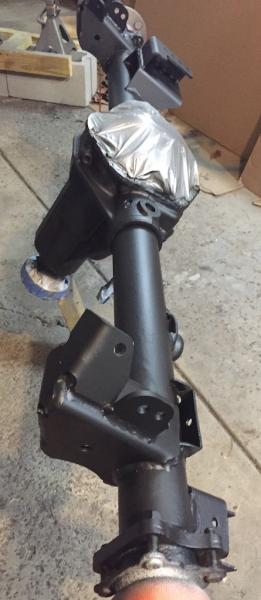
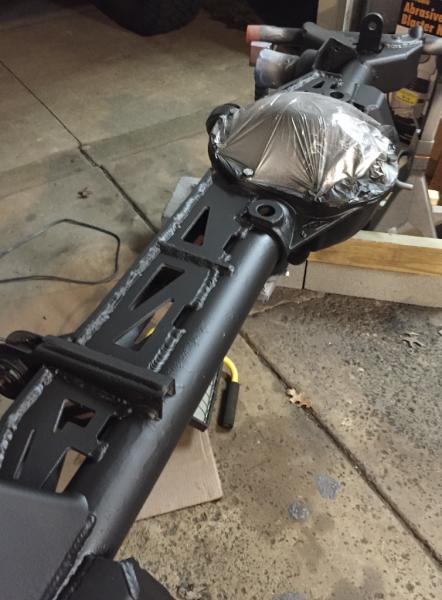
The new front was going to get dressed up a bit before going in. I had new unit bearings, so after inserting the axle shafts, got those bolted on. Getting the RCV shafts in wasn’t too hard. I did use axle shaft guides I had picked up from 4 Wheel Parts to help get them into the diff without damaging the seals or dragging any much left inside the housing into the gears.
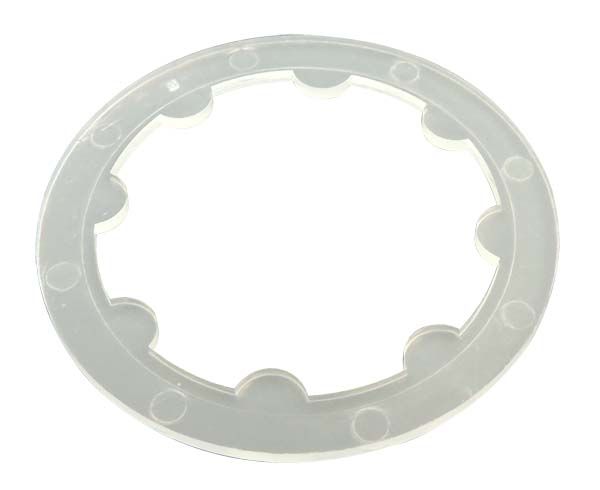
These are little nylon washers. Two for each side did the trick. They live inside there just fine and have no affect on the axle itself.
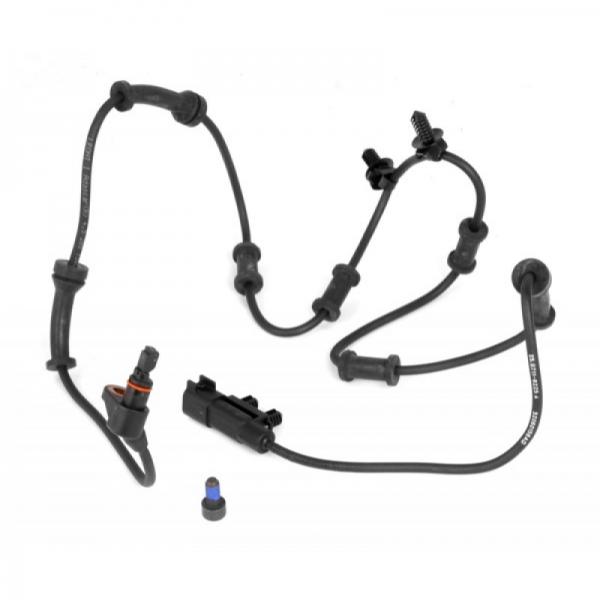
I found out that the unit bearings I got had different length wire on the ABS speed sensor. A whole foot shorter than stock. I thought about removing the ones from the Dana 30, but I really didn’t want to spend the time to take the old unit bearings out just to get the sensors. I ordered new ones from Quadratec. Should be here in a couple days. As much flex as my lift has, I have no doubt I will rip these ones out.
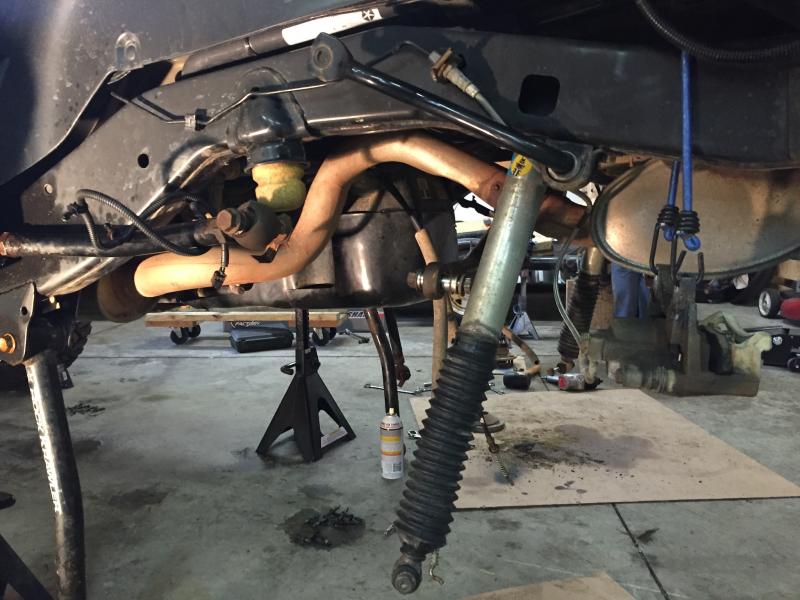
After we got the old housing out, we swapped over the tie rod, springs, spring retainers and sway link lower disconnects. The new axle had the drag link flipped, so no need to reuse that.
Putting the new axle back in was also fairly straight forward. Hooking the wheel speed sensors back up, behind the shock tower, blind, sucks by the way.
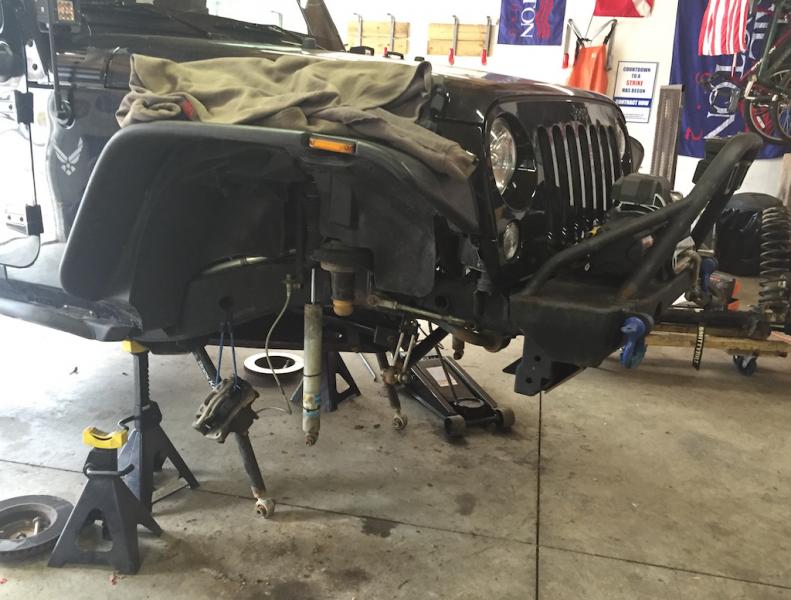
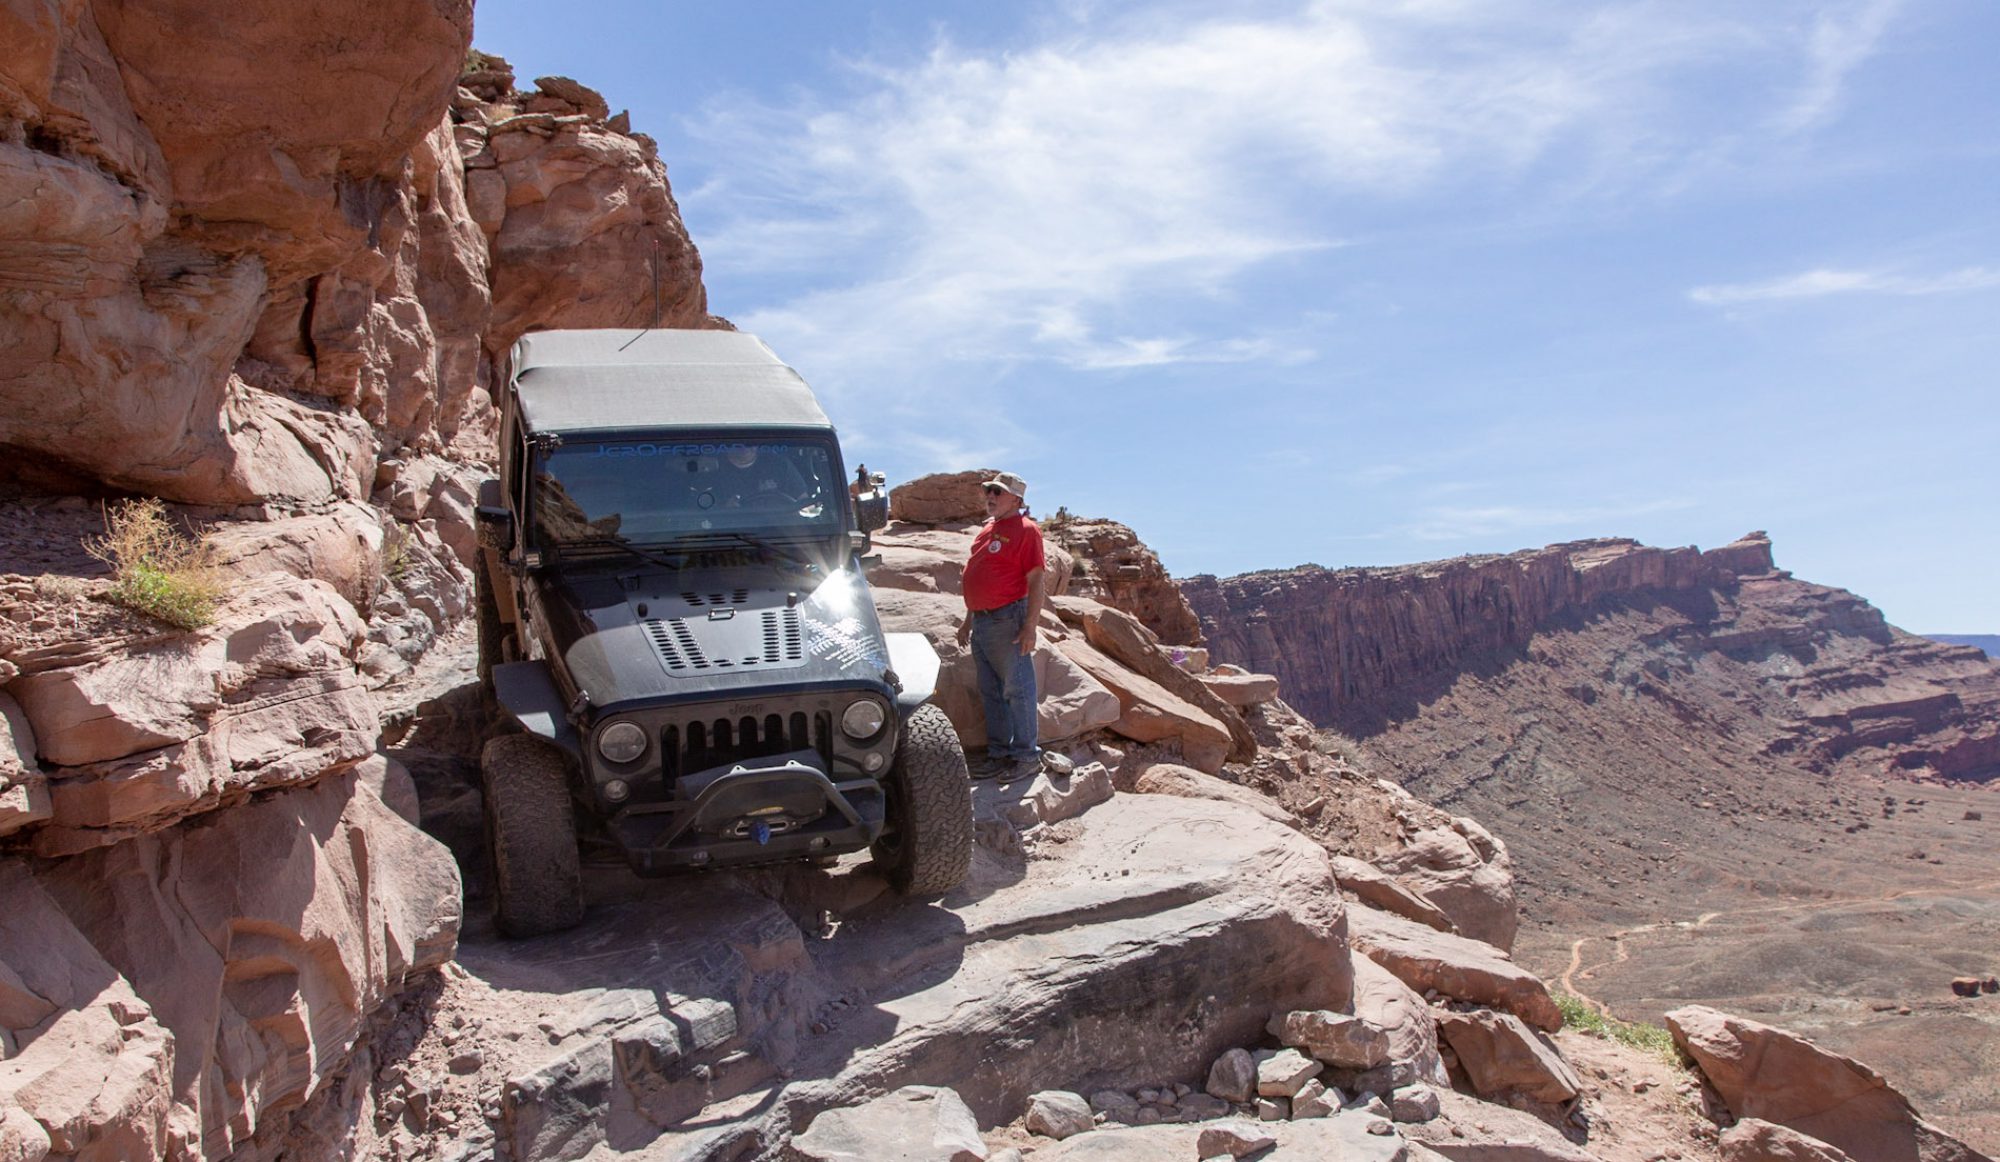
Once we got the wheels back on, it was obvious I needed an alignment. The wheels were toed out pretty drastically. And the steering wheel was off center. We tried soaking everything in Pb Blaster and using some heat, but no go. Took it up to Goodyear the next day. The tech took 3 hours to get the tie rod and drag link loose. Best $85 I ever spent!
I still need to get the driveshaft lengthened – debating on if I should send it back to Adams or have a local place do it for me.
Lastly, I still need to complete wiring up the lockers to the dash switches.
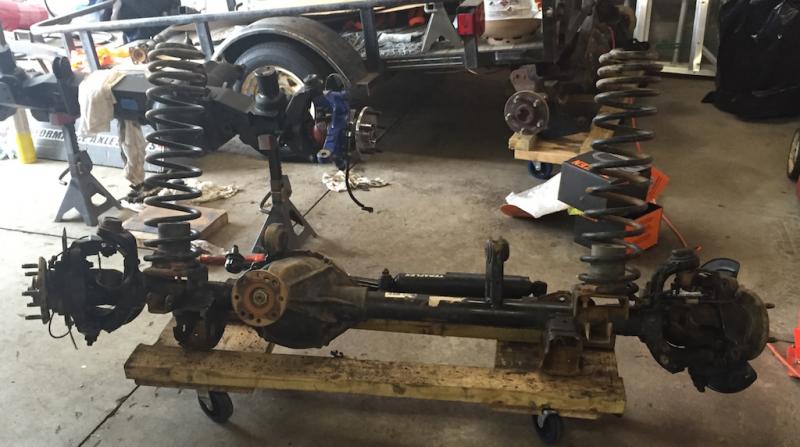
Rear Axle Swap
How to install a Rubicon rear axle in 4 minutes or less.
How to install an axle in 56 easy steps
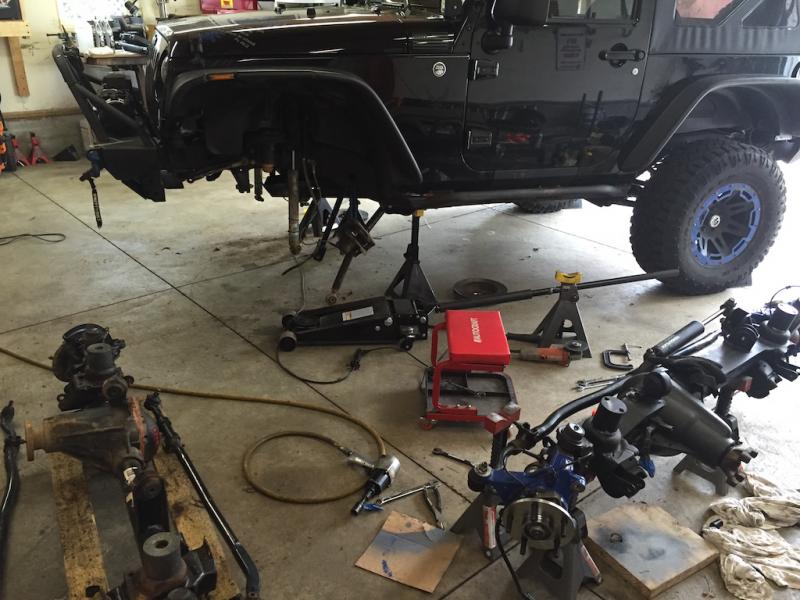
Took all the stuff, including the axle housing to Rob’s place for the axle install. He has a nice 2 1/2 stall garage to work in. I think the kitchen sink is in one of those boxes.
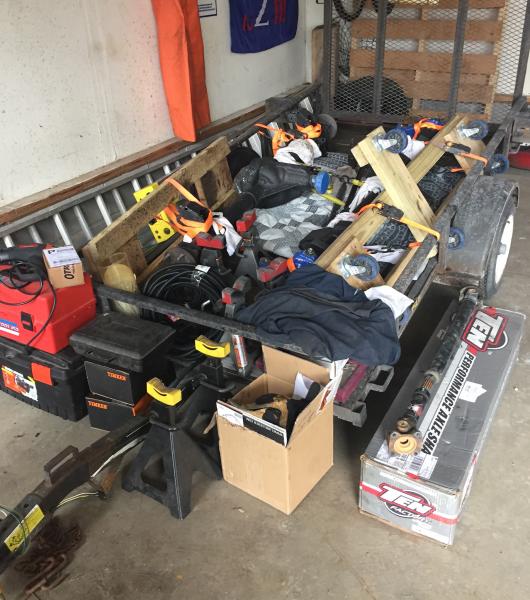
This took a lot longer than I had estimated. I figured around 4 hours, ended up taking 12. Ran into a couple of hiccups.
A high school friend, Peter, had come over to help but had to leave early. Sam also came over and was a huge help.
Don’t have a lot of photos, but hope to have a time lapse video in a few days.
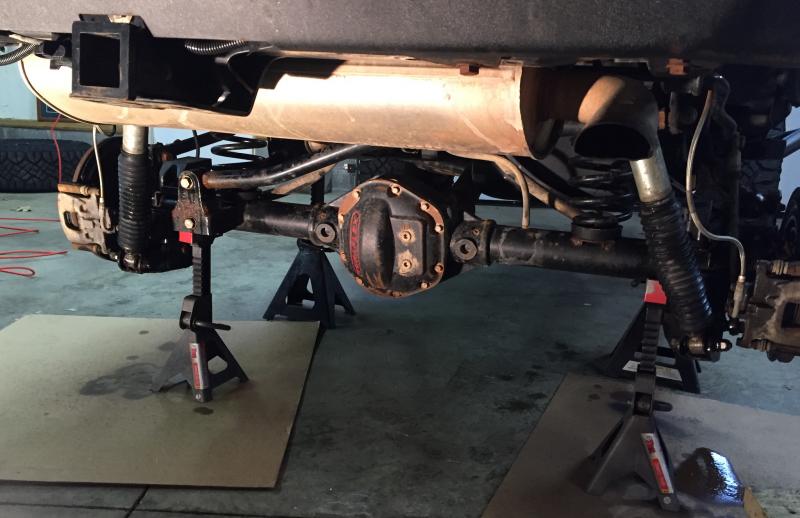
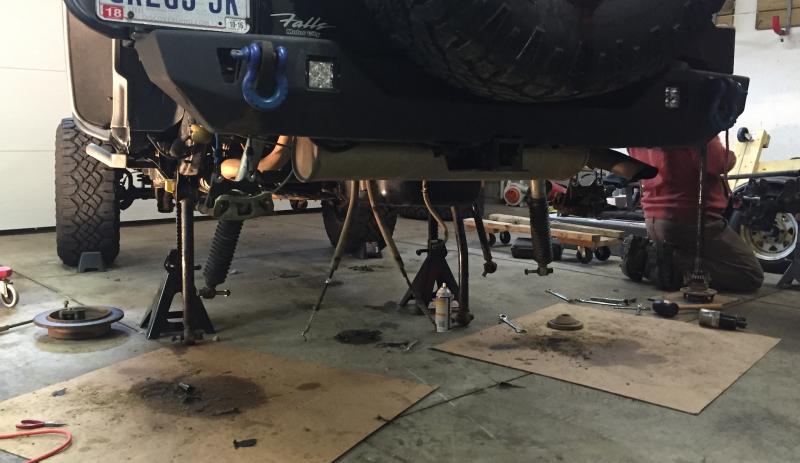
The finished product:
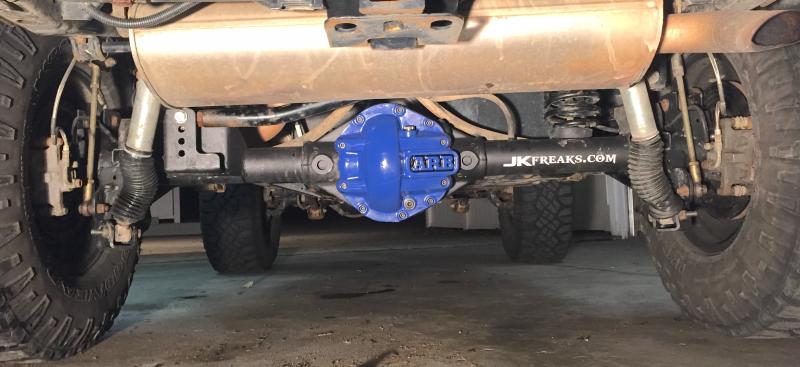
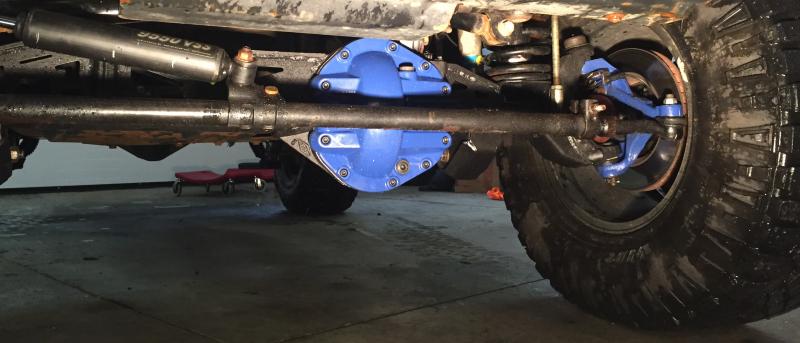
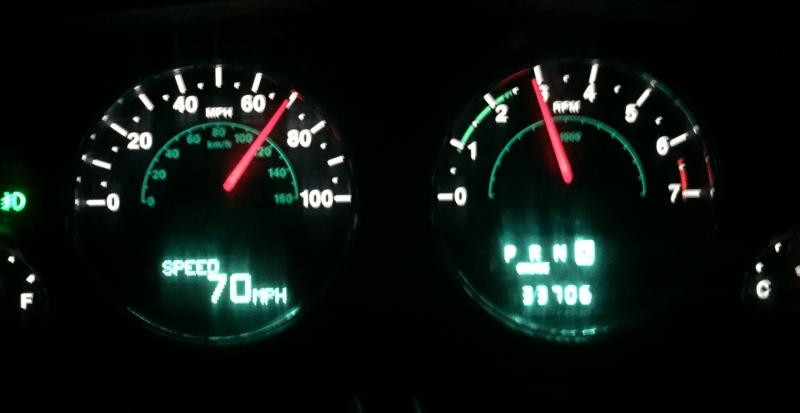
After using a ProCal to set the final drive gear ratio, took it for a test drive I took this on the way home. Tracks with the GPS. Looks about right!
Here were the few quick easy steps we took to swap the axles:
- Put wheel chocks in front/behind front wheels
- Support frame on jack stands.
- Remove wheels
- Drain gear oil.
- Support axle on jack stands with cart.
- Remove calipers – support with bungee
- Remove brake rotors.
- Disconnect speed sensor plugs.
- Remove rear drive shaft from pinion. Support with bungee
- Remove axle flange nuts (4 each side)
- Connect slide hammer to lug bolts and remove rear shafts with parking brake assemblies
- Plug the housing tube ends with rags.
- Disconnect breather hose
- Disconnect parking brake cables.
- Remove lower shock bolts.
- Remove lower track bar bolt.
- Remove lower sway bar link bolts.
- Remove upper control arm bolts.
- Remove lower control arm bolts.
- Take disconnected housing off jack stands and on a floor jack to get it out of the way.
- Swap spring wedges, retainers and springs to new housing.
- Swap bump stops to new housing.
- Remove speed sensors from old shafts
- Remove parking brake assemblies and dust shields from old housings
- Install dust shields and parking brake assemblies on new shafts.
- Remove old Rubicon shafts bearing races and replace with new races.
- Put High Temp Bearing Grease in new shaft bearings.
- Slide new shafts into new housing. Tighten 4 axle nuts
- Install speed sensor in new shafts
- Slide new housing into place under the Jeep
- Install CA bolts – hand tight
- Install Track bar bolt – hand tight
- Install sway bar bolts
- Install lower shock bolts
- Connect speed sensor plug
- Install parking brake cables
- Connect diff breather hose
- Install brake drums
- Install brake calipers
- Remove old diff cover
- Clean differential face
- Spray out inside of diff with brake cleaner
- Install Lube Locker and diff cover
- Put new housing on axle cart and slide into place.
- Fill new axle with gear oil
- Remove axle cart
- Jack up Jeep and remove frame jack stands
- Set axle housing on jack stands on ground.
- Torque CA bolts
- Torque TB bolt
- Reconnect rear drive shaft
- Replace wheels
- Lower vehicle to ground
- Check axle centering – adjust track bar if necessary
- Use ProCal to set gear ratio to 4.88
- Drive it.
Locker wiring
Got started on the electrical for the lockers. I wanted them in the dash to the left of the steering wheel. After deciding where I wanted them, used on oscillating saw to cut out the opening.
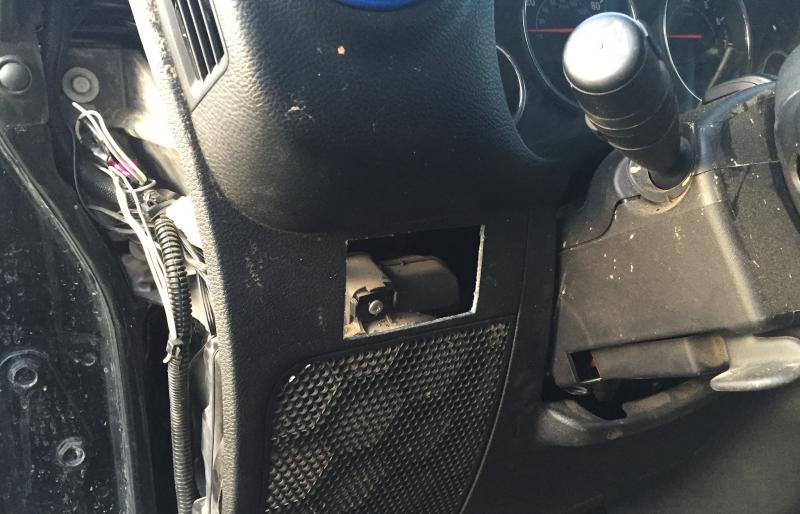
I set the housing in place for a test fit. The left side will be for the rear locker, the right for the front, and the middle for the indicators.

I also installed the switch for the locker power. I wanted a way to disable the locker switches – just to keep accidents from happening.

Axle build progress
A few quick updates.
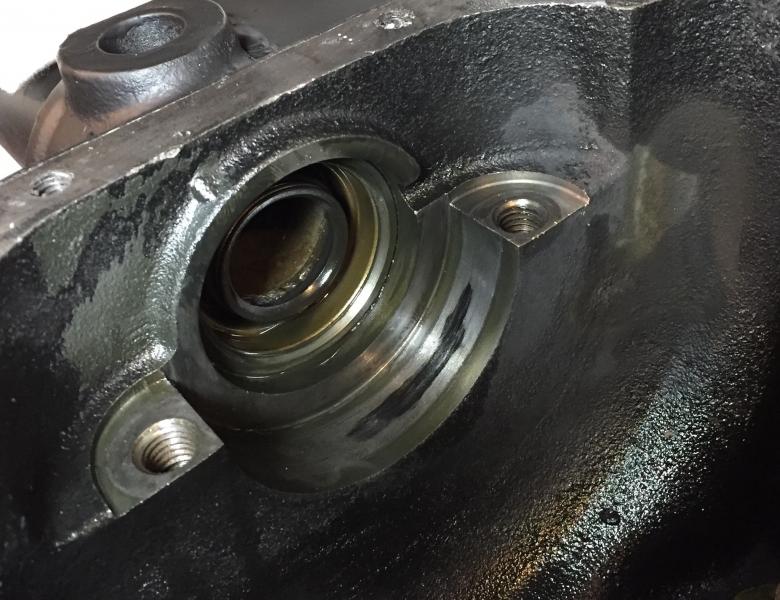
While the axles were still in progress, I figured it was as good a time as any to replace the inner axle seals on the front housing. Rob came over and we went to work. I need to preface this by saying neither of us had ever done this before. But the procedure seemed simple enough. Remove the locker, replace the seals, put the locker back in. It’s important to make sure that everything you take out has to go back in the same way. The shims, bearing races, bearing caps and bolts all need to go back into the same side and orientation as they came out.
First step, we put the housing up on the bench.
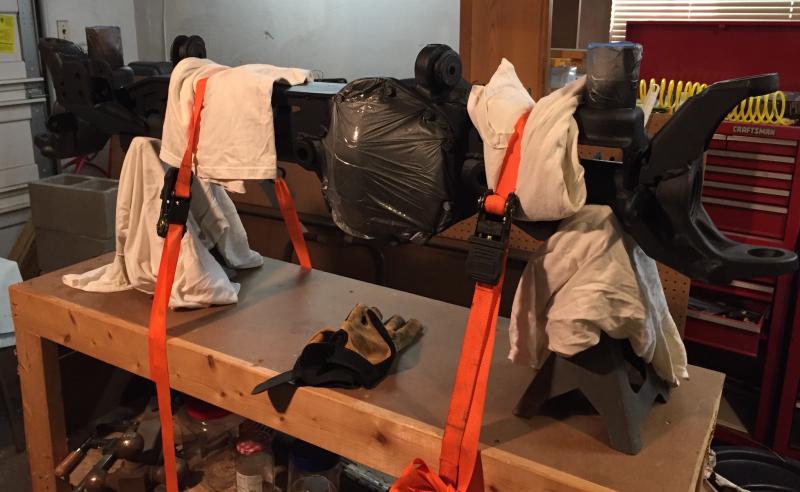
After rotating it pinion down, opened the housing, snapped a few pictures for reference, and removed everything. I put each piece into a ziplock baggie with a piece of paper that indicated where it came from.
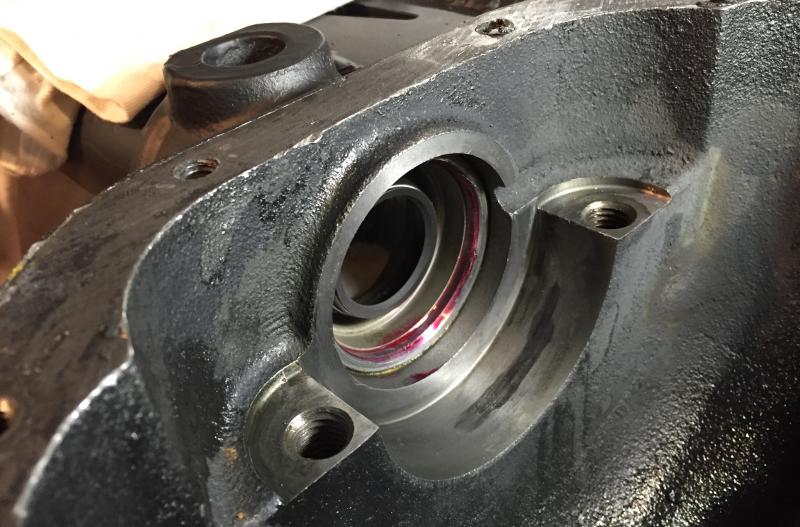
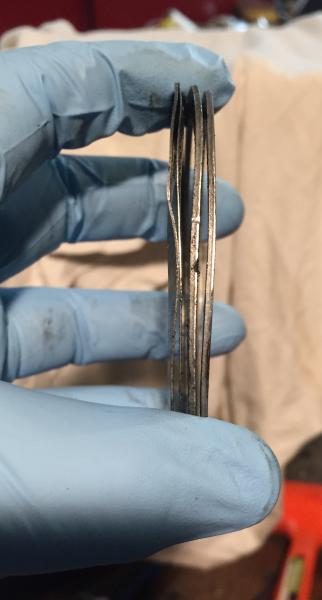
The seals didn’t look bad, but, too late now. Took a piece of soft copper pipe and knocked out the seals from the outside into the housing, keeping sure not to knock any crap inside.
A fellow Jeeper was kind enough to ship me his Yukon seal press. this thing makes it a snap to install seals. I cleaned everything out and made sure there was no crud or grease where the seals were going.
At Andy’s suggestion, I coated the outside of the seals with red lock tite. After setting one of the seals in place, and inserted the press, it was just a matter of using a wrench on the nut to press it into place. The other side was just as easy.
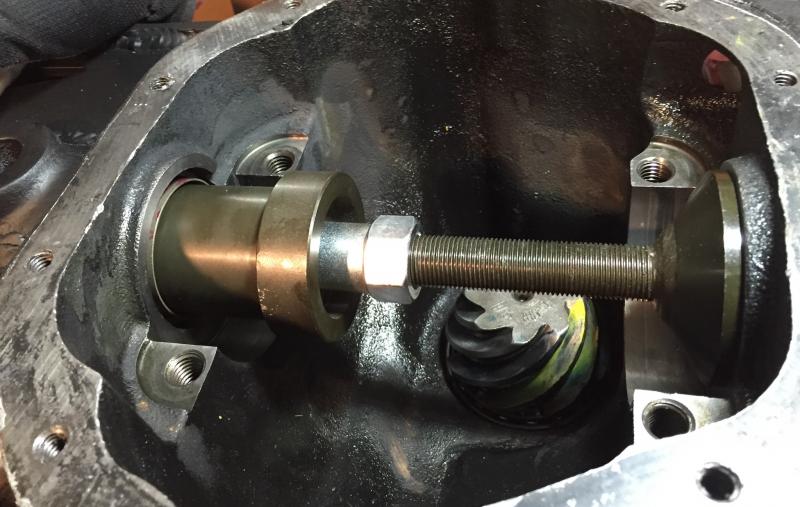
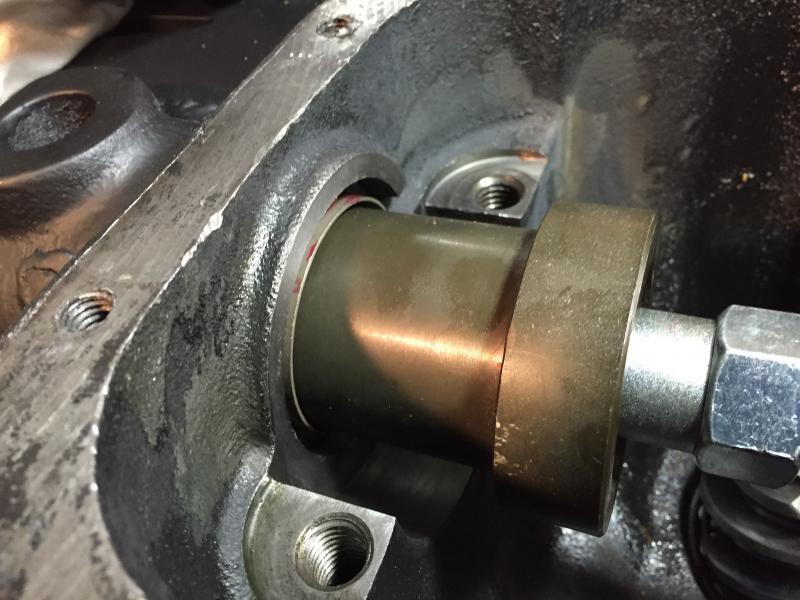
After the seals went in, it was time to put the locker back in. That did not go as well as planned. As hard as we tried, we couldn’t manage to get the locker and shims back in at the same time. I tried putting the locker in with the shims on one side, then slipping the other side in, that didn’t work. We tried to get both sets of shims in at the same time, and it just wasn’t going in right. We tried just about everything, using a hammer to try and tap the shims in, but I ended up damaging the shims to the point where I no longer trusted they would be usable.
I ended up taking everything back to Davis Race Car in Madison, OH and within about 20 minutes, with the help of a case spreader, we had everything back in with new shims. Jason Davis seemed to think the locker was in a little tighter than he normally would do, but there was nothing wrong with this install. Ran a quick contact pattern and it was perfect. The case spreader made a bug difference. Just needed to stretch the case a few thousandths of an inch.
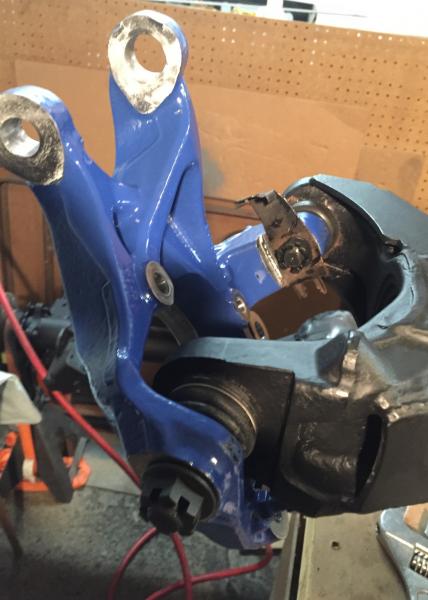
Before taking the axle up to Davis, we installed the ball joints. I bought a set of Teraflex Heavy Duty ball joints and rented a ball joint press from Advanced Auto. The only problem was this set did not come with an angled adapter to match the angle of the steering yoke. A little with work with a grinder solved that.
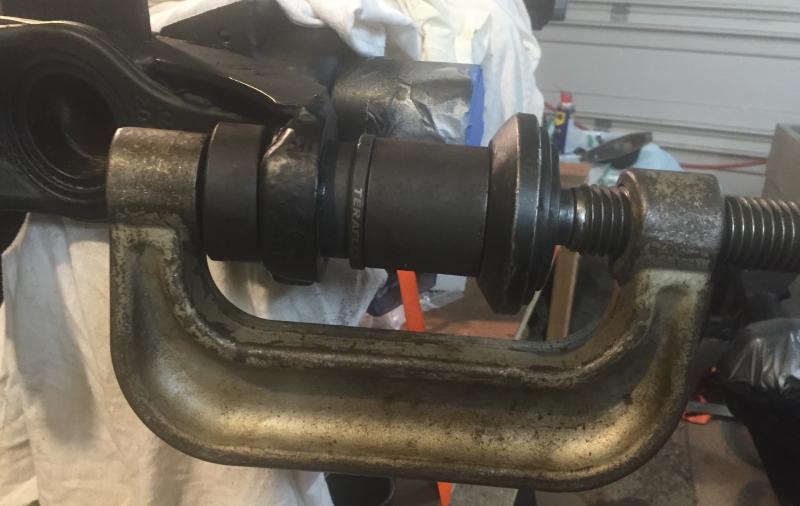


Still need to grease these, and Teraflex guarantees these for life, as long as they are properly maintained – a little grease every other oil change should do it.
Getting closer
I’m hoping to get the axle seals swapped out on the front this weekend. If I can get that done, I can go ahead and put the front together as much as I can – ball joints, steering knuckles, axle shafts and bearings. They’ll be ready to go in after that. I still have to work on the wiring, however, for the lockers.
My hope is, I will be ready to install them either the weekend of the 5th or the 12th. I really have no idea how long this will take – my guess is 4 hours each, so I might do this over Saturday and Sunday – who knows.
SOOOOO …. If you’re in the Akron, OH area and feel like helping with an axle swap, send me a PM. Bring a heater.
Rust is the enemy
I spent Saturday doing more work on the axle housings. Today was rust prevention and paint! With 60+ degrees, this was the best day I was going to get for a while.
Finished taping off parts of the housing I didn’t want painted – locker plugs, pinion yokes, diff covers, etc. and applied 3 coats of Rust Bullet Automotive. This stuff, I am told, is pretty awesome for preventing rust. Needs 50+ degrees for ideal temp, so today had to be the day. But you have to follow the directions. Comes in cans, and it is expensive. The quart I bought was $45. Plus there is a special solvent you have to use. No way I was going to brush it on, so I bought an HVLP gravity feed spray gun.
You just need to remove the loose scale, although I went a little better than that, and paint it on. The Rust Bullet reacts with the rust and hardens it, locking it in place. I had to apply at least 3 coats (to get .0006 inches), waiting no less than 4, and no more than 6 hours between coats. Any longer and you have to wait 24 hours, scuff everything with 150 grit sandpaper, before you can apply another coat. First coat went on at around 10:00 this morning. Then at 2:30 and again at 7:00.

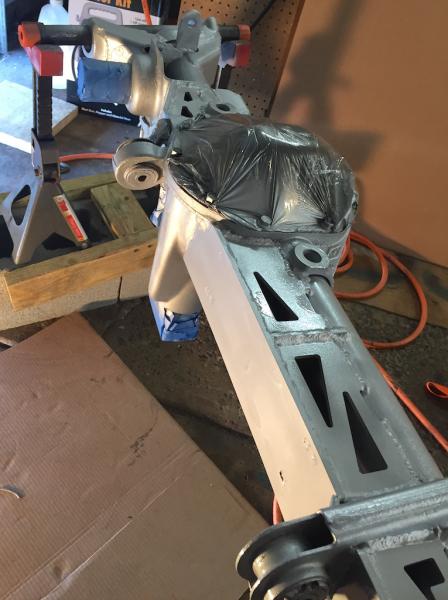
Roughly 4 hours later, I applied the top coat of matte black. You have to apply the top coat within 6 hours as well, or you have to scuff it up again. I’ve heard that if you don’t do this, the top coat will just peel off. I screwed up and only ordered one can of black paint. Got lucky and it covered everything. I’ll go back in a couple days and apply a second and maybe third coat of black.
Still to do:
* Replace axle seals
* Install ball joints, steering knuckles, unit bearings and axle shafts
* Install diff covers
* Install and wire switches for lockers
* Install axles!
Parts is parts
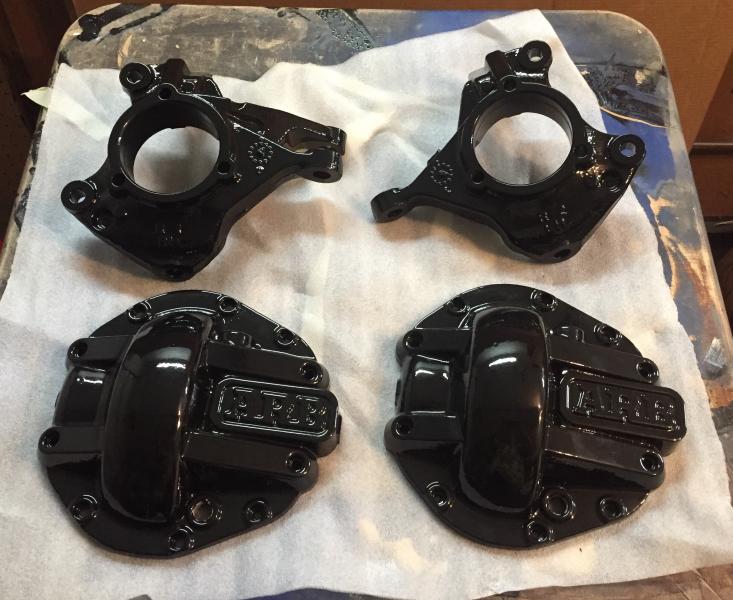
Painted the steering knuckles and diff covers.
Still need to clean off the machined surfaces on the knuckles with a Dremel.
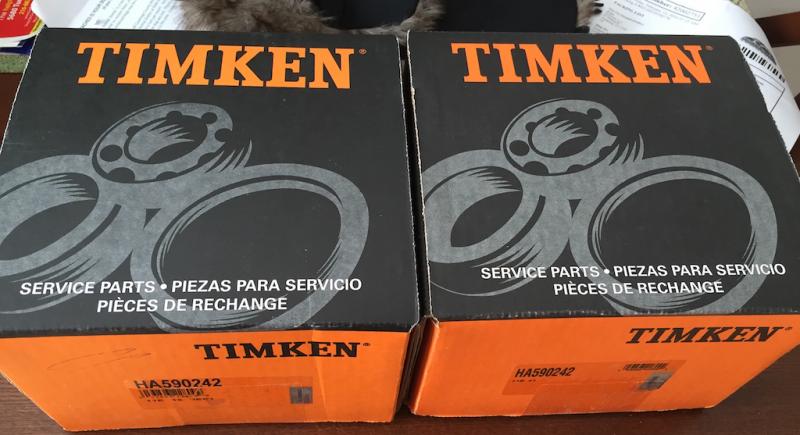
Got the bearings in today. These are NOT what the cross reference says I should use for a 2014. The only difference was the length of the ABS wire. These were much easier to find and a lot cheaper.
I’ll be ordering the Teraflex ball joints and some Lube Lockers this weekend.
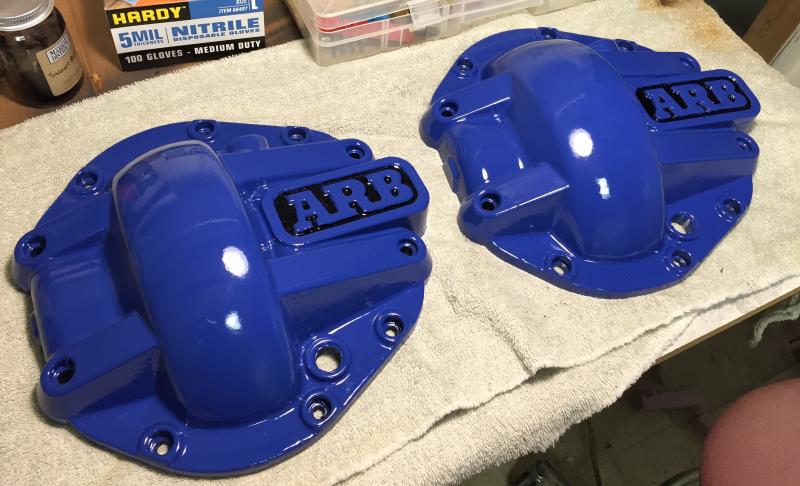
All purty and shiny!
Got these back from the sand blaster today. They look so shiny. Now to paint them blue!