Rear LCA Skids

I went back and forth on what control arm skids to buy. I had decided on a set from one manufacturer, ordered them with the promise I would have them before the Friday before a wheeling trip to SOR. Not only did they not arrive, but the manufacturer lied to me in the process. I didn’t even open the box. Sent them back.

I ordered a set of Off Road Evolution EVO Rock Star Skids and a set of Artec front weld-on skids.

I installed the Rock Stars in my driveway. It was the first time I made such a permanent modification to the Jeep. The Rock Star skids raise the shock mount up 1.5″ (added ground clearance – yay!) but requires you to cut off the lower 1.5″ of the control arm bracket.

The first one took a while – probably more so because I needed to build up the guts to take a sawsall to the bracket. One thing I did find out, was that the rear control arm won’t go back in unless the axel is at normal ride height. If the axel is drooped at all, it won’t go into the frame side bracket.

BUT, not only do I get another 1.5″ of ground clearance, but another 1.5″ of rear droop!

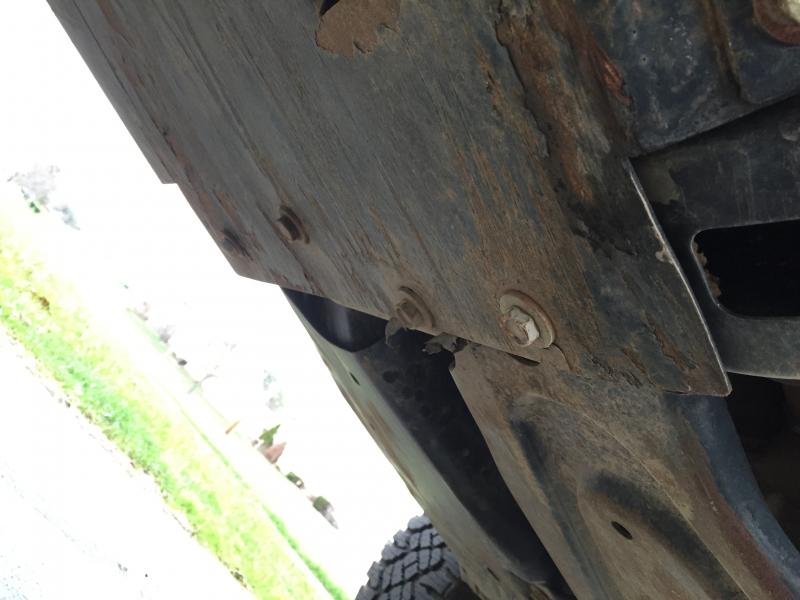
The original bracket unaltered:

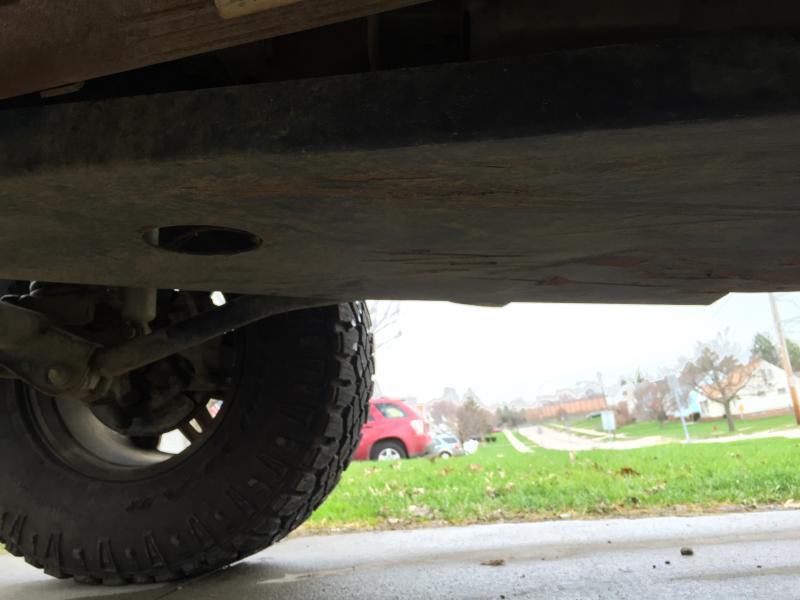
After cutting off the bottom of the bracket, the shock mount and the sway bar link tab:

After grinding off the old welds:

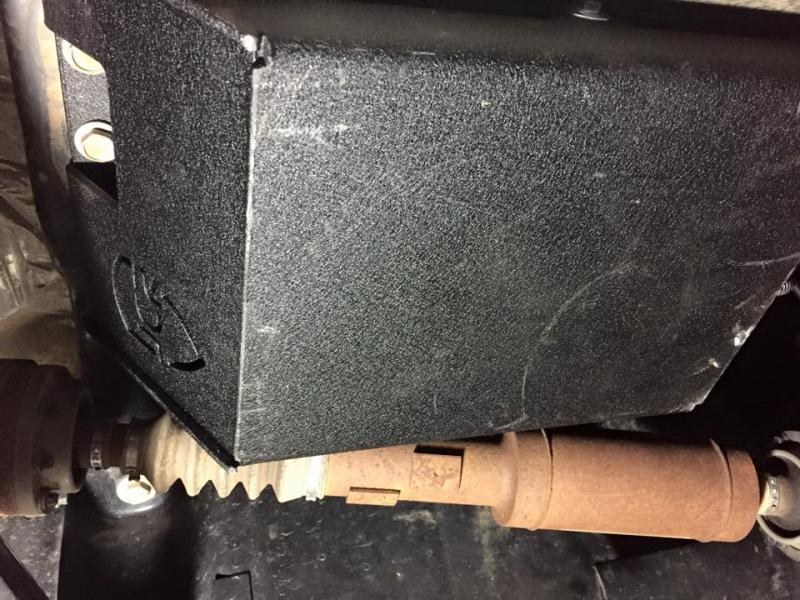
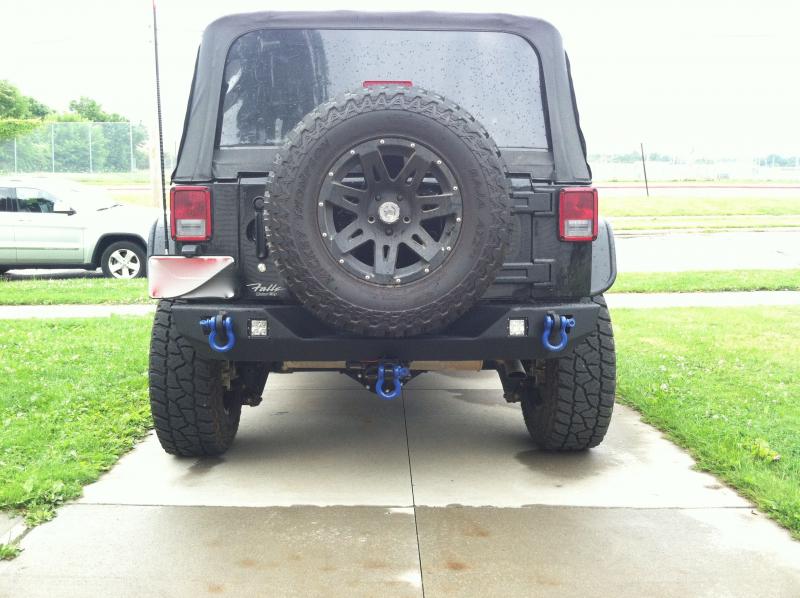
The finished product:

Engine Skid Update

I am still using it. Seems to be holding up well. I know for certain these bolts hit some big rocks at Southington this past trip.

I would rather have an exposed bolt head that I can use an extractor to get out than use those rounded over washers that recess the bolt head. I’ve seen some pictures of this washers so mangled by rocks that there was no way to get a socket into it to extract the bolt.

Evap Canister Skid

Installed a JCR Offroad Evap Skid. The instructions on their website seemed our of date. They made it sound like you left the old skid in place, which mad no sense to me. I got rid of the old skid. There’s not much to it, so I think I guessed right. 

The hardest part was removing the connectors to the canister. There are these little U-clips on the hard lines that you have to pop out in order to remove them from the evap. I found a video on youtube that described it. Didn’t keep me from breaking one. Doh! No worries. It went back together OK and the two halves of the clip are holding the line on. I will replace them as soon as I can find a source.

Big Tires Need Big Steel

With the 35″ tires on the Jeep, I didn’t feel comfortable with the spare being on the tailgate. I’d rather not just delete the tailgate carrier and put the spare in the back since I do use the back of the Jeep from time to time.

JCR Offroad to the rescue!. Installed the JCR Shield Tire Carrier to carry the load.

Wheel rim protection

I have Rugged Ridge wheels on my Jeep that I bought from 4 Wheel Parts a year ago. Rugged Ridge has a rim protector designed to protect the rim when wheeling. My rims have quite a few scratches on them already. I’ve been wanting these protectors for a while.

A friend had a set he wasn’t using, so I finally convinced him to sell them to me. But they were painted Mango Tango. That wasn’t going to work for me. So I painted them blue.

In order to install them, I had to remove these decorative bolts that were already in the rims. They were rounded over and had hex key slots. But 50% of them were so damaged, that I couldn’t get a hex key in the slot at all. Some were so seized in the hole that they were easily stripped. In some cases I was able to hammer in an oversized torx bit in some of them and was able to get them out. For the others, I had to use a Dremel to flatten two sides of the bolt and use a Vice Grip to twist it out.

Heavy duty diff covers

Ordered a couple Tereflex heavy duty differential covers from Rebel Off Road. You can see the major difference in thickness between the stock and after market covers. The stock covers are like paper.

This was a fail simple install. I opted NOT to use a Lube Locker but to use off the shelf RTV for differentials I picked up from my local auto parts store. After removing the old diff fluid and the covers, I scraped off any remaining RTV from the factory. Some of it didn’t want to come off, so I put a wire wheel in my rotary tool to make sure it was perfect. I cleaned out the gears with brake cleaner and made sure there was no other debris. After applying RTV to the new diff covers, it was just a matter of lining up the bolts and tightening them down.

My most important mod so far

I decided to go to the 2014 JK Freak Fest at Rausch Creek. But I want to add a little additional protection to the underside of the Jeep. The stock skids (as if there is such a thing) just don’t protect enough. I didn’t have the money for a full set of Rock Hard skid plates. I heard some buzz about an engine skid plate from the same people that make the cheap knock off bumpers, e-AutoGrilles. This were priced for $109, which may have been a mistake on their part, since I see they are now going for $200.

It came packed fine and went in fine, except one of the bolt holes didn’t line up on the transmission cross bar. I might take it off next spring and fix that. Should be easy enough.

New bumpers

Ordered a pair of OR-FAB bumpers from Northridge 4×4. I was really excited to see how they looked on the Jeep once they were installed. Too bad I can’t see them!