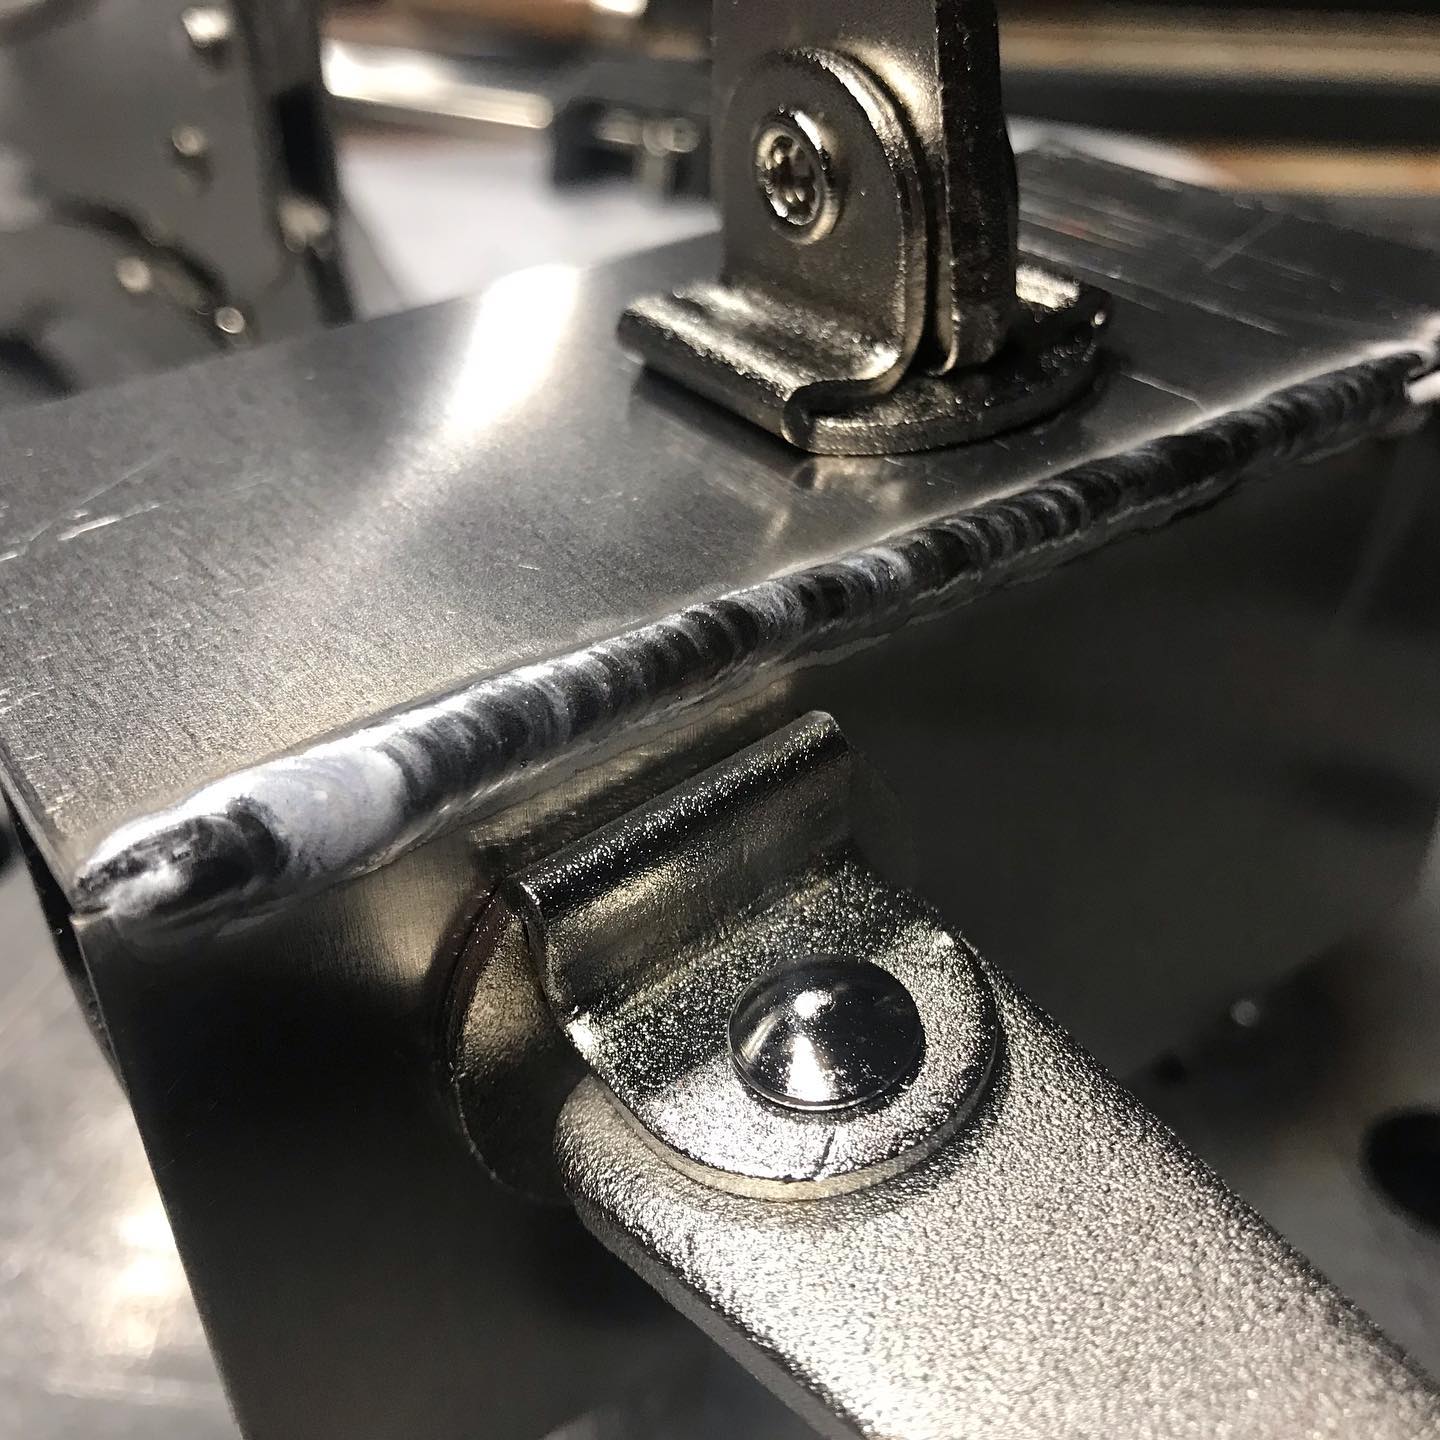
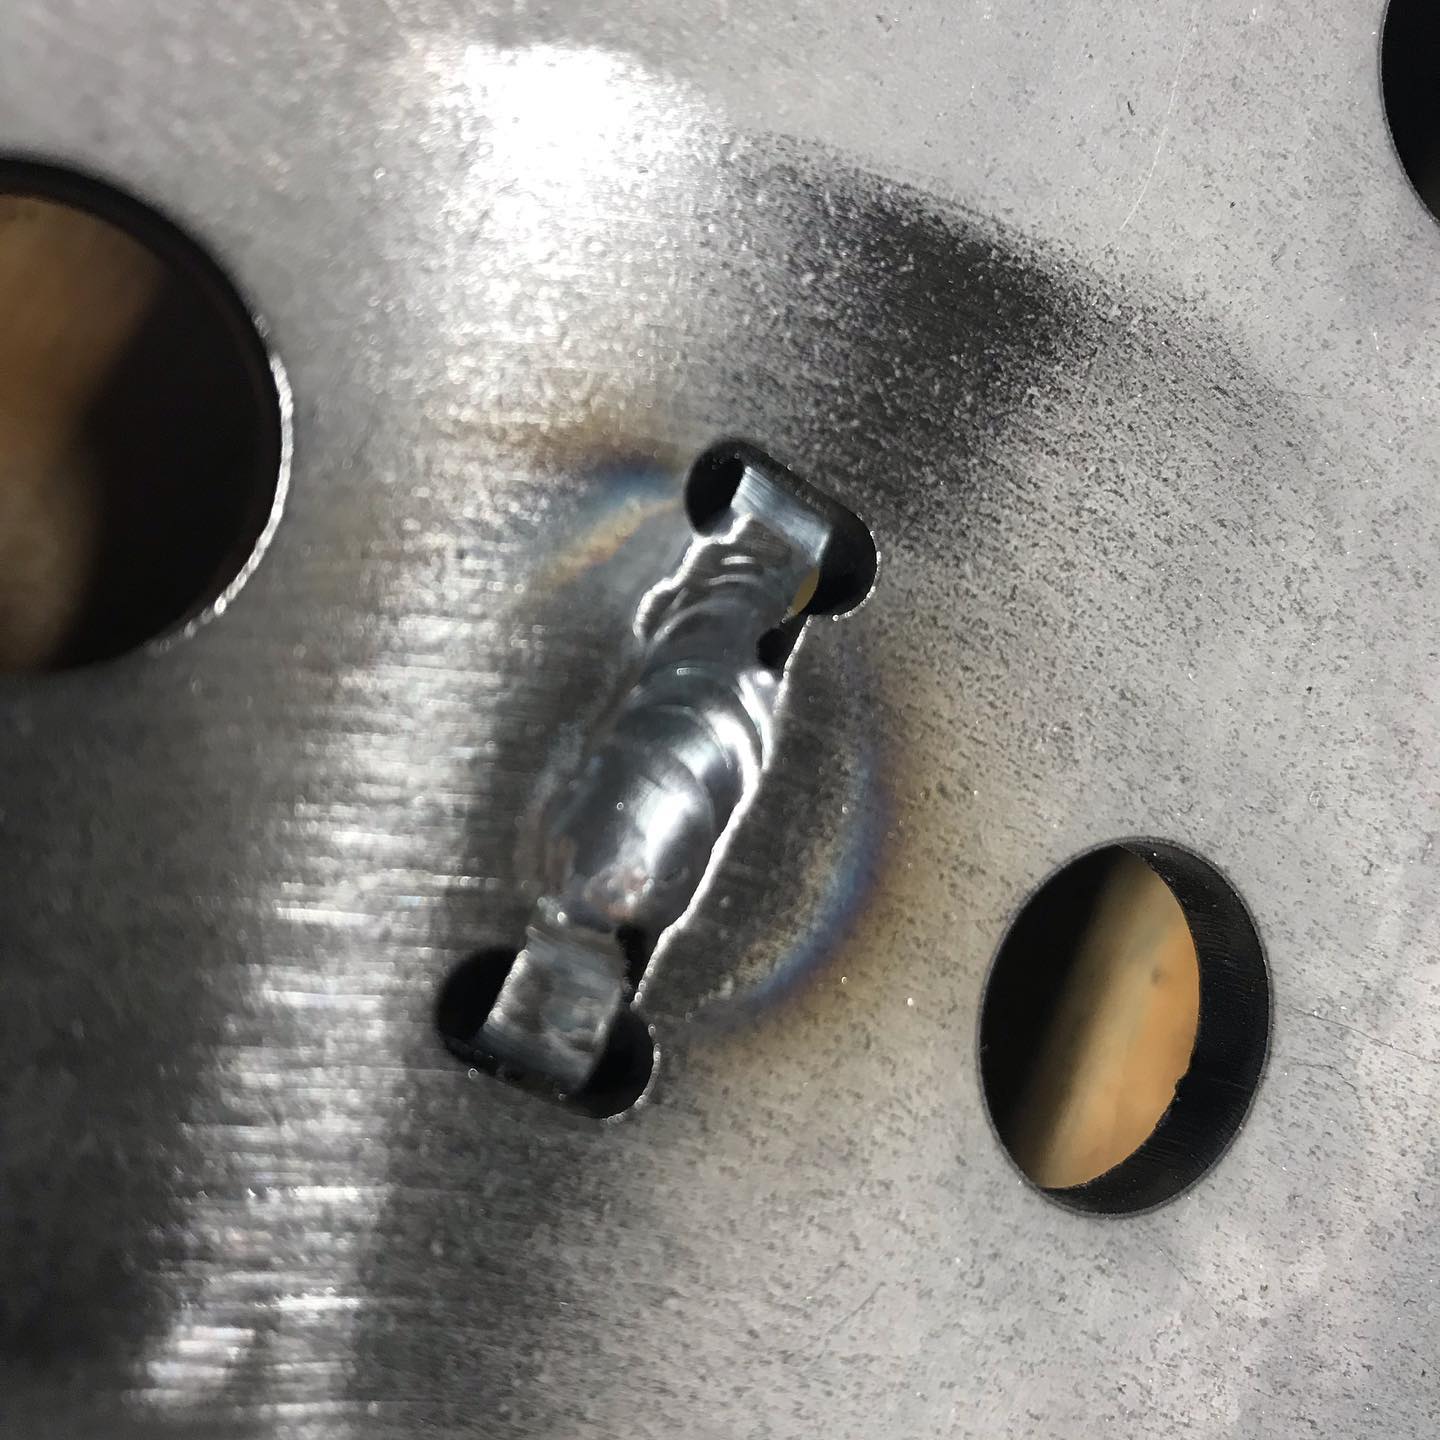
There’s something about TIG welding that is just so satisfying. Not the best welds in the world, but I’d say not too shabby. .
.
.

The adventures of a Jeep and its driver.
There’s something about TIG welding that is just so satisfying. Not the best welds in the world, but I’d say not too shabby. .
.
.
Practicing on some 1/16” aluminum coupons from @weld_metals_online before I try the real fix.
.
.
.
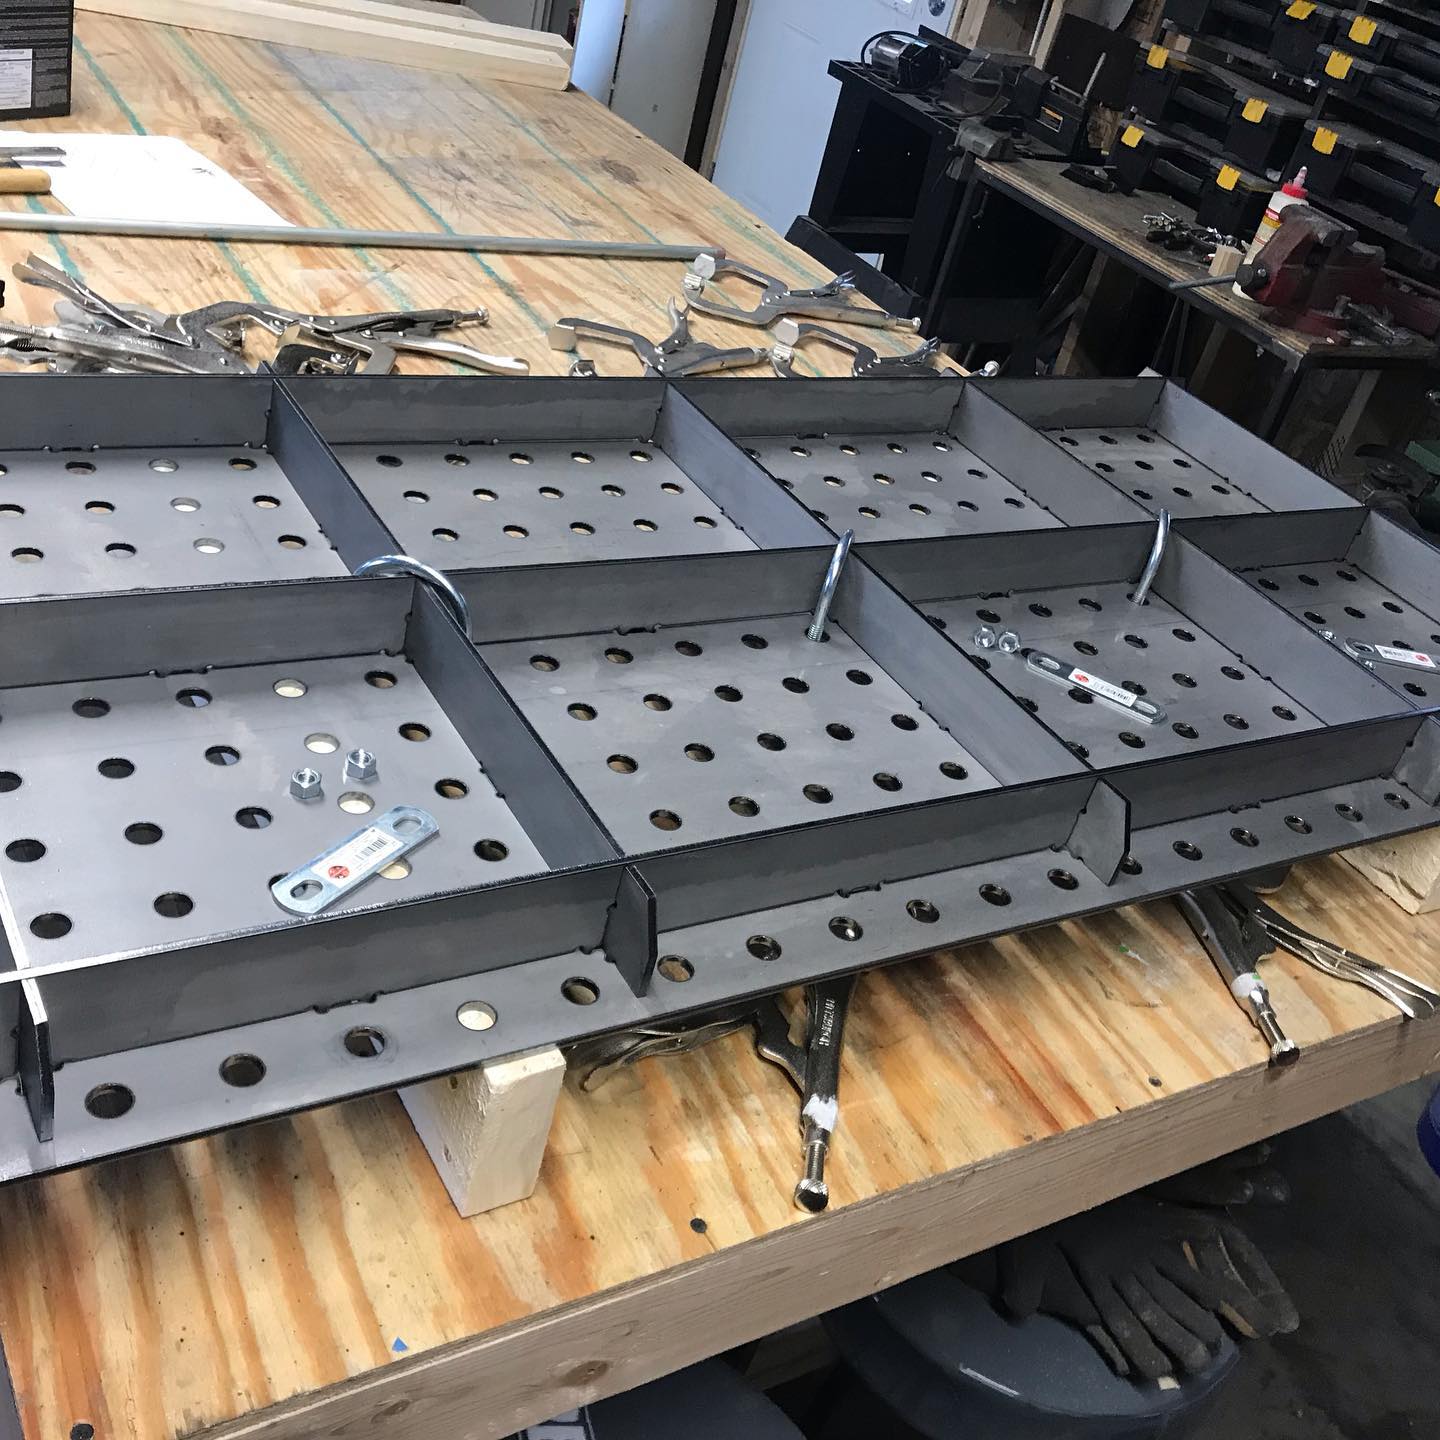
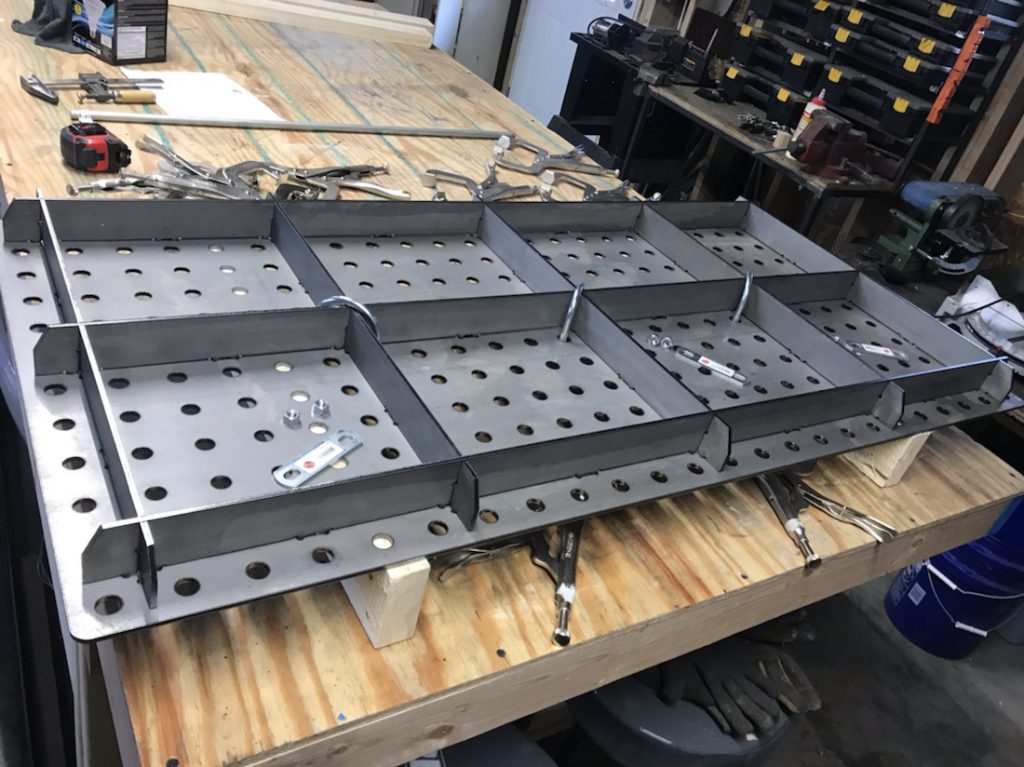
After work today, I went ahead and assembled the leg kit for the welding table from weldtables.com. I didn’t take many pictures of the process. Started by tacking it from underneath with the MIG welder.

I could have finish welded it with the MIG, but I really need the TIG practice. In hindsight, I should have just stuck with the MIG. I ended up having to weld a good part of it out of position, and even blew through some of the thinner leg steel in the process. Managed to fix those mistakes and just kept trying and taking it slow.
The welds are a bit ugly, but it’s together and is almost exactly the height I expected it to be. Once I replace the work table top with a piece of 3/4″ plywood (it’s currently 1/2″) it’ll match the height.

Next step will be to make some minor improvements. I want to skin the bottom shelf with expanded metal or sheet metal. It’s the perfect height for the TIG foot pedal when I am seated on the shop stool. Plus, I would like to make something to hang my angle grinders from off on one side, and a place to hang clamps on the other.
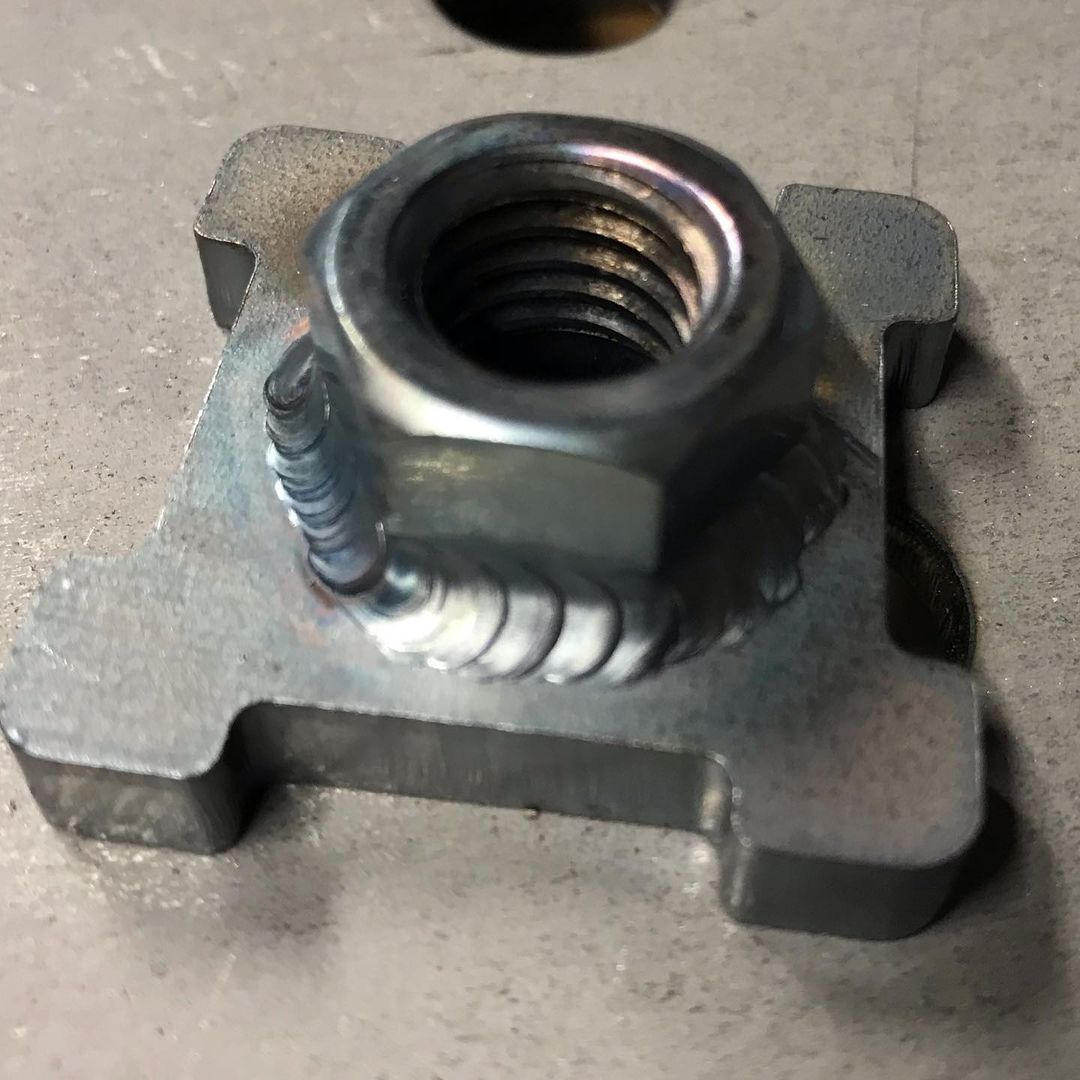
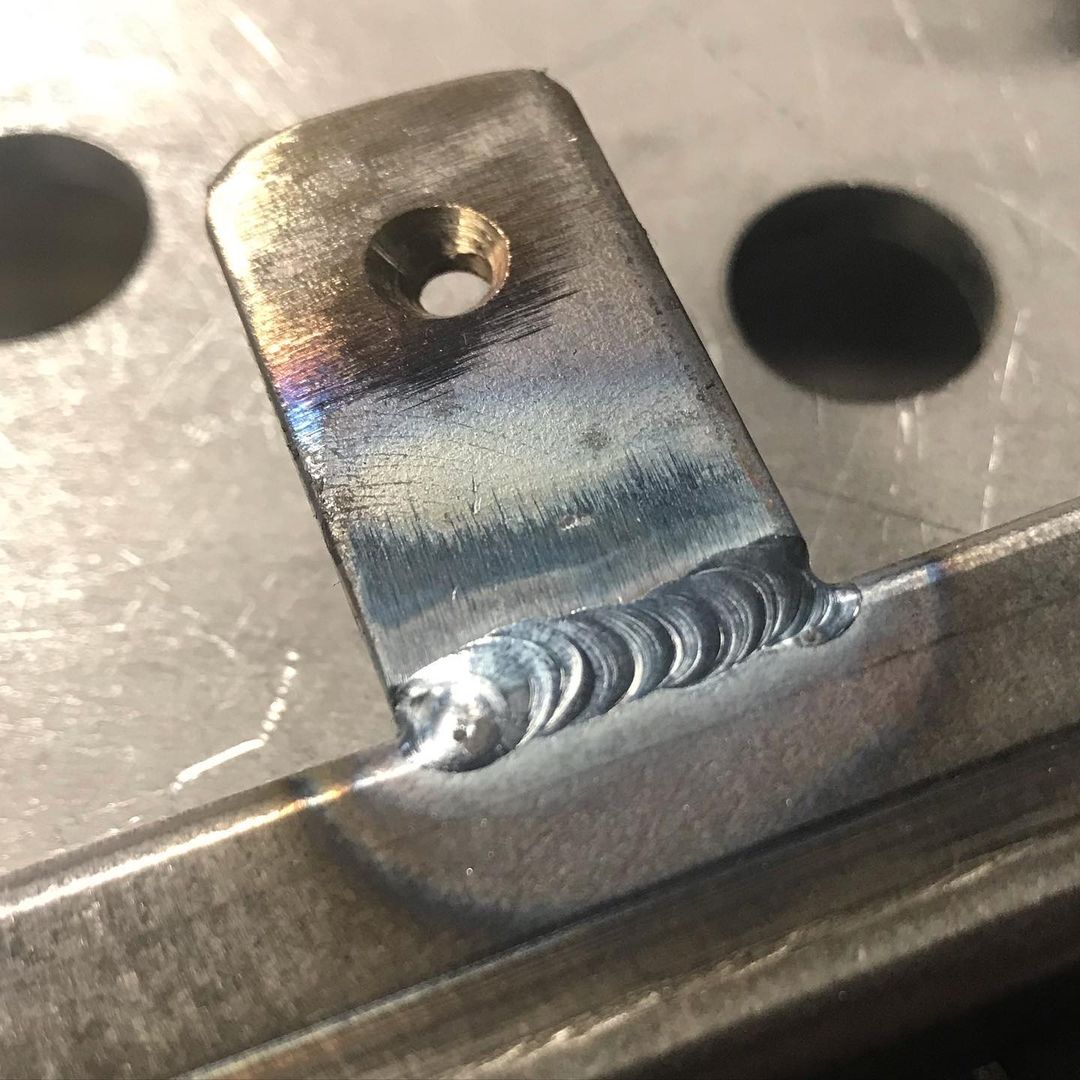
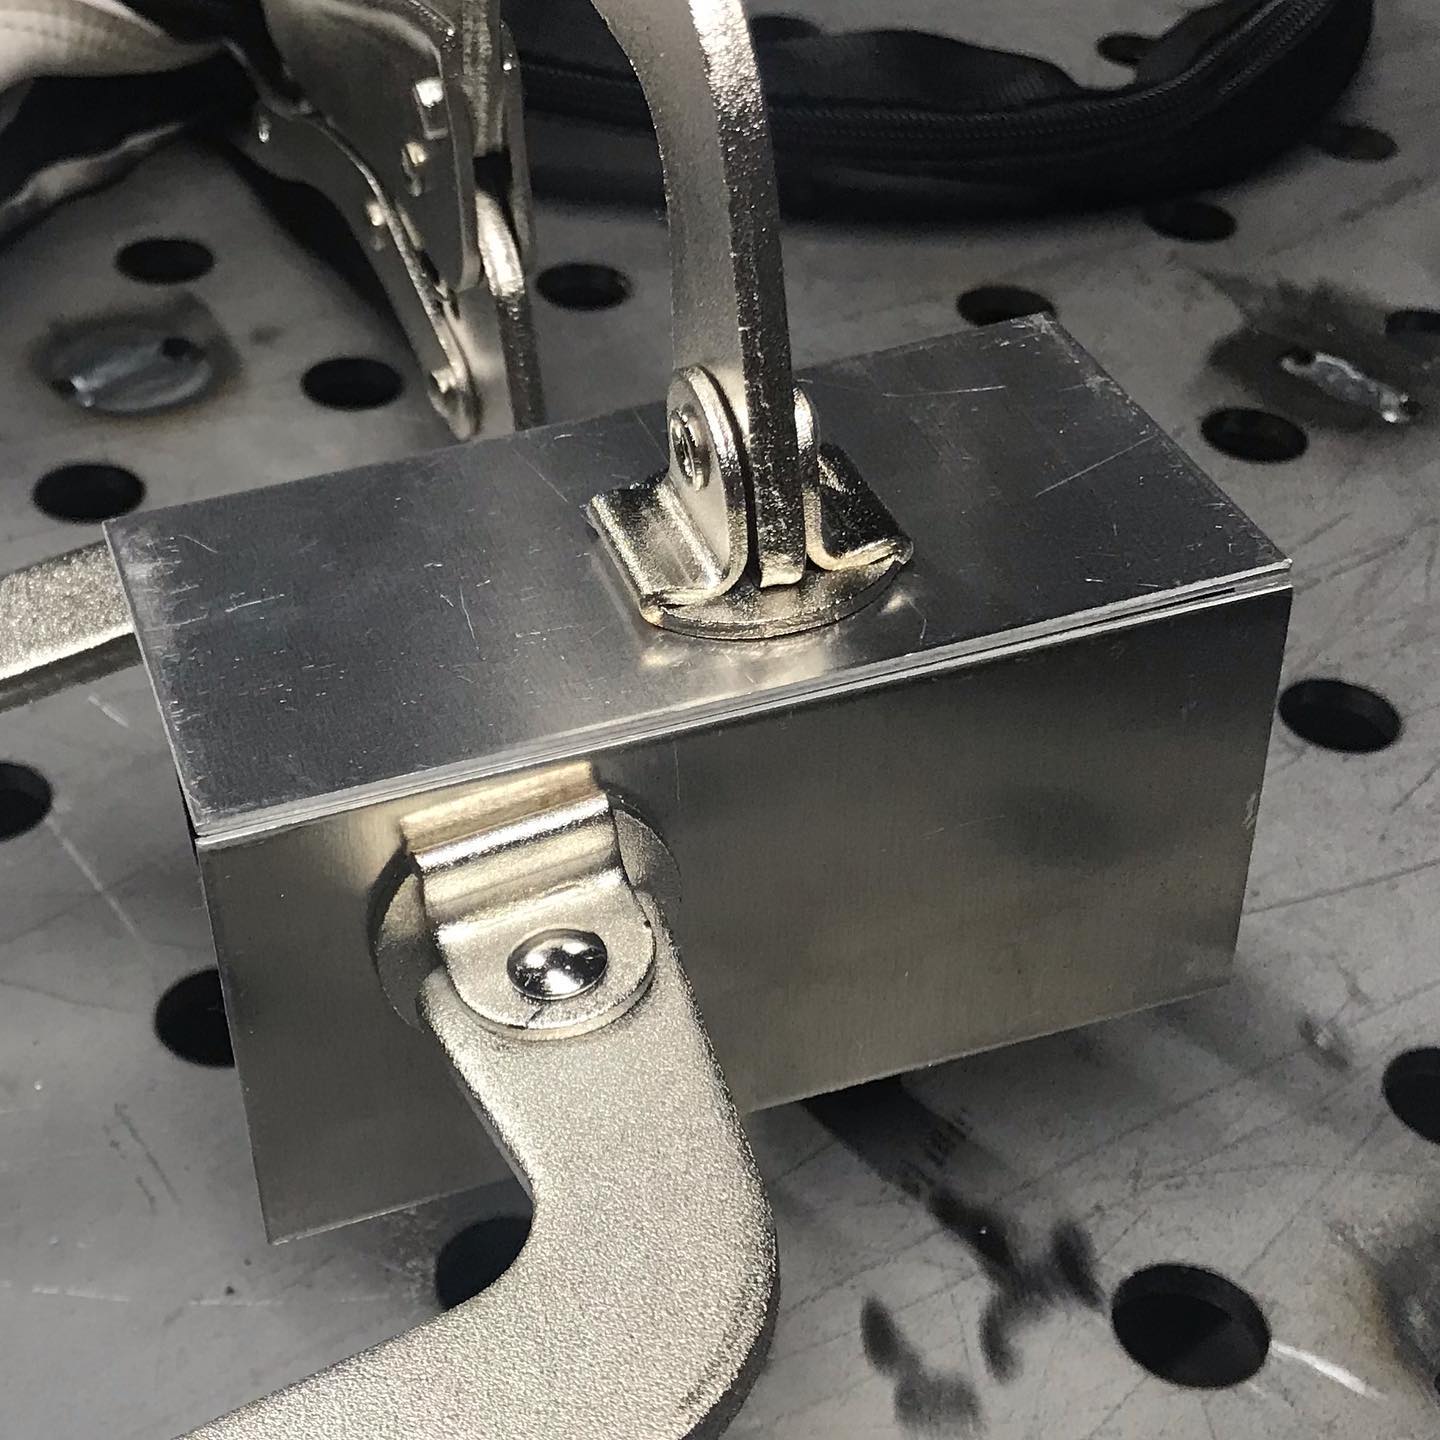
Stacking dimes! Welding nuts on the inserts that will be welded to the bottom of the legs of the welding table. .
.
.
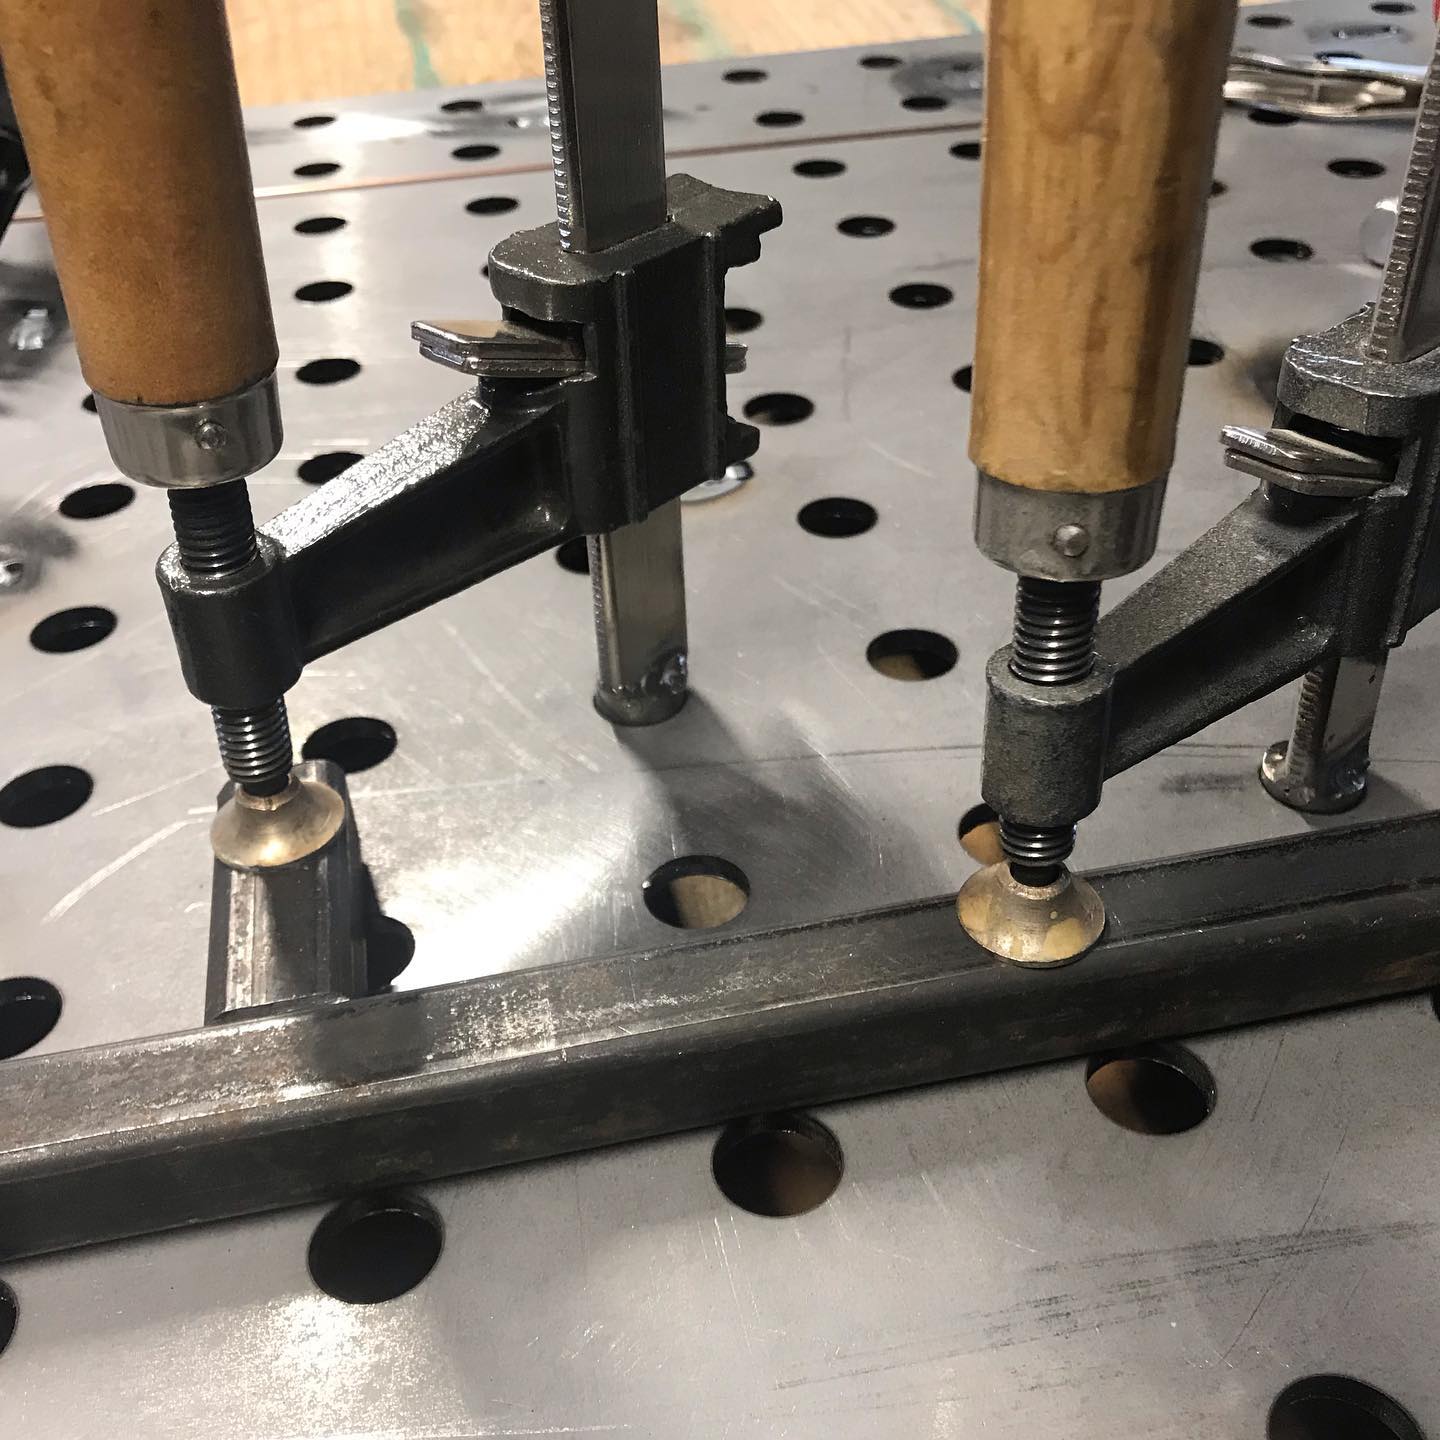
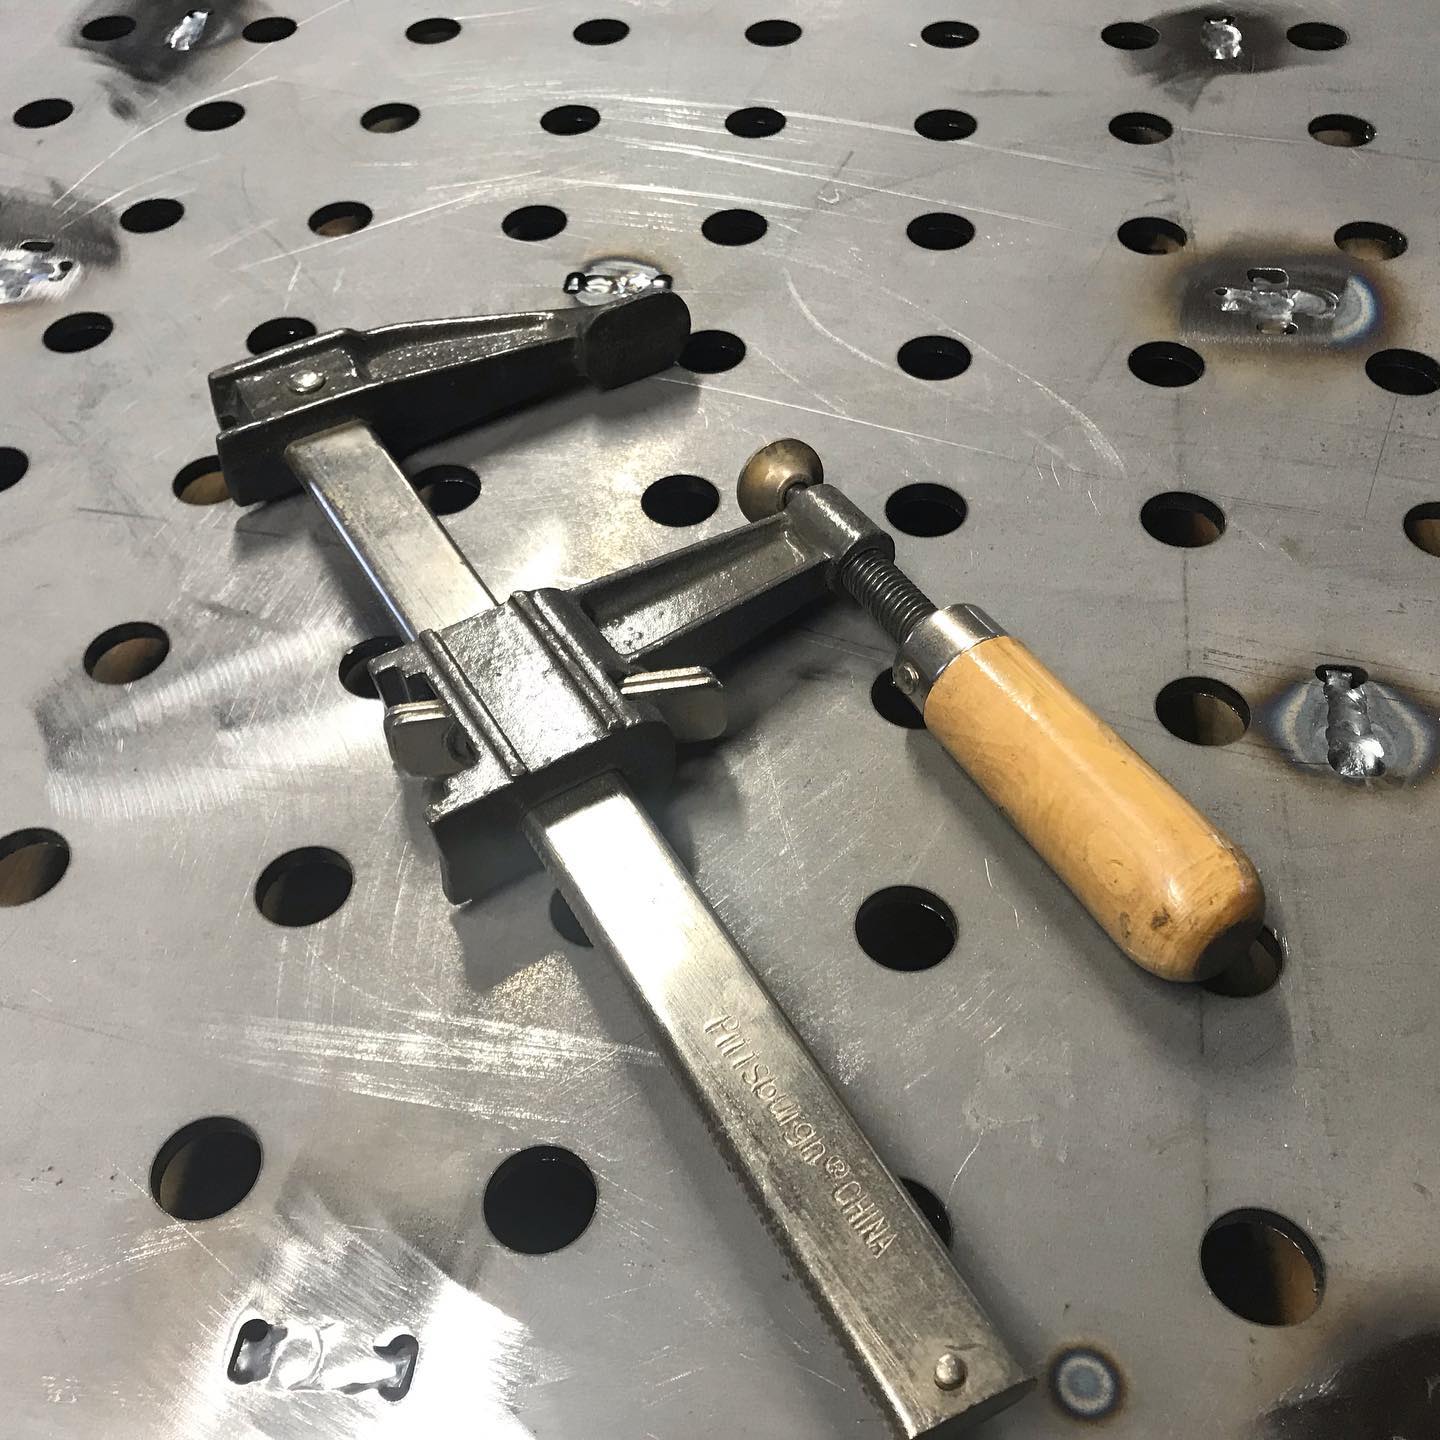
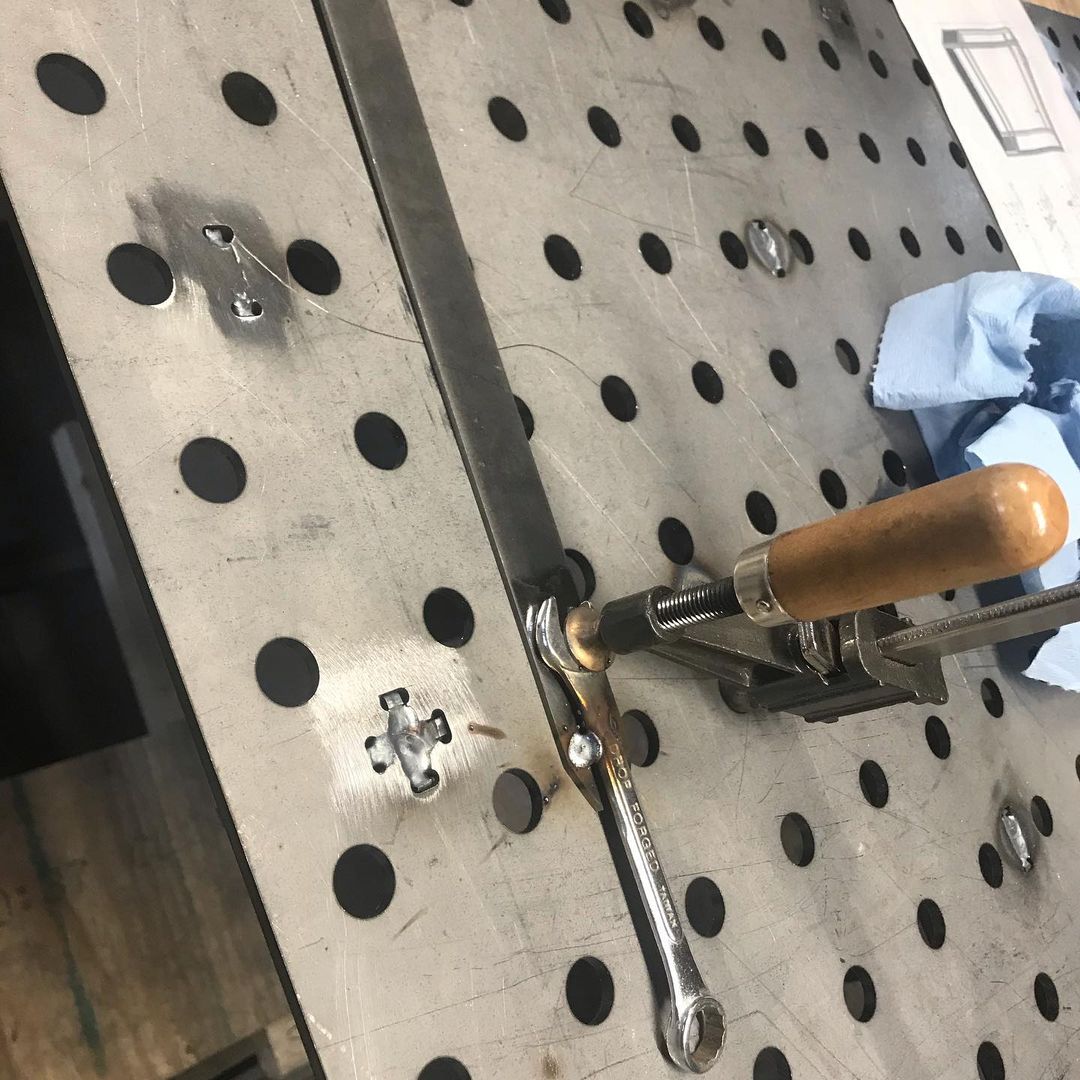
Made some hold down clamps out of some 5/8” round bar and a few old HF clamps. .
.
.
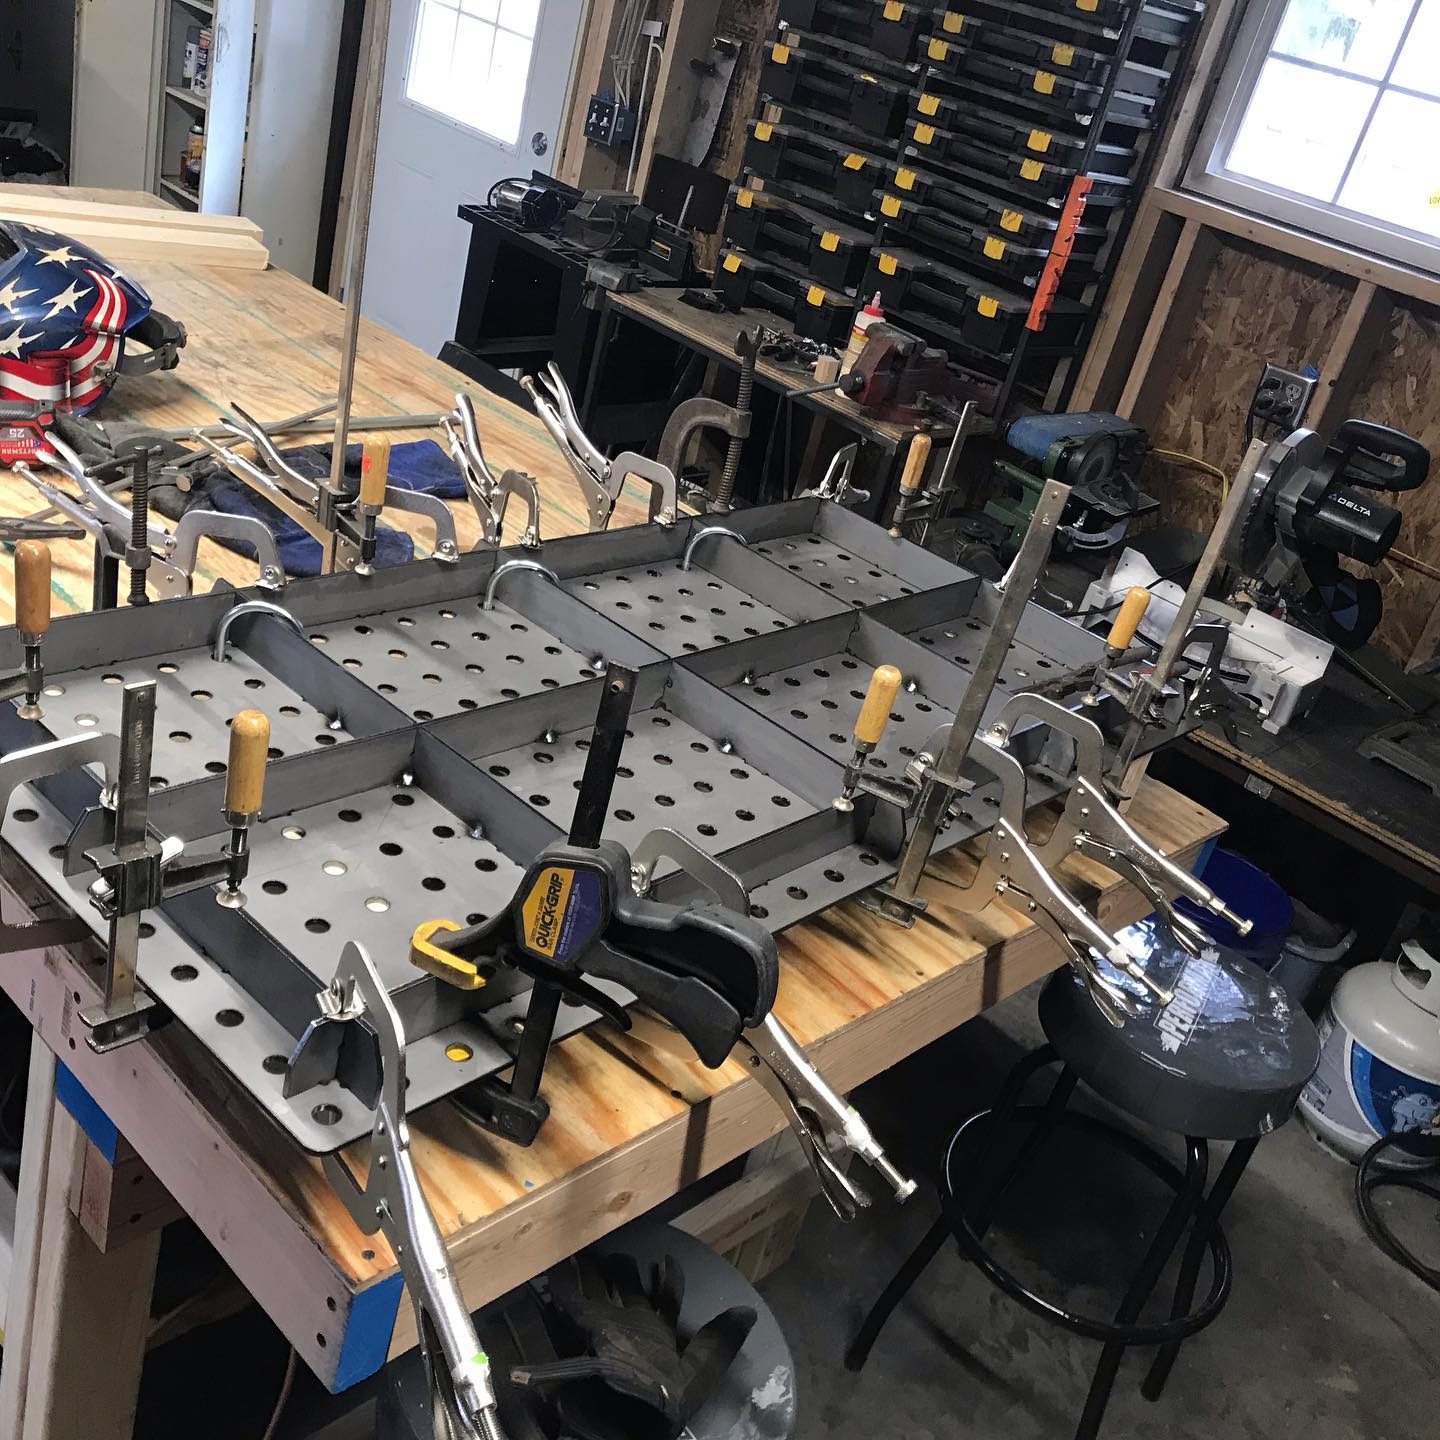
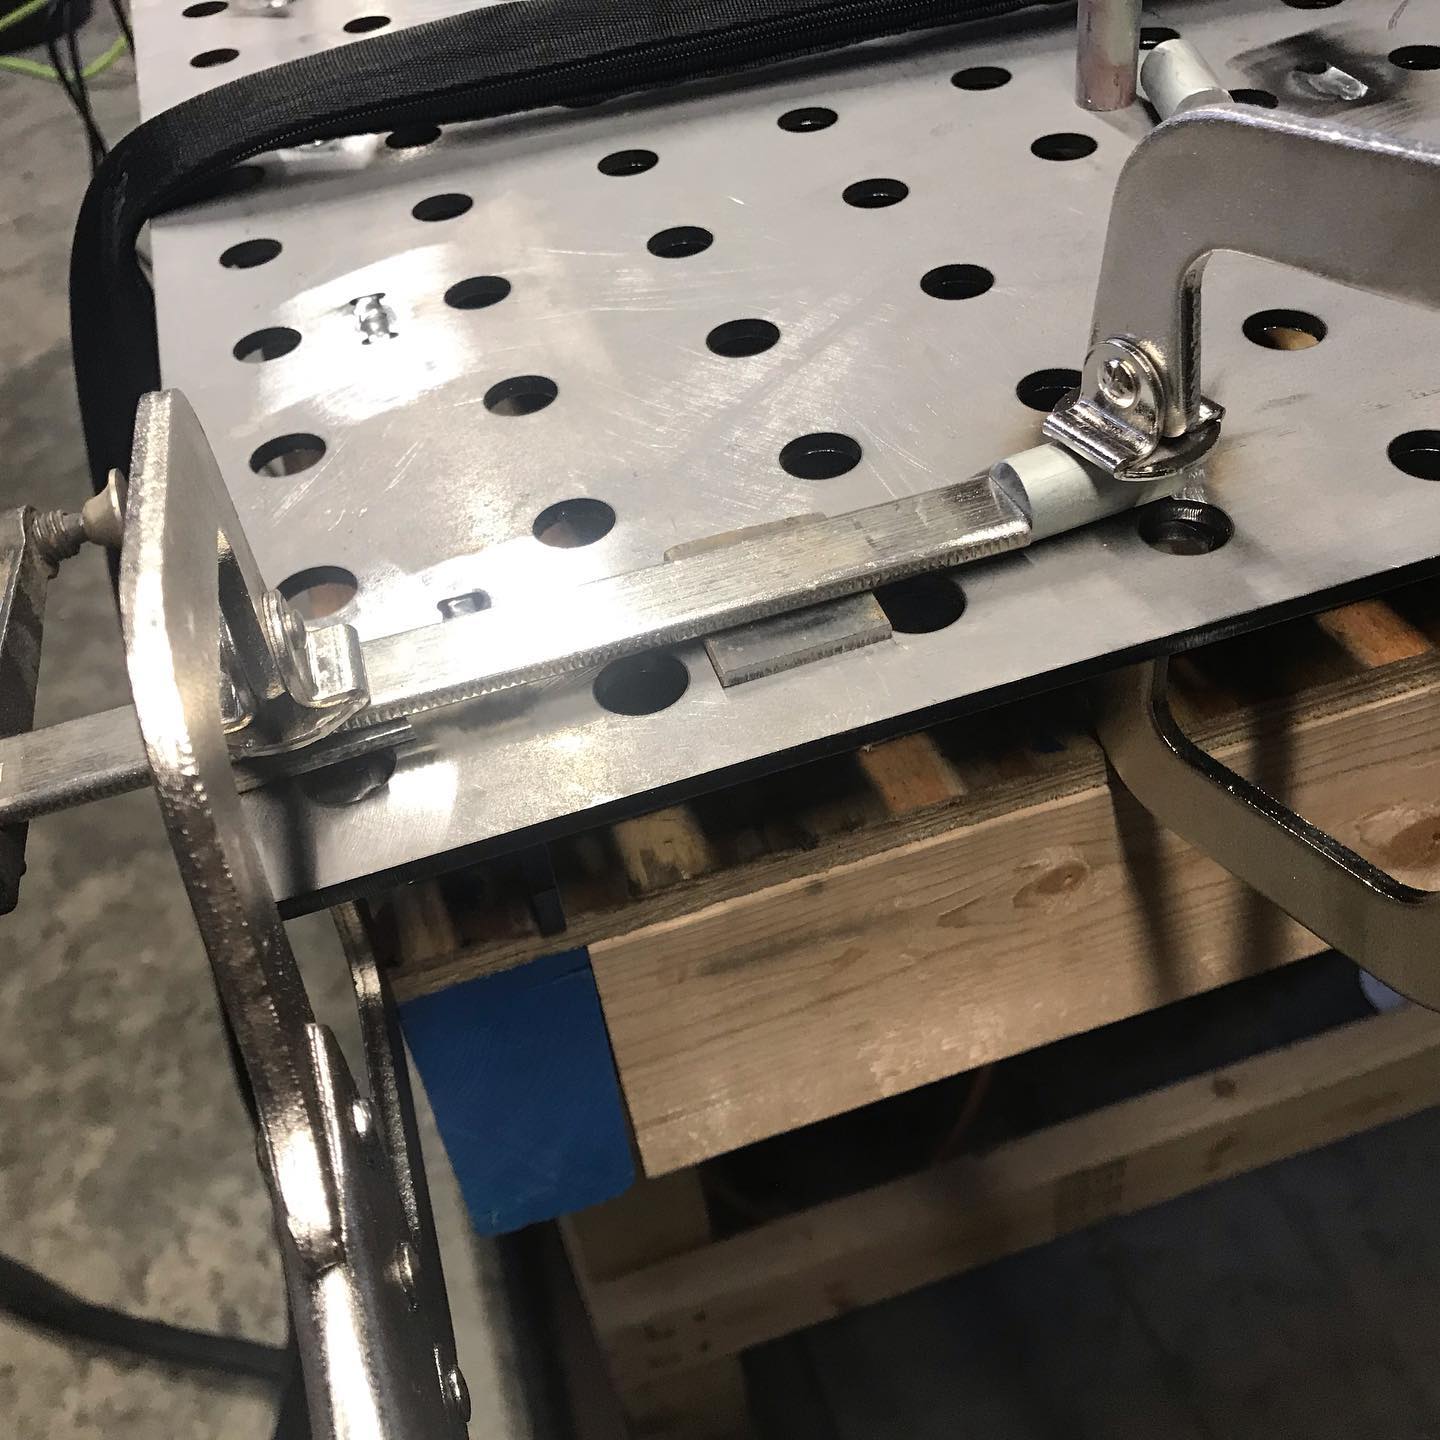
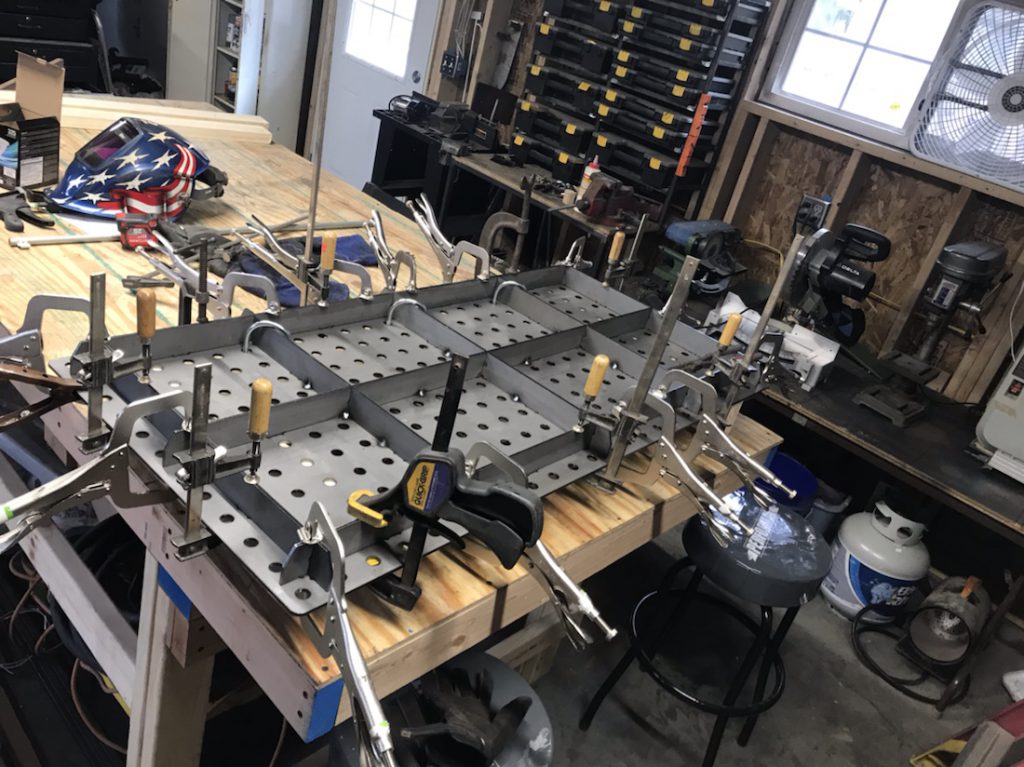
The welding table top is all welded together. Took my time making sure everything was clamped down and flat. You can never have too many clamps. 😉
.
.
.
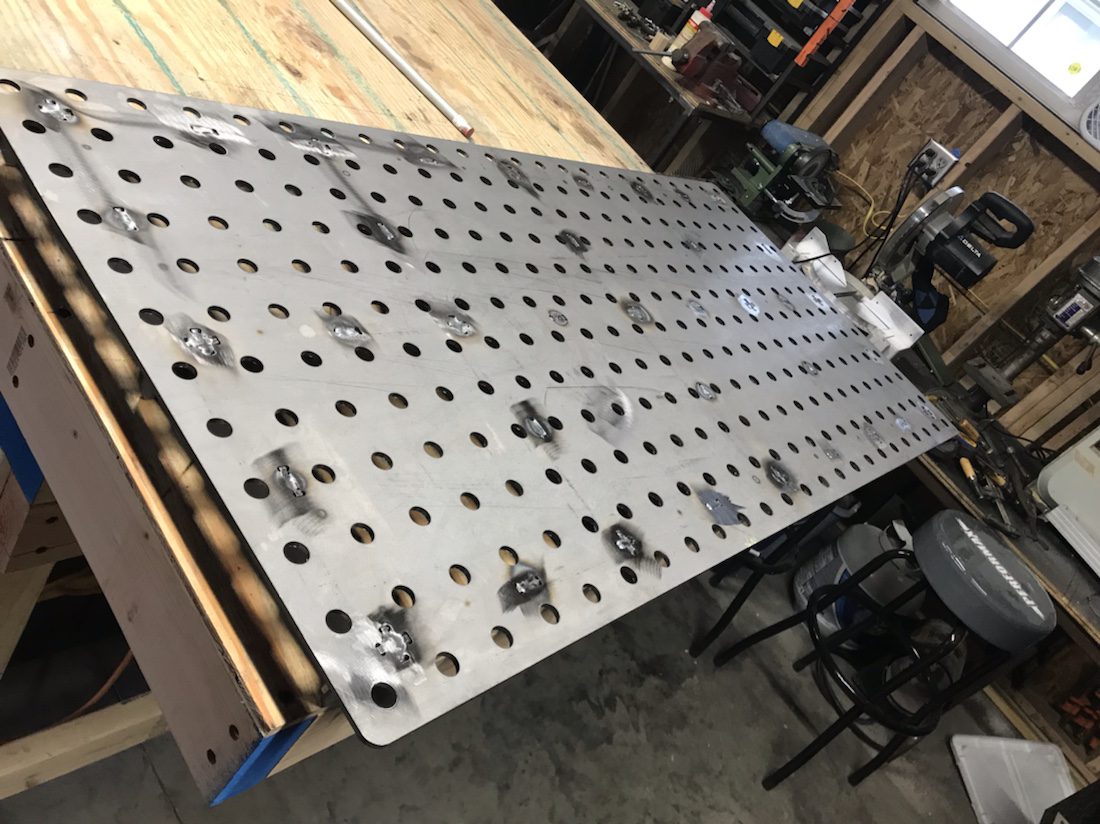
I have been wanting a welding table from Certiflat for YEARS. I can’t remember just where I first saw them. I finally had the space and the budget to get one this year.

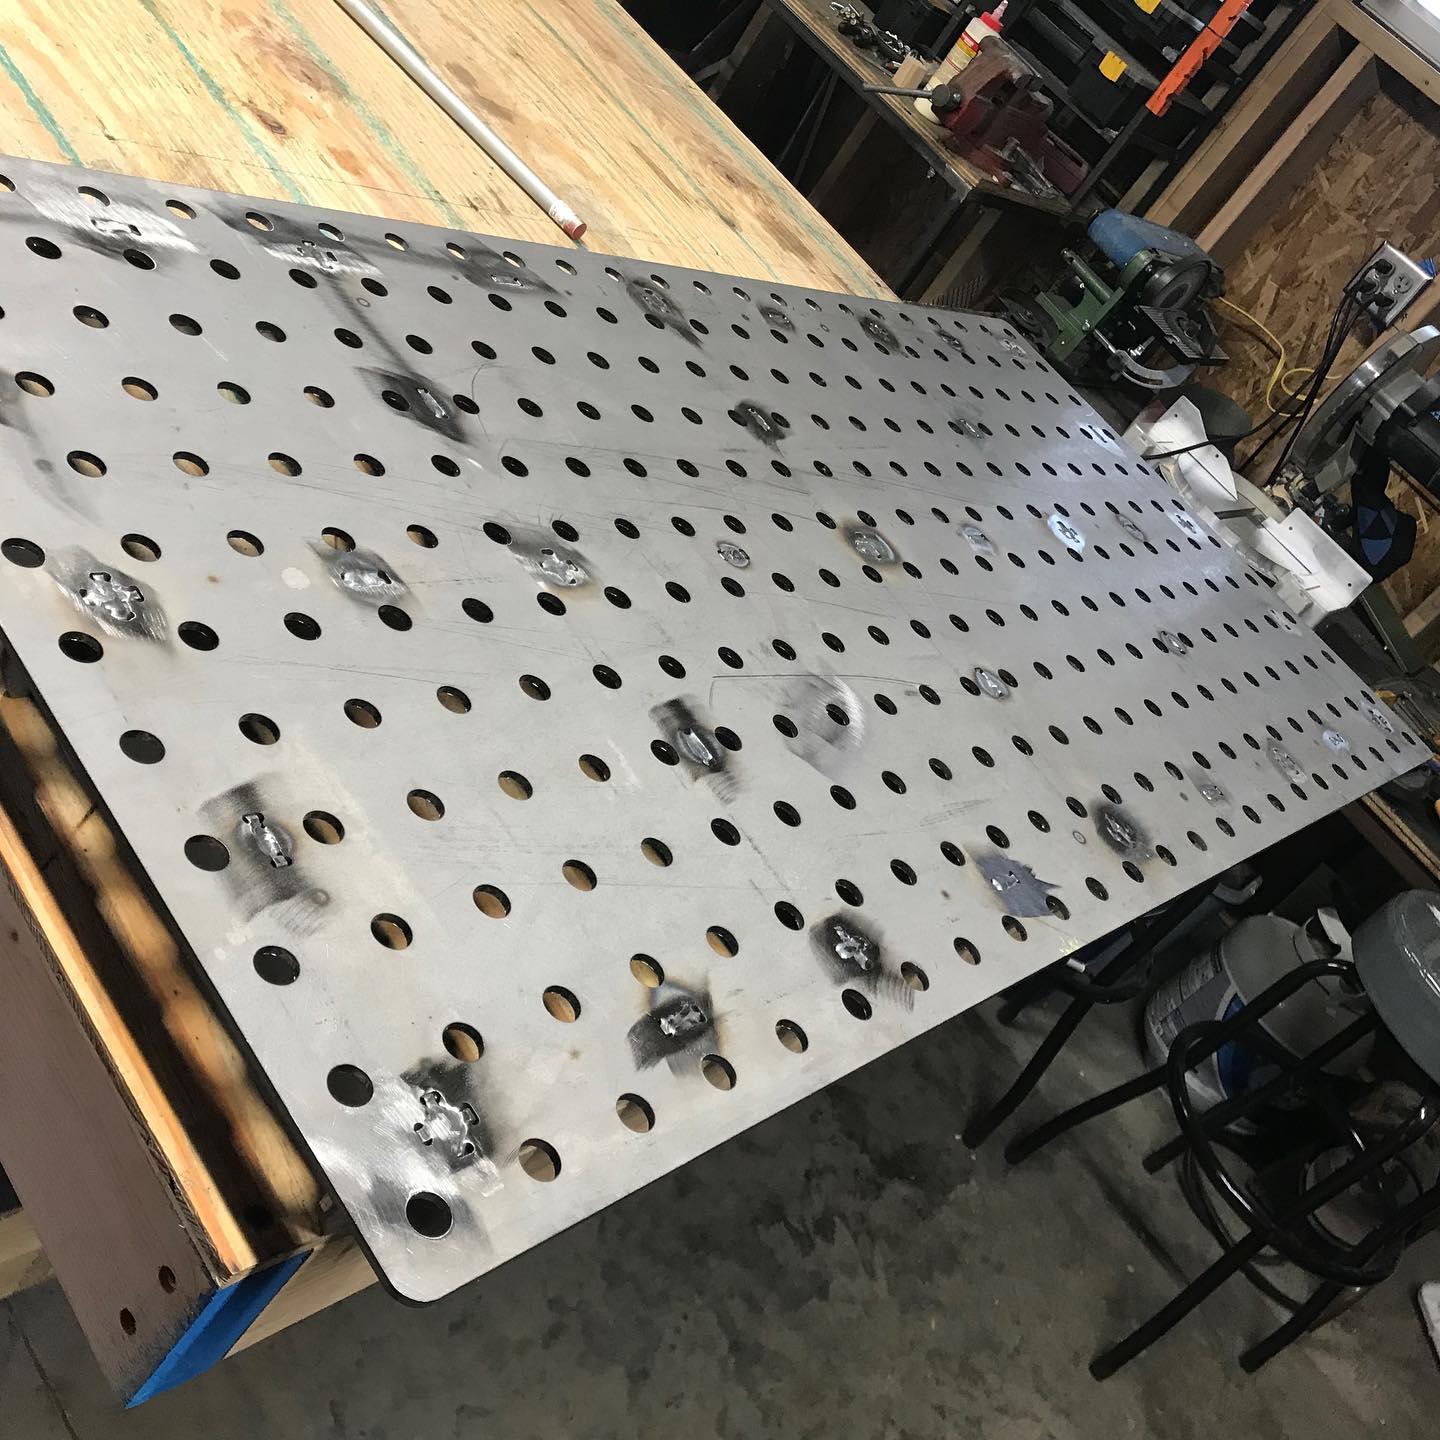
It comes in pieces. A flat top, laser drilled with 5/8″ holes every 2″. There are also slots cut into the top where the tabs on the support ribs fit into.
You start the build upside down, clamping the ribs to the top piece. You have to clamp it down completely to ensure the top comes out flat.
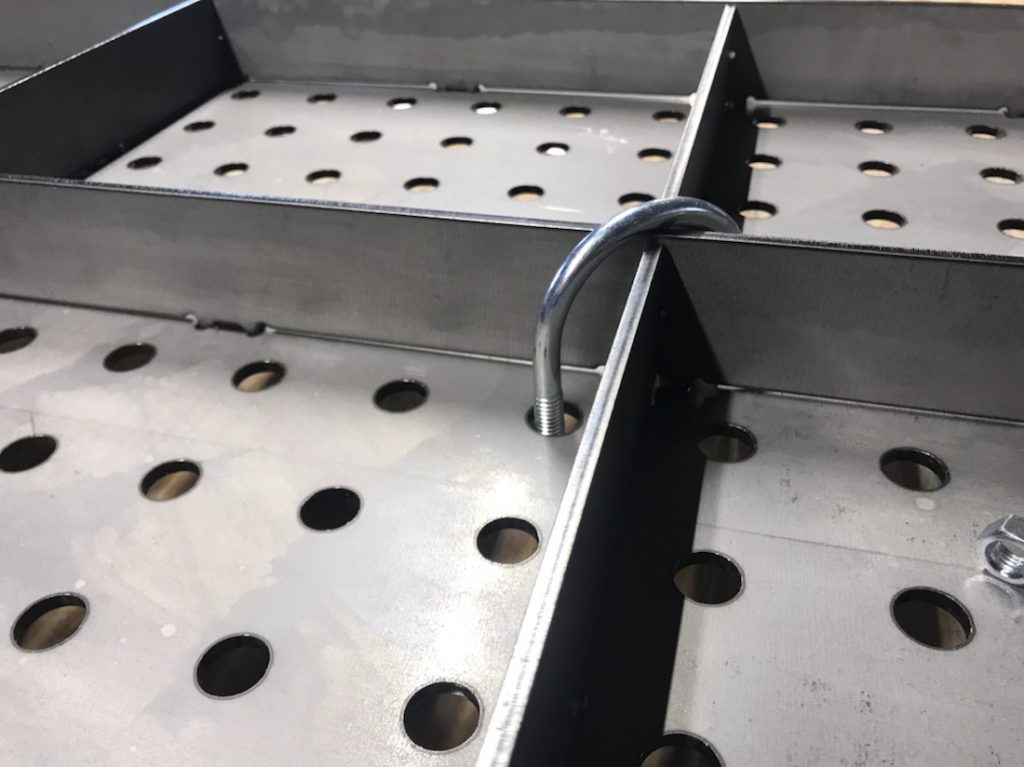
I used u-bolts to clamp down the center pieces.
I used the MIG to tack weld the center parts of the ribs together and to the table top. and then added more clamps to the outsides of the ribs.
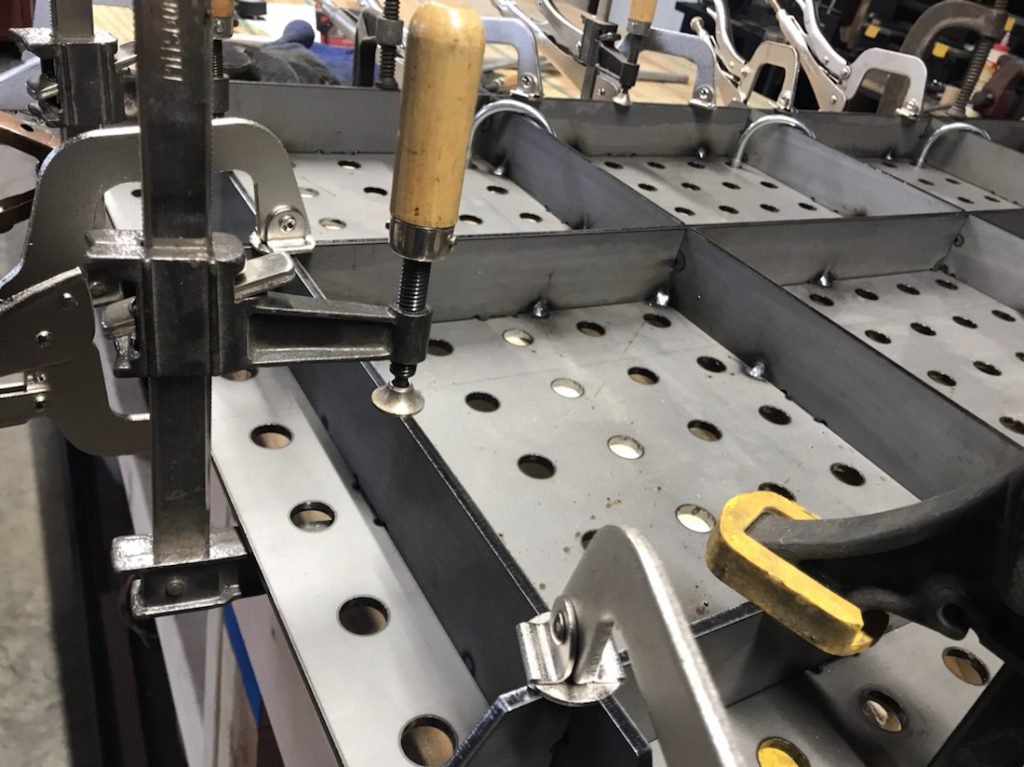
A lot of clamps. You can never have too many. I used a flashlight to make sure there was no space between the ribs and the top, shining it on the side opposite to where I was standing, making sure I saw no slivers of light come under neath the rid.
Once it was completely tacked together, I turned it over and used the TIG welder to complete the welds of the tabs and slots.
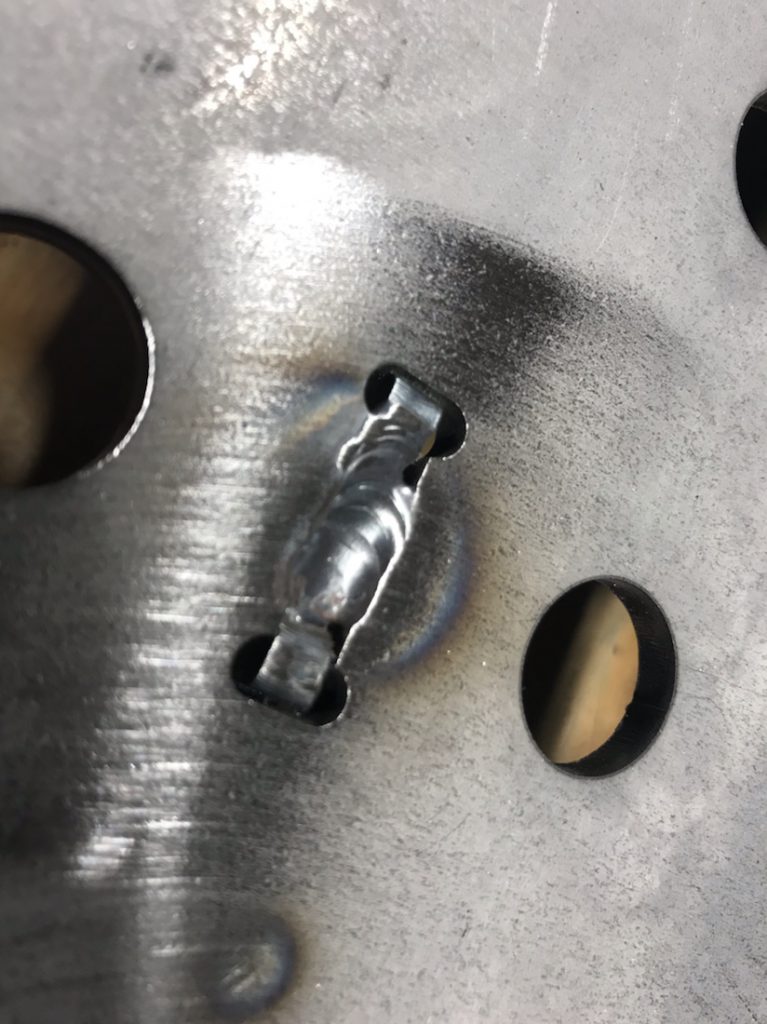
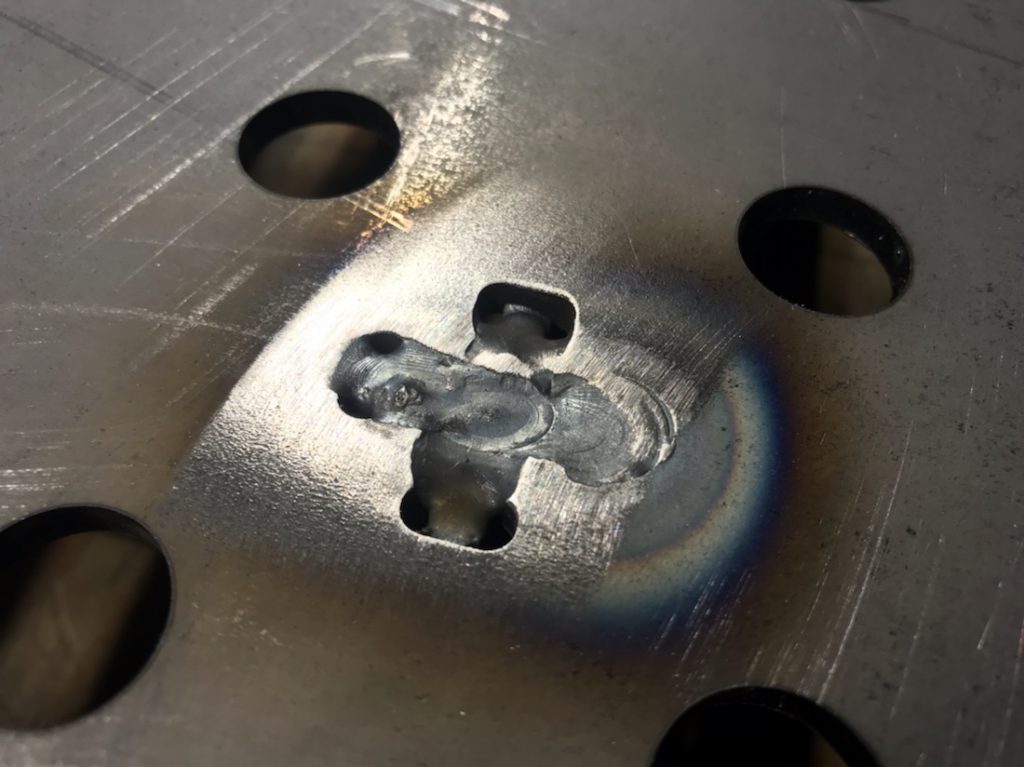
My TIG welding still needs practice, but that’s part of what this table is for. I’m debating on if I will finish welding the ribs below. I don’t think it really needs it.
The legs I ordered with this table haven’t been shipped yet. Once those are in, I’ll be able to complete this project.
UPDATE: Leg kit arrived.

I have been wanting one of these for years! Can’t wait to build it and start putting it to use. .
.
.