I had a friend’s GoPro set up on a 2 sec. time lapse to capture the lift. Turns out 2 seconds was too short of a duration as it filled up the memory card sometime during day two. But here’s the video I made from what I was able to use.
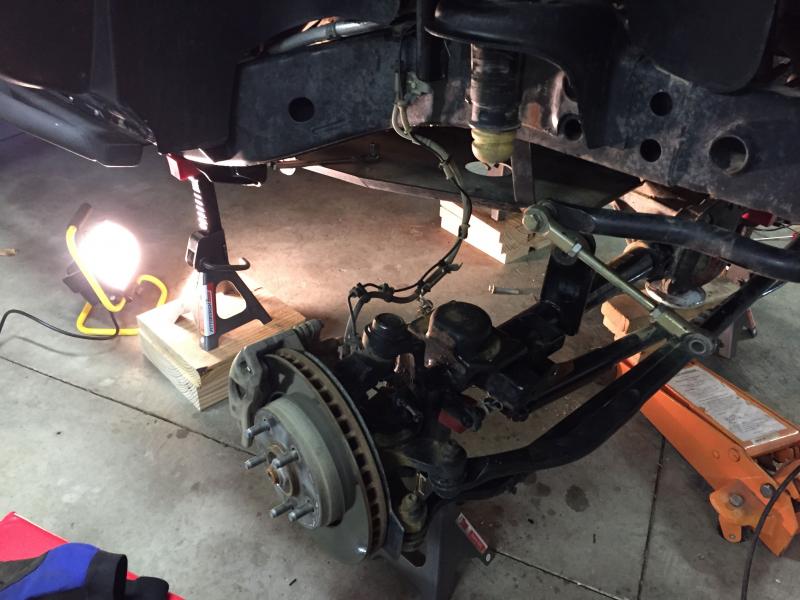
Lift Install Day 2
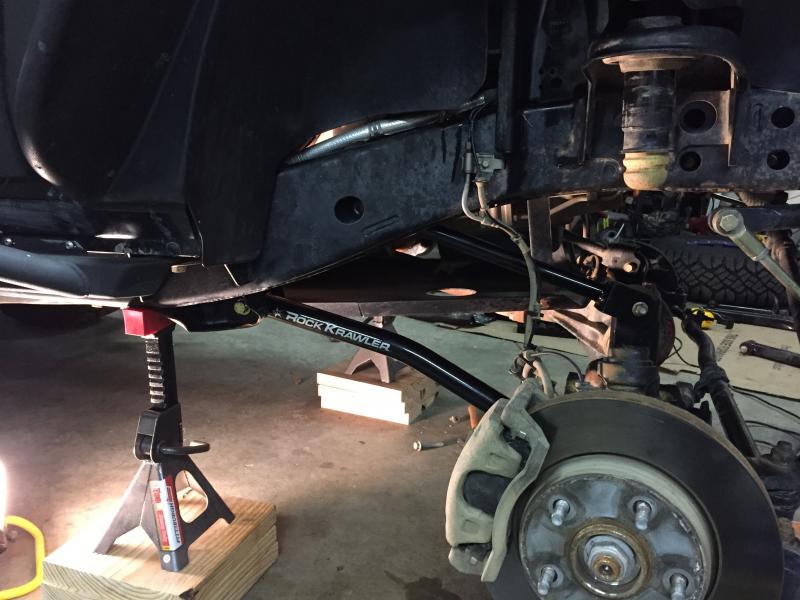
A good friend was gracious enough to stop by and help finish the lift. He brought along these massive 6 ton jack stands that really raise the jeep up to where we need it to be. Day two was a full 12 hour day. We ran into a couple of issues that delayed a few things. Plus, once the lift was done and let the suspension settle, we had to torque all of the control arm bolts down to spec.


Lift Install Day 1
December 21, 2014 – Lift install day one.
With the help of a few friends, I managed to get the front started.
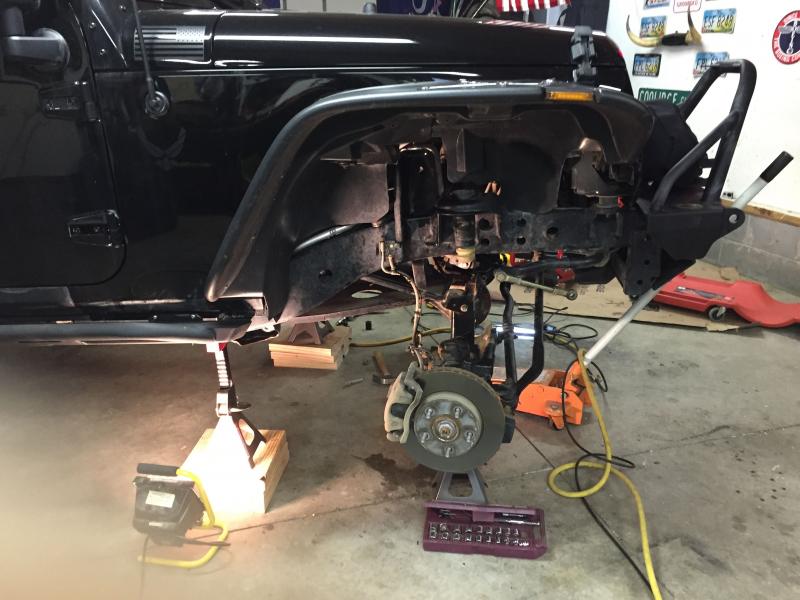
The Rock Krawler X-Factor lift includes both upper and lower control arms for the front and rear. The lowers contain a bend to provide a little more ground clearance. These things are heavy.

After about 8 hours, we got the front complete, plus the exhaust spacers from Tereflex I also picked up. Removing the exhaust bolts was a bear, but that was after we had to remove my engine skid to get to everything.

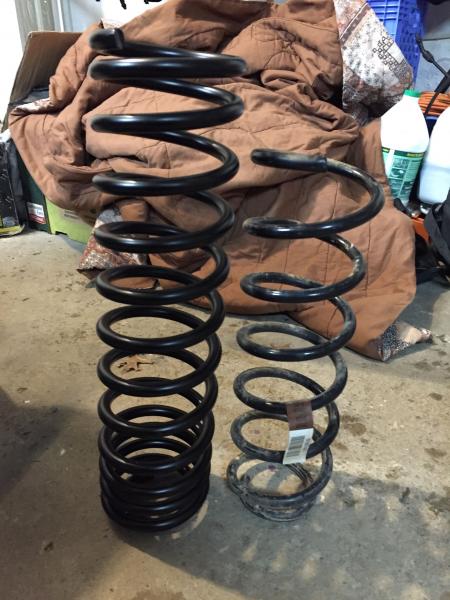
You can see the difference in the rear versus the front. This was after removing the front budget boost spacers and JKU springs. The rear still has a 1″ spacer and JKU springs.
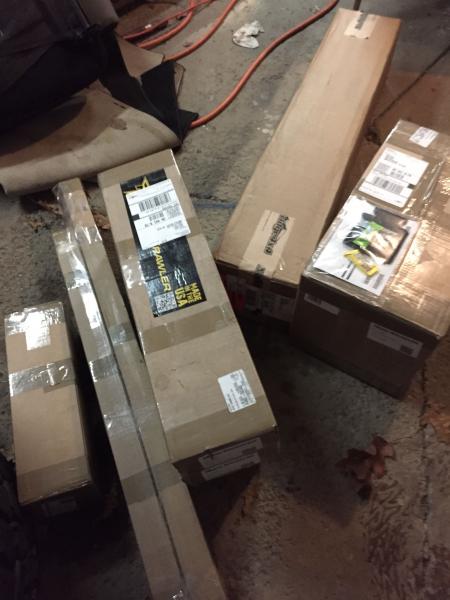
Lift Prep Complete
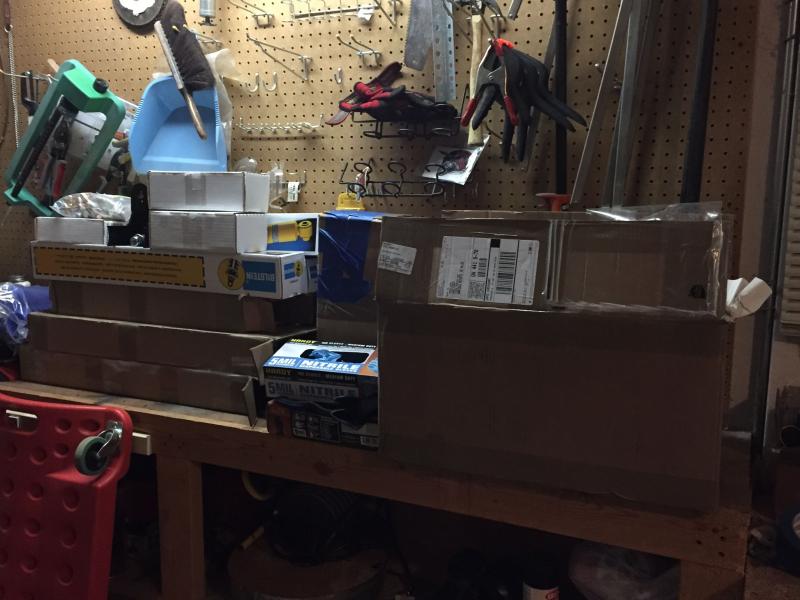
All the parts and some tools I need for the lift install are all organized and ready to get loaded into the Jeep. A friend volunteered his triple stall heated garage for the project.
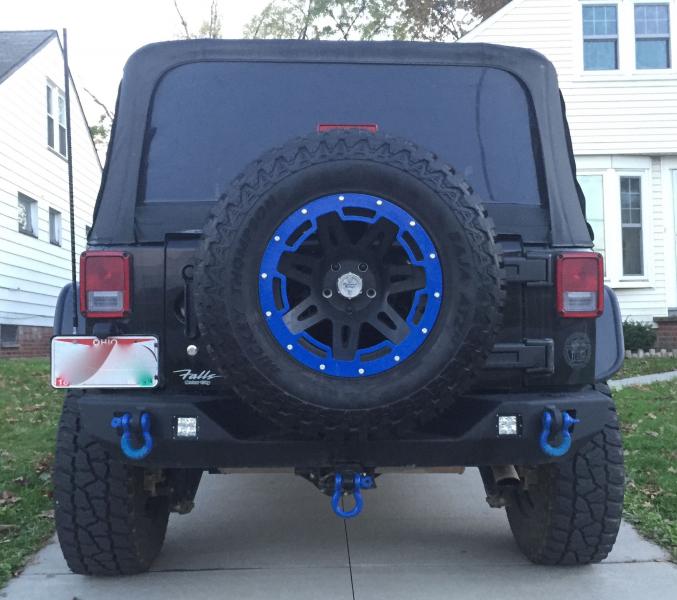
Big Tires Need Big Steel

With the 35″ tires on the Jeep, I didn’t feel comfortable with the spare being on the tailgate. I’d rather not just delete the tailgate carrier and put the spare in the back since I do use the back of the Jeep from time to time.
JCR Offroad to the rescue!. Installed the JCR Shield Tire Carrier to carry the load.
Lift Prep

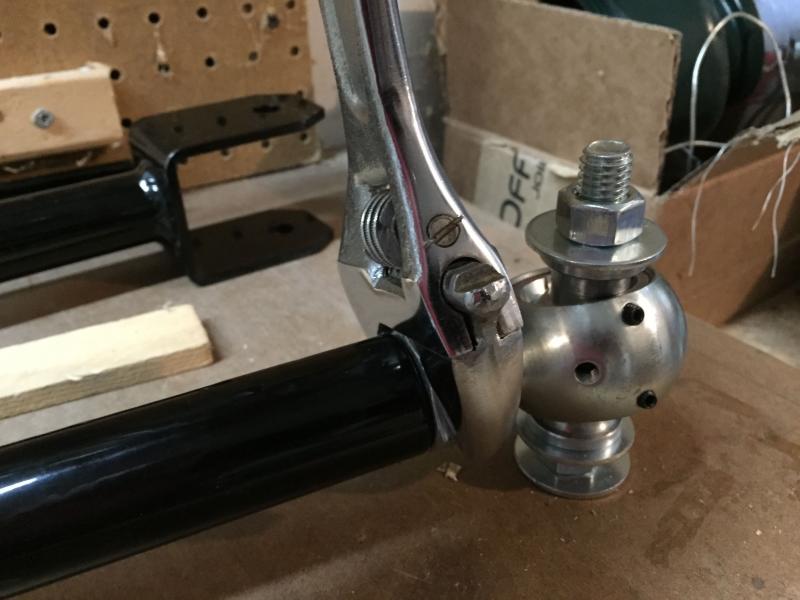
Spent the day trying to rig something up to help me set all of the control arms for my X-Factor lift to the proper length and to assist in torquing down the jam nuts. These jam nuts have to be torqued to well over 200 foot-pounds without misaligning the joints. Not sure if this will do the trick or not.
Early Christmas Presents!
Early Christmas present came. My Rock Krawler 2.5″ X-Factor lift!
New shoes!
Time to upgrade the tires! I got tired of getting stuck in situations that friends with 35″ tires were able to get through.
A fellow Jeep owner was selling his 35″ Duratracs and his wheels. I only wanted the tires, but another friend (Matt) wanted the wheels. So we all met up at Discount Tire to have the seller’s new wheels and tires installed and his old ones unmounted. The seller’s original wheels would go on Matt’s Jeep with his new 37″ tires and the Duratracs would go on my Jeep with my Rugged Ridge wheels. It made more sense to make an appointment and have them do it all at once.
It was a loooooonnnnnnggggg day.
7 hours after our appointment time, they finally got us in the bays.

I won’t go into a lot of detail on how bad of a day this was. Let’s just say it is highly unlikely that I will be going to Discount Tire again anytime soon. I felt like they lied to us and tried to cover up their mismanagement. We had an appointment, but they placed us in the computer as a walk-in so it wouldn’t be reflected on performance evaluations on how long appointment holders wait.
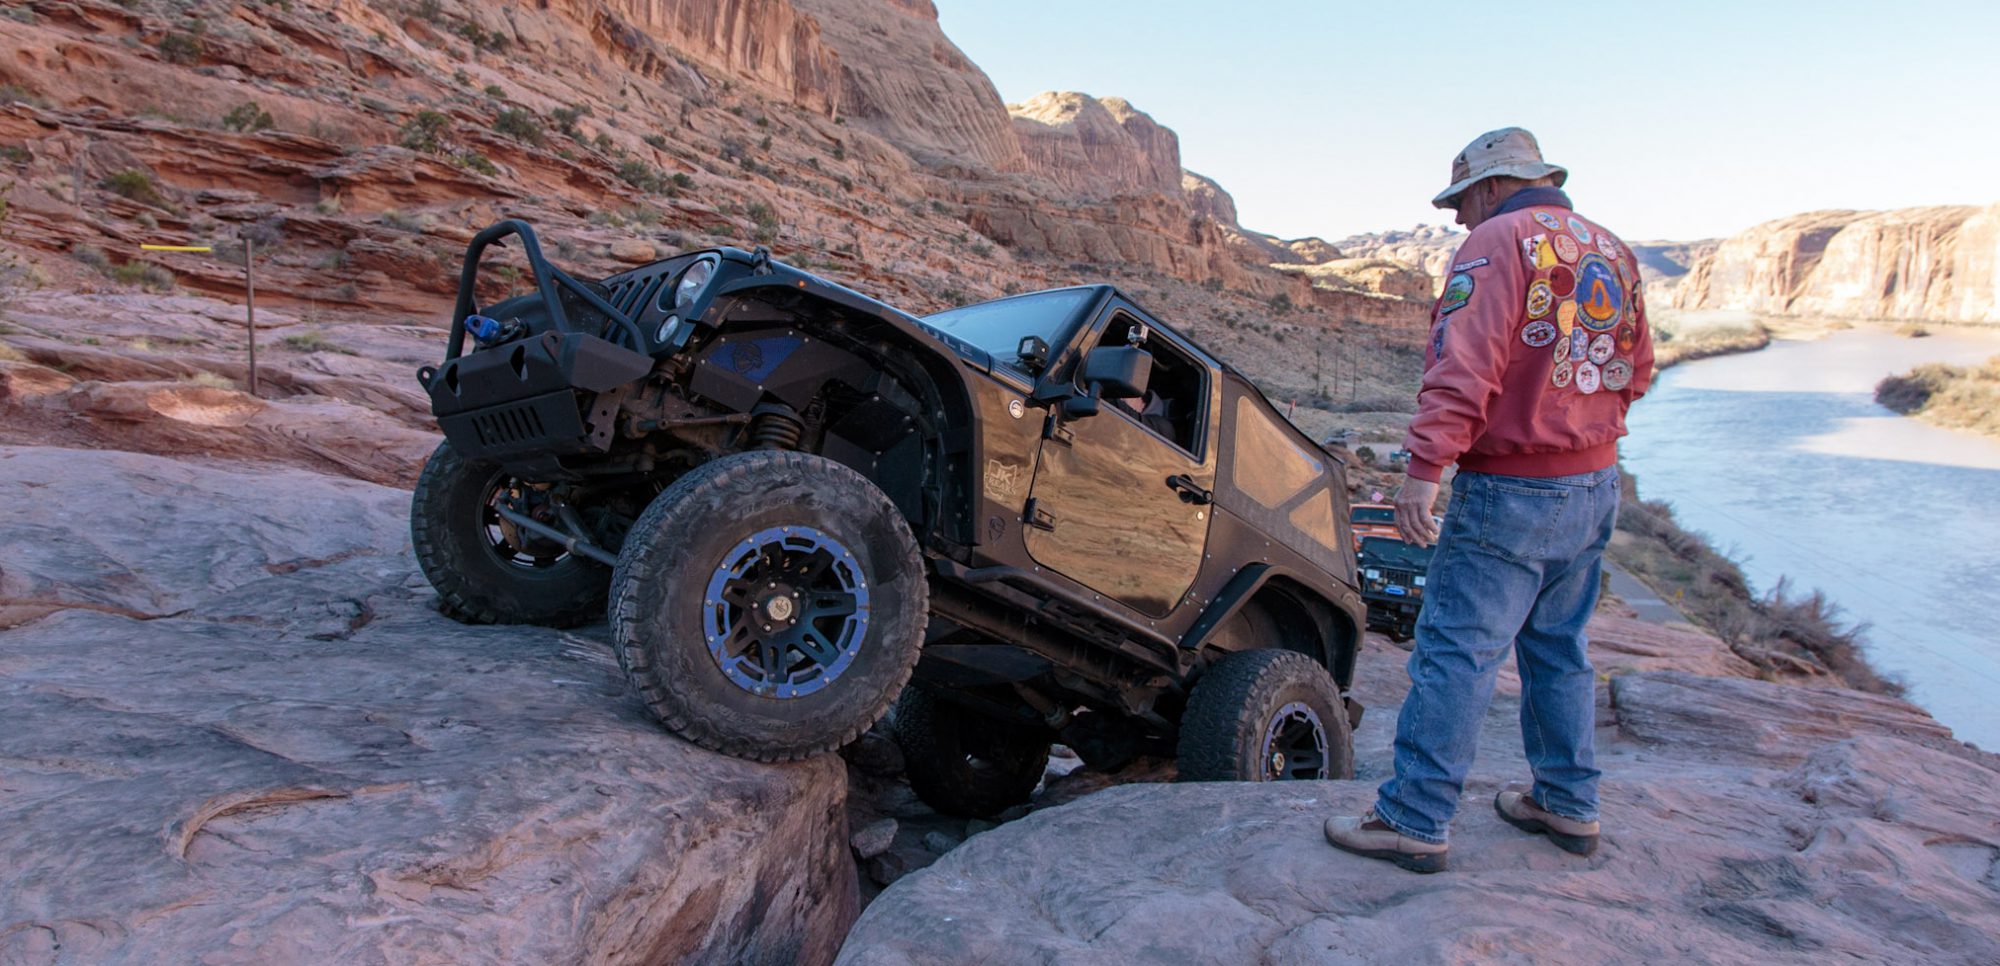
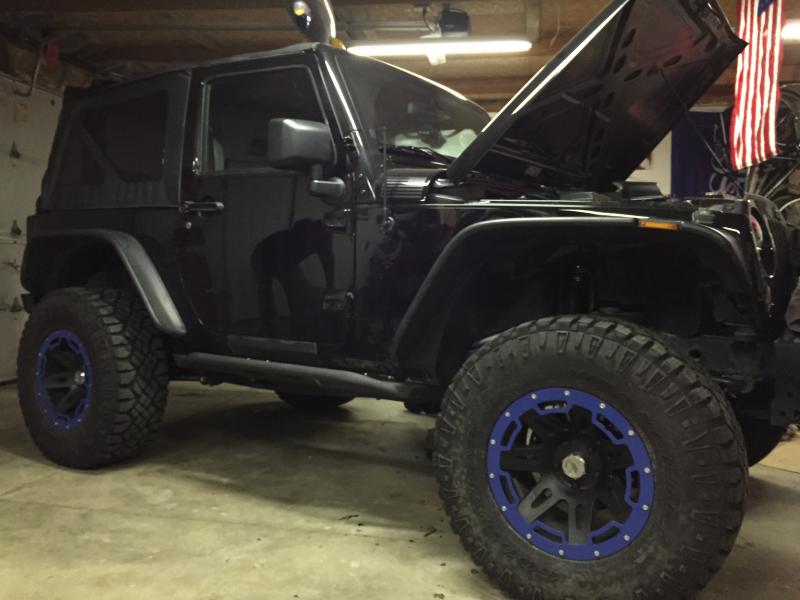
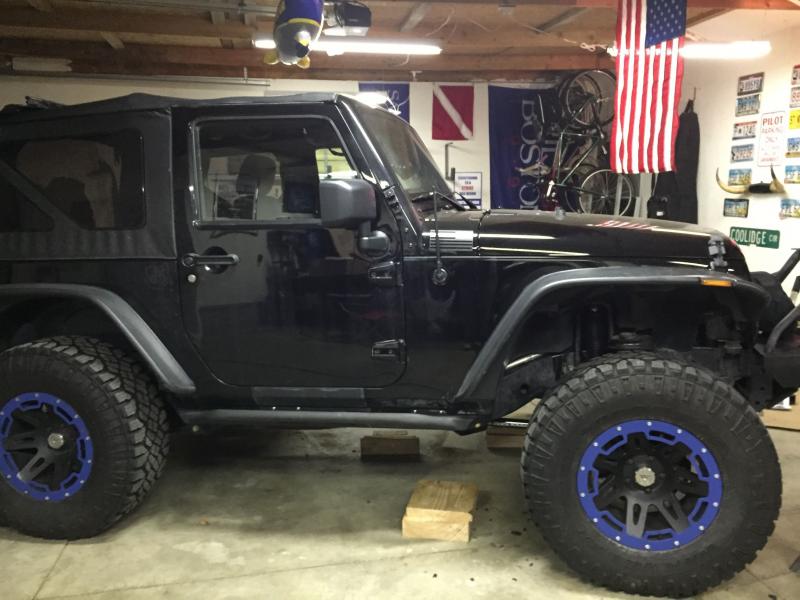
I like the way they looked, though, once installed.

Wheel rim protection
I have Rugged Ridge wheels on my Jeep that I bought from 4 Wheel Parts a year ago. Rugged Ridge has a rim protector designed to protect the rim when wheeling. My rims have quite a few scratches on them already. I’ve been wanting these protectors for a while.
A friend had a set he wasn’t using, so I finally convinced him to sell them to me. But they were painted Mango Tango. That wasn’t going to work for me. So I painted them blue.

In order to install them, I had to remove these decorative bolts that were already in the rims. They were rounded over and had hex key slots. But 50% of them were so damaged, that I couldn’t get a hex key in the slot at all. Some were so seized in the hole that they were easily stripped. In some cases I was able to hammer in an oversized torx bit in some of them and was able to get them out. For the others, I had to use a Dremel to flatten two sides of the bolt and use a Vice Grip to twist it out.

New rock sliders

Decided to take off the Smittybilt side steps and replace them with JCR Classic Sliders. Looking forward to putting them to the test.


