

My previous attempt at improving the noise coming from the primary gear train was disappointing.
My previous attempt at improving the noise coming from the primary gear train was disappointing. I received a replacement for the sliding gear as well as some other parts, so I am on to the next try. Hoping this is not as discouraging as the first attempt.
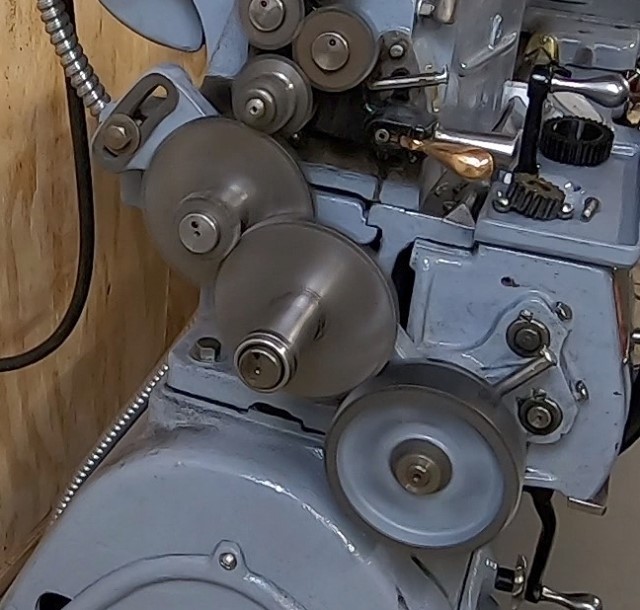
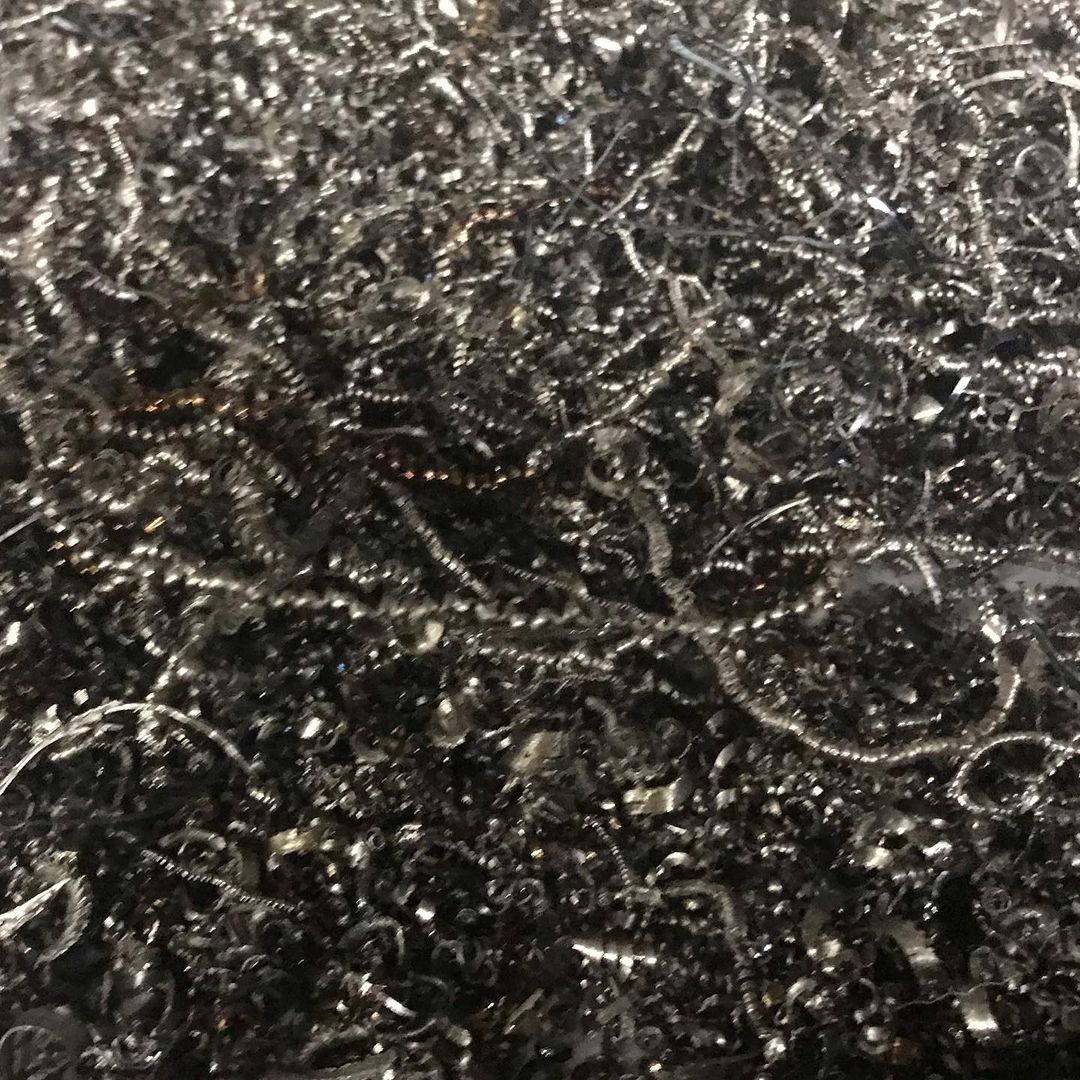
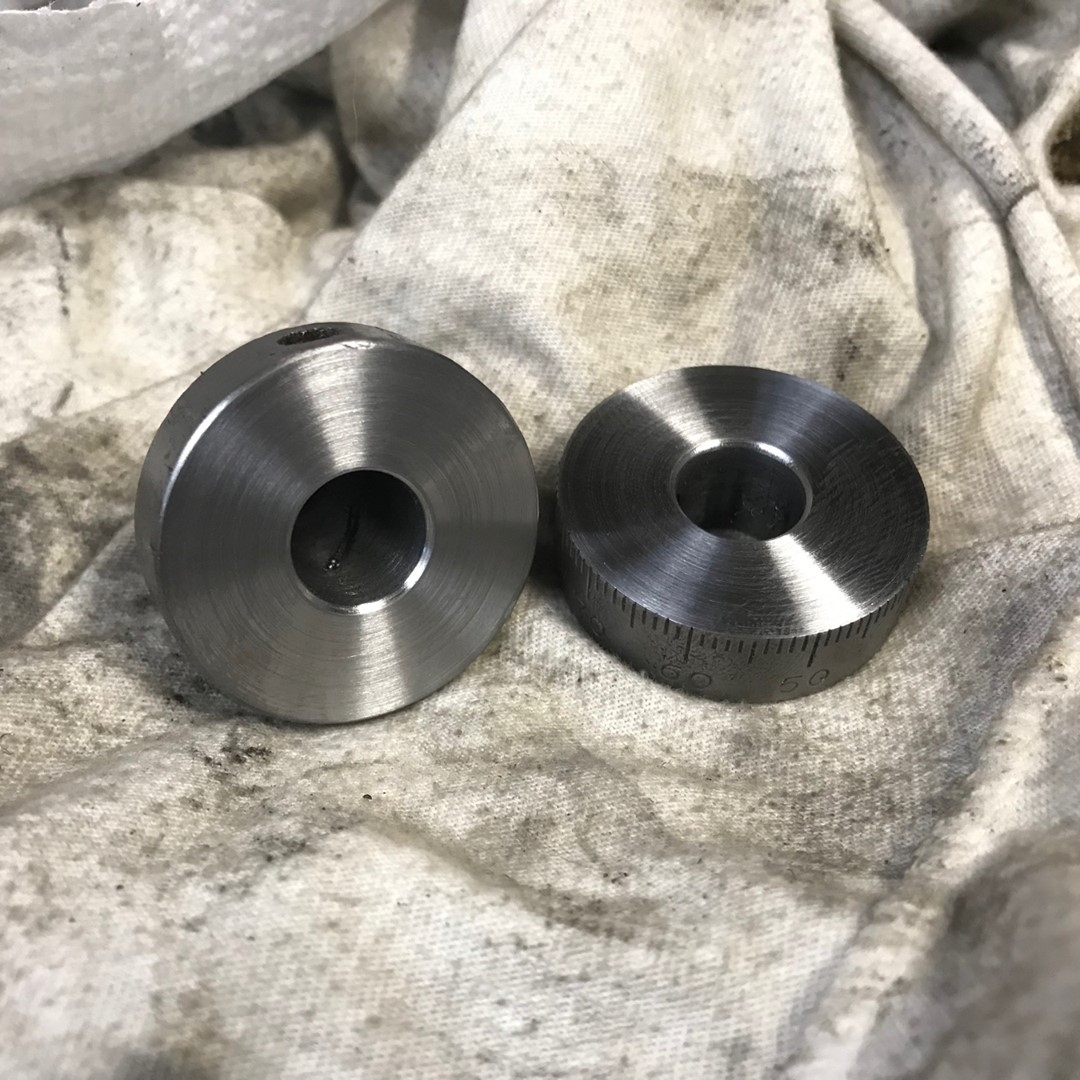
The primary gear train on my 1941 South Bend lathe makes a lot of noise.

The primary gear train on my 1941 South Bend lathe makes a lot of noise. I believe the biggest culprit is the sliding gear, but the spindle gear is also very worn. I can’t find an exact replacement, but found something that is the correct tooth count, diametral pitch, pressure angle and diameter. But, it’s not as thick (1/2″ vs 11/16″) and has a smaller bore at .750″ and I need 1.437″. So I decide to modify the new gear to see if it helps with the noise. Check the link in my bio for a video of how I modified the bottom gear to replace the one shown on the top.
.
.
.
.
.
.
Using the installation tool I made for the Bridgeport, I got the quill housing back on the ram adapter.
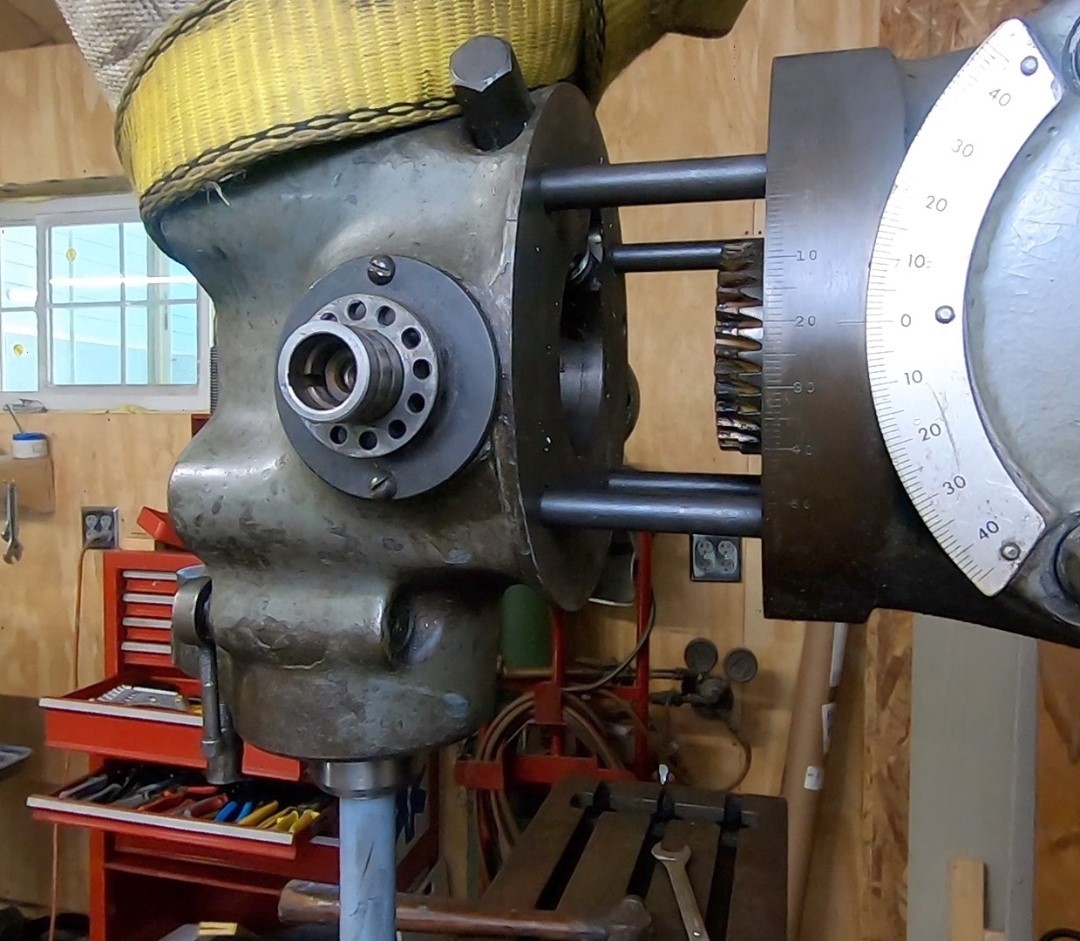
Using the installation tool I made for the Bridgeport, I got the quill housing back on the ram adapter. Hindsight being 20/20, I would have done this a little differently, but I am happy how it turned out. The tool was a must have for me. Plus, I needed to make a couple spacers on the lathe. Check the link in my bio for a video I made showing how I did this.
.
.
.
.
.
.
.
.
A couple local scores from FB and CL.
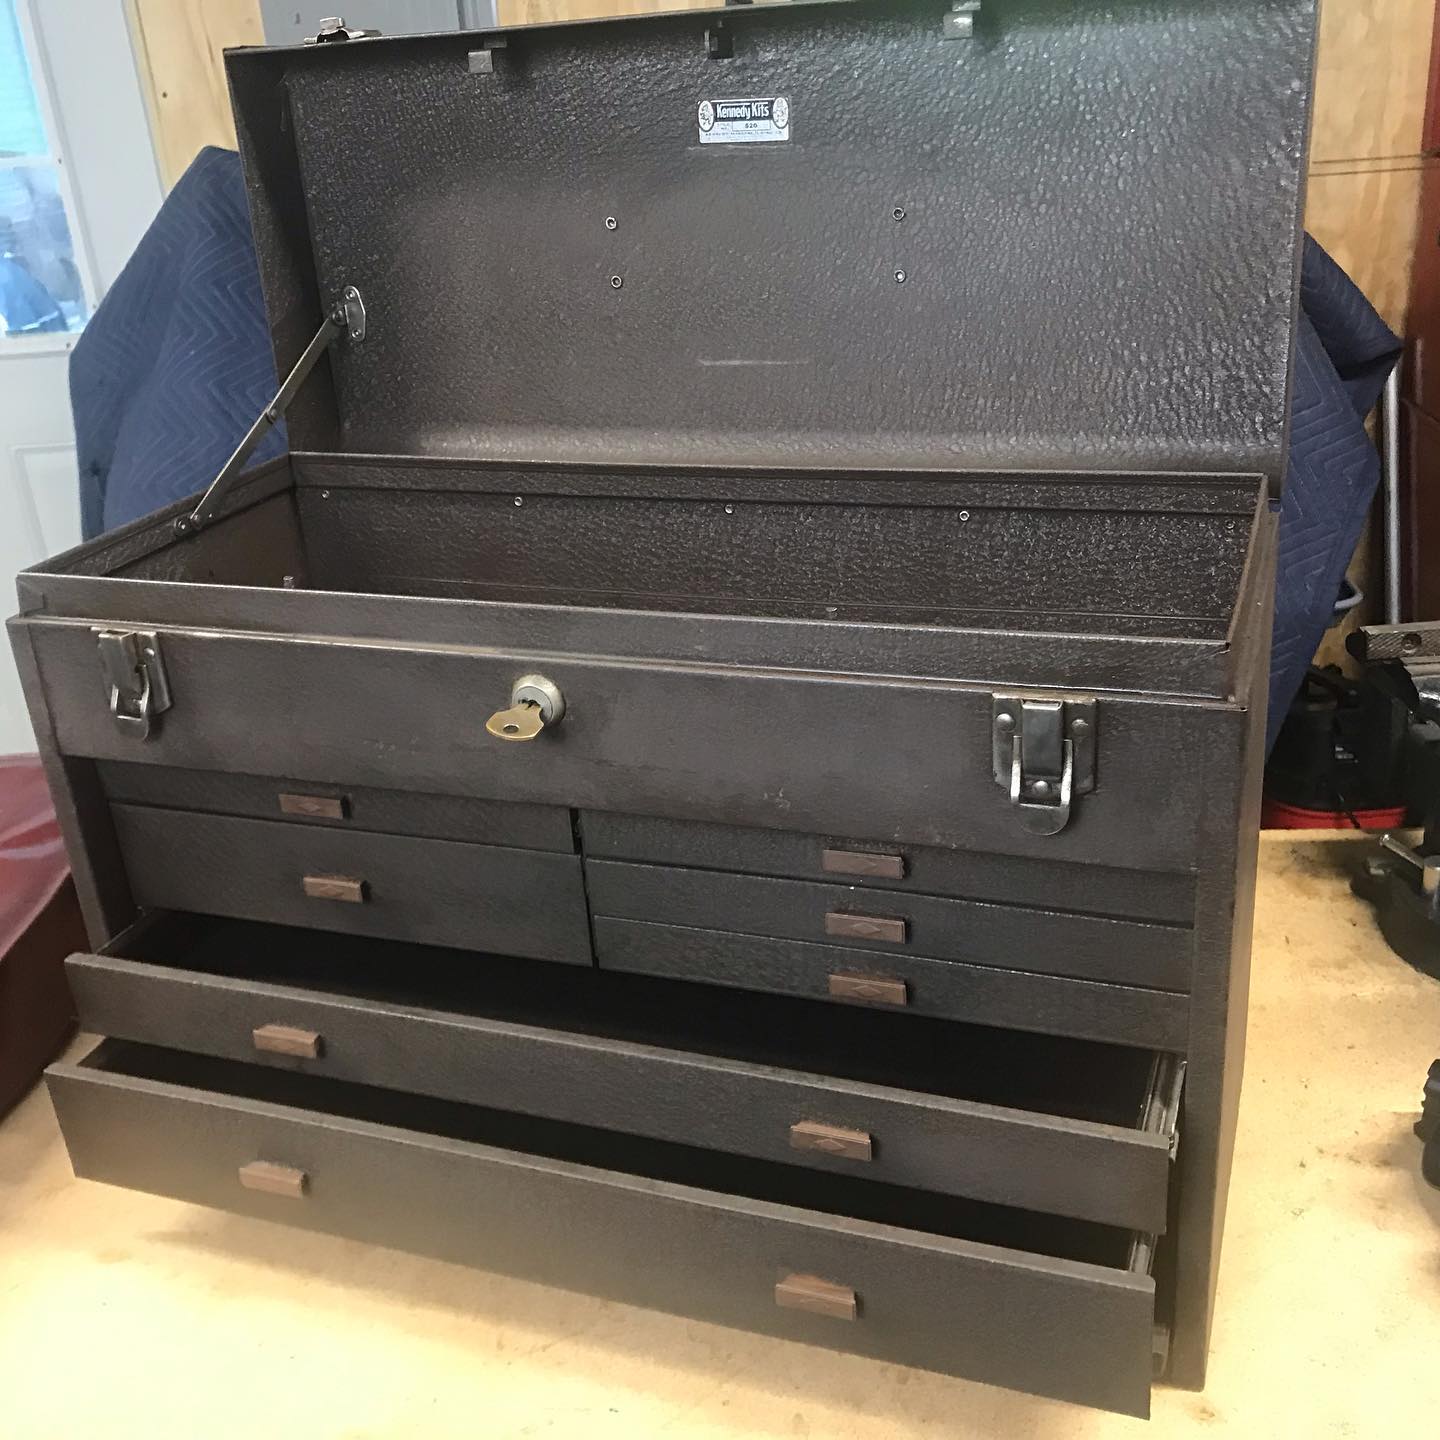
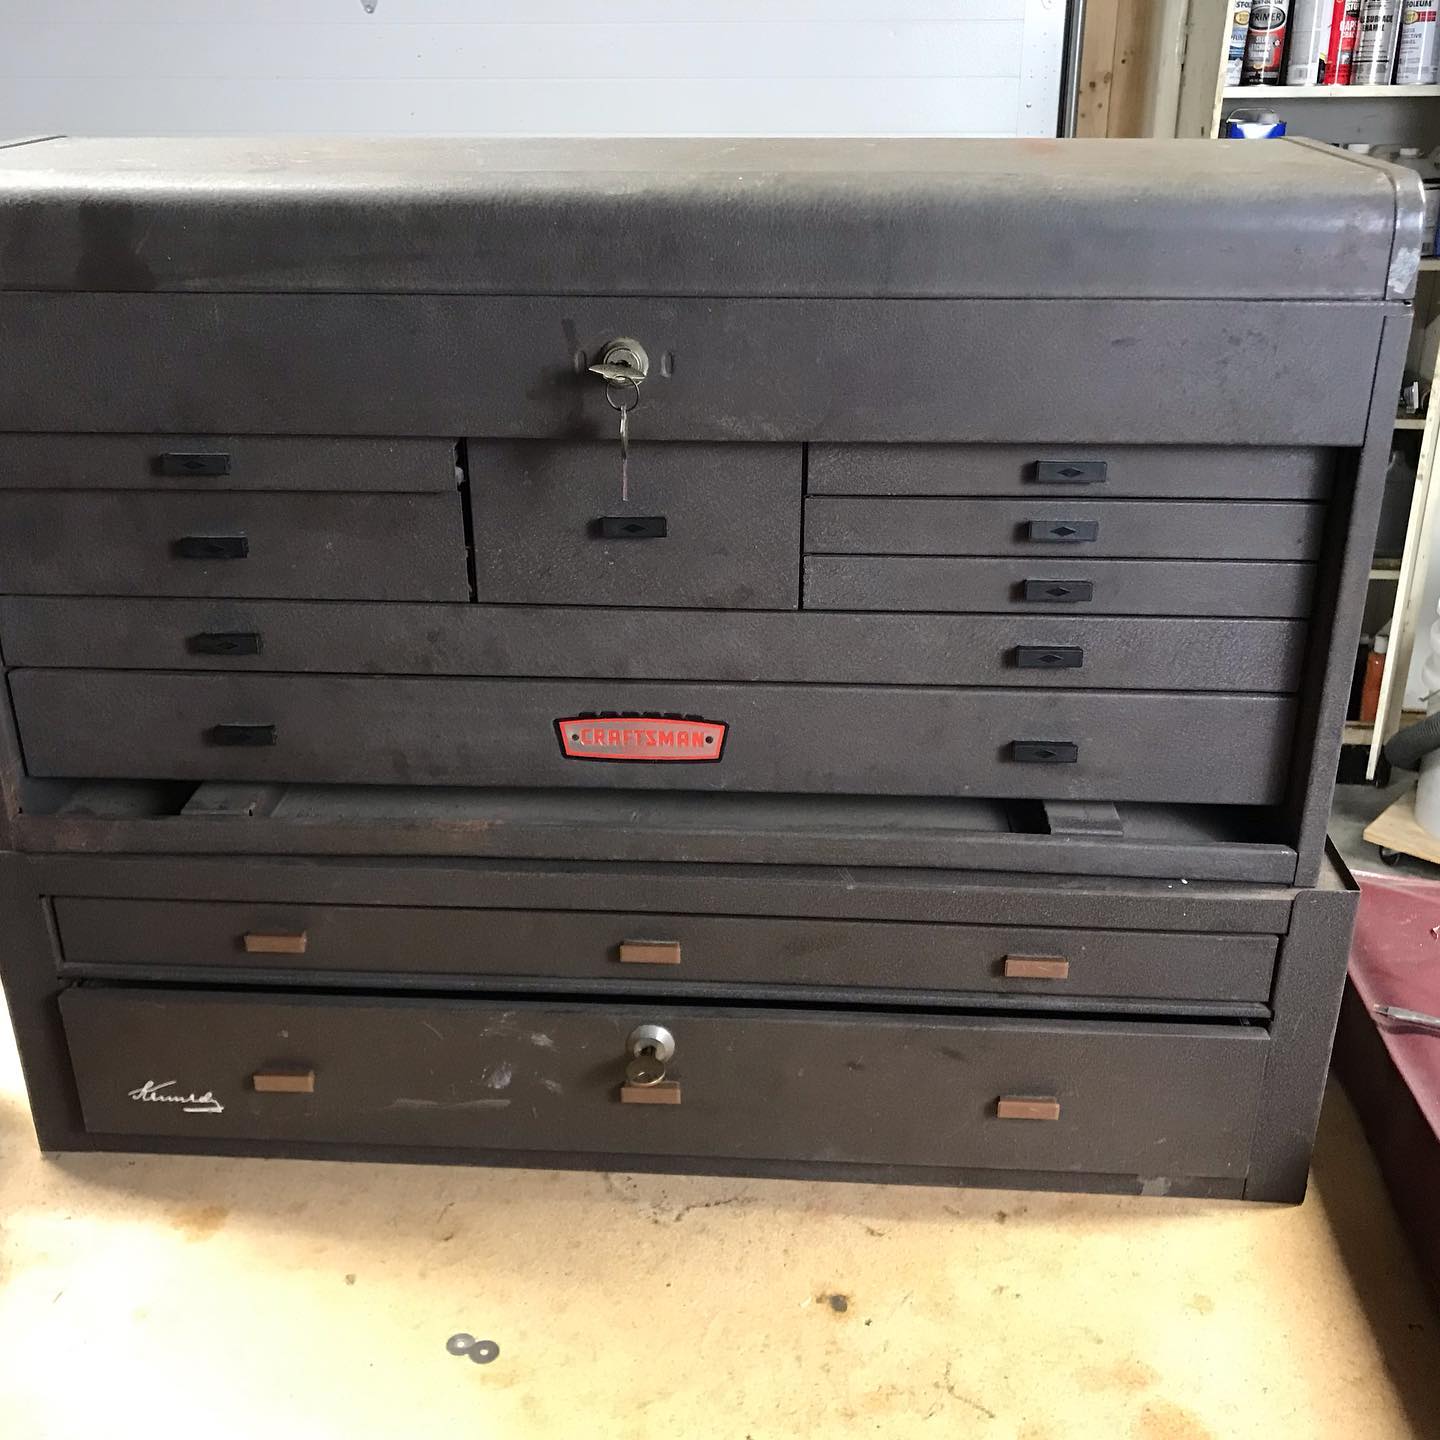
A couple local scores from FB and CL. So now that I have two Kennedy tool boxes, I almost feel like I might become a mediocre amateur machinist. 😉
I did find out the Craftsman chest was made by Waterloo. It’s missing the front cover, unfortunately.
.
.
.
.
I recently bought a Bridgeport vertical mill that is in need of some work.

I recently bought a Bridgeport vertical mill that is in need of some work and repairs. The milling head was not attached to the base. I wanted to get it put back on, but it weighs over 100 pounds (without the motor) and the bolts are tricky to line up. I have seen other videos from Mr. Pete and H&W Machine where they used a special tool to make removing and installing the head much easier. I decided to make my own version of the tool.
•
•
•
•
•
When you know, you know.

AFTER
AFTER: The bushing and dial after being faced off in the lathe.
.
.
.
.
.
.
.
When I assembled the compound of my lathe, I noticed a lot of slack in the screw.
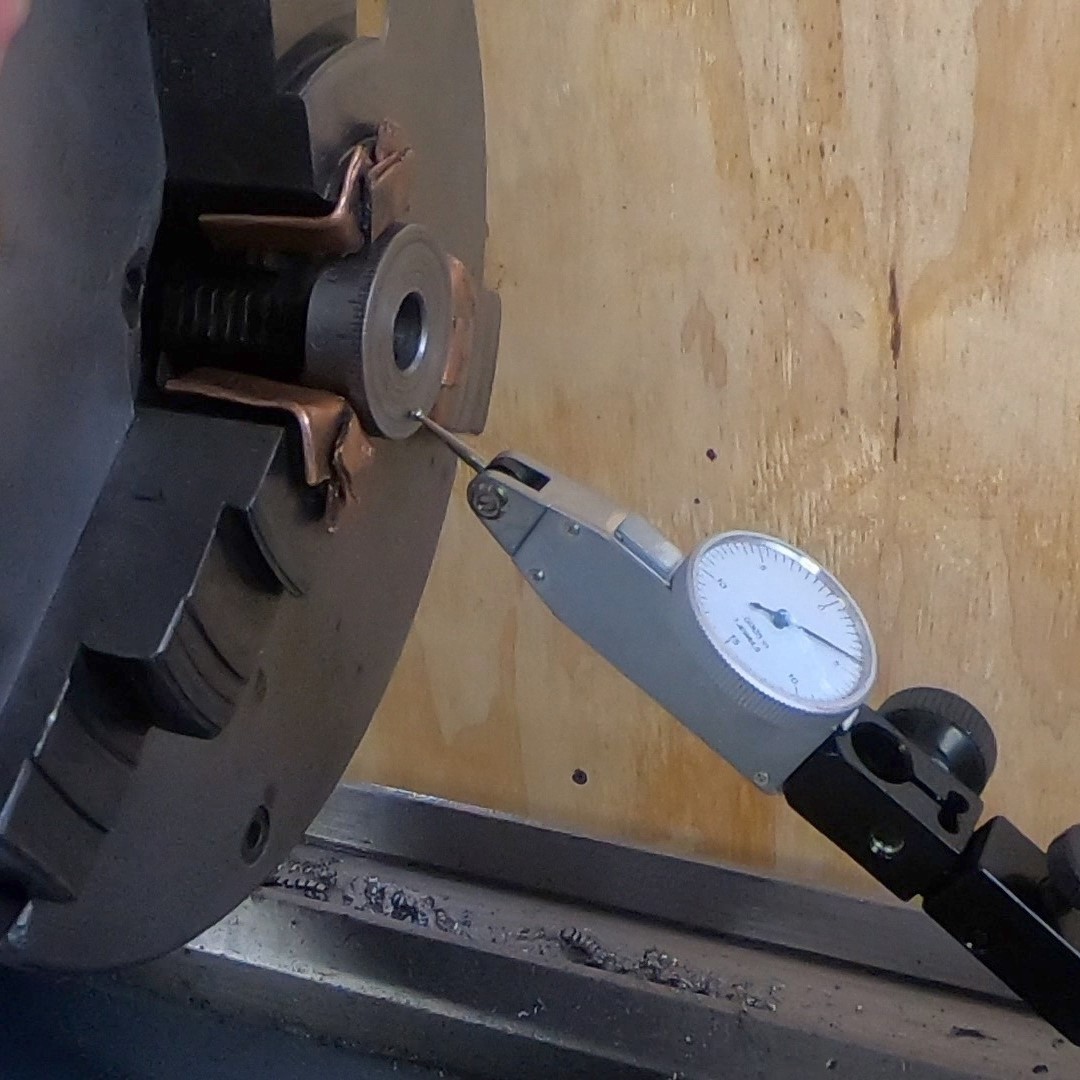
When I assembled the compound of my lathe, I noticed a lot of slack in the screw, .025″ or more. I make an attempt and fixing that, but first facing off the dial and the bushing to remove the wear marks, and then by making an aluminum washer to take up the slack. I got most of it out, but not as much as I would have liked. Link my bio.
.
.
.
.
.
.
.