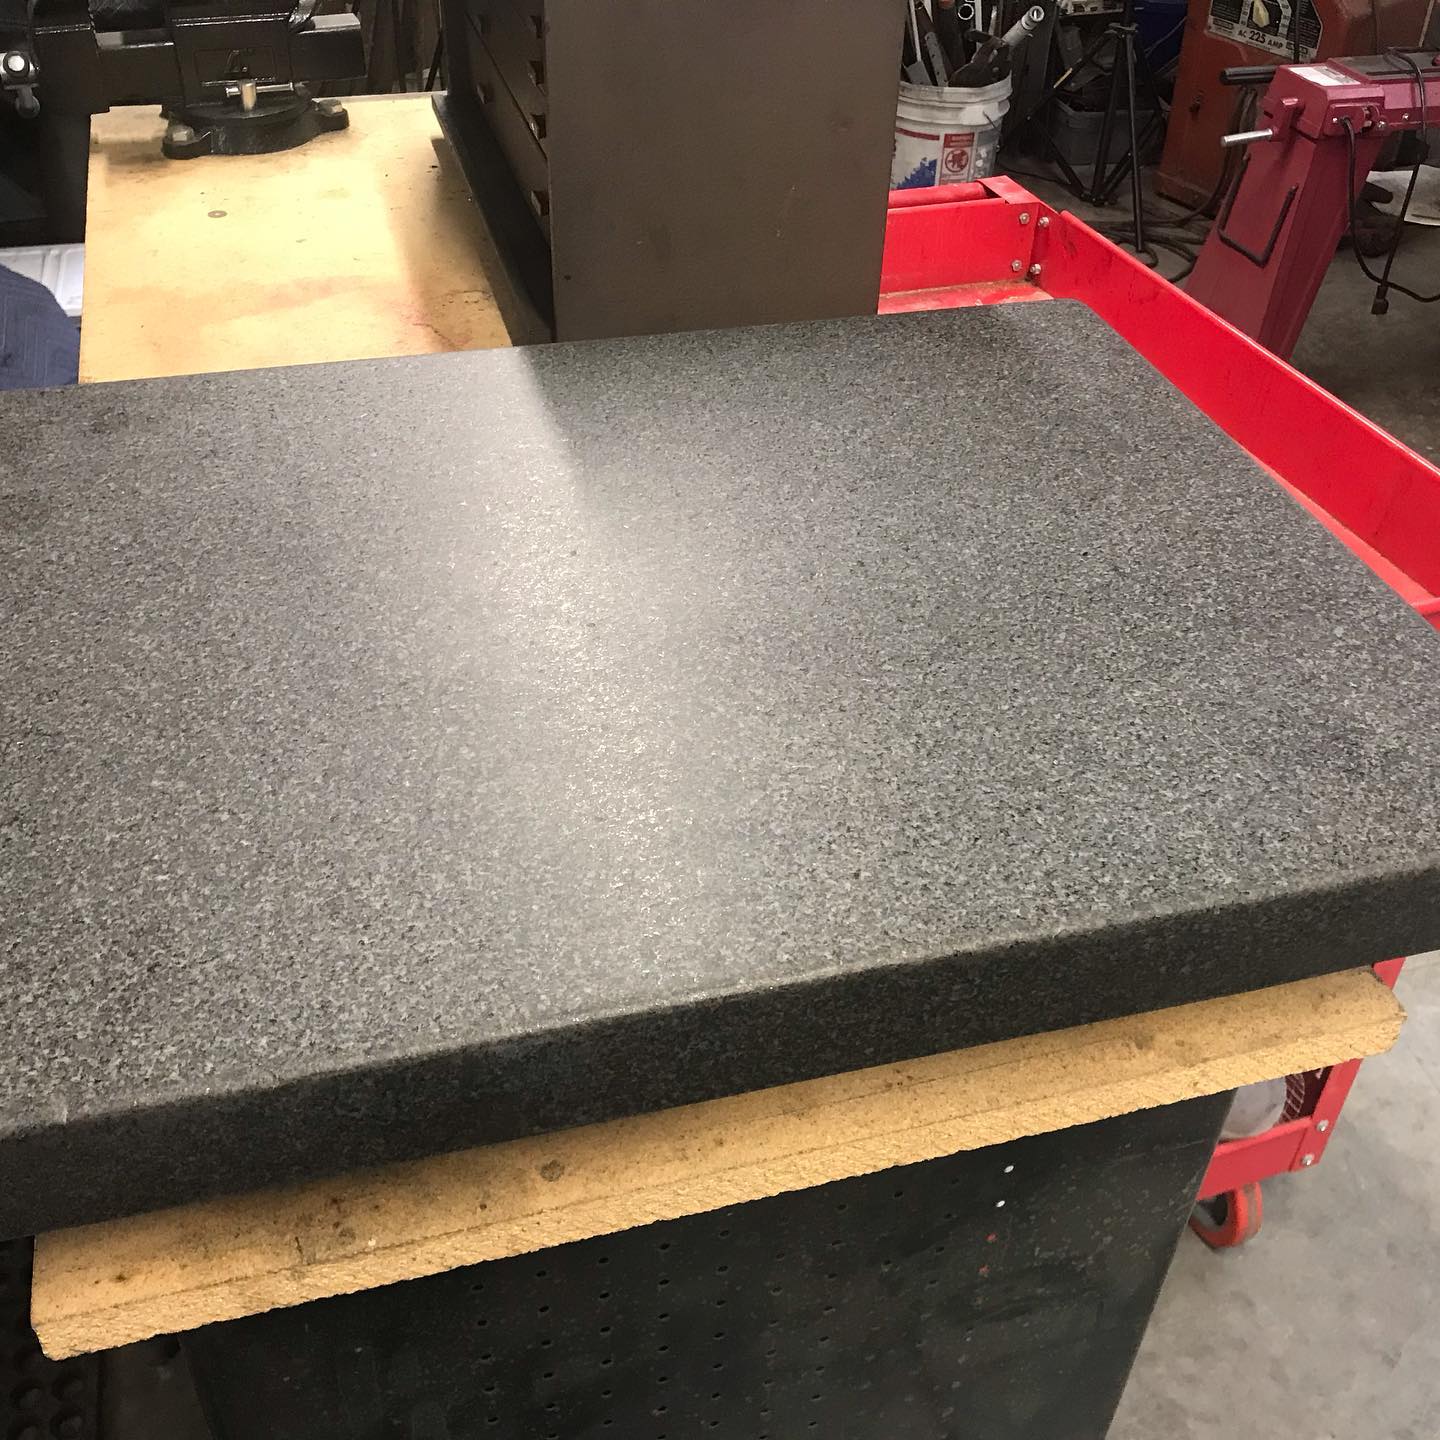
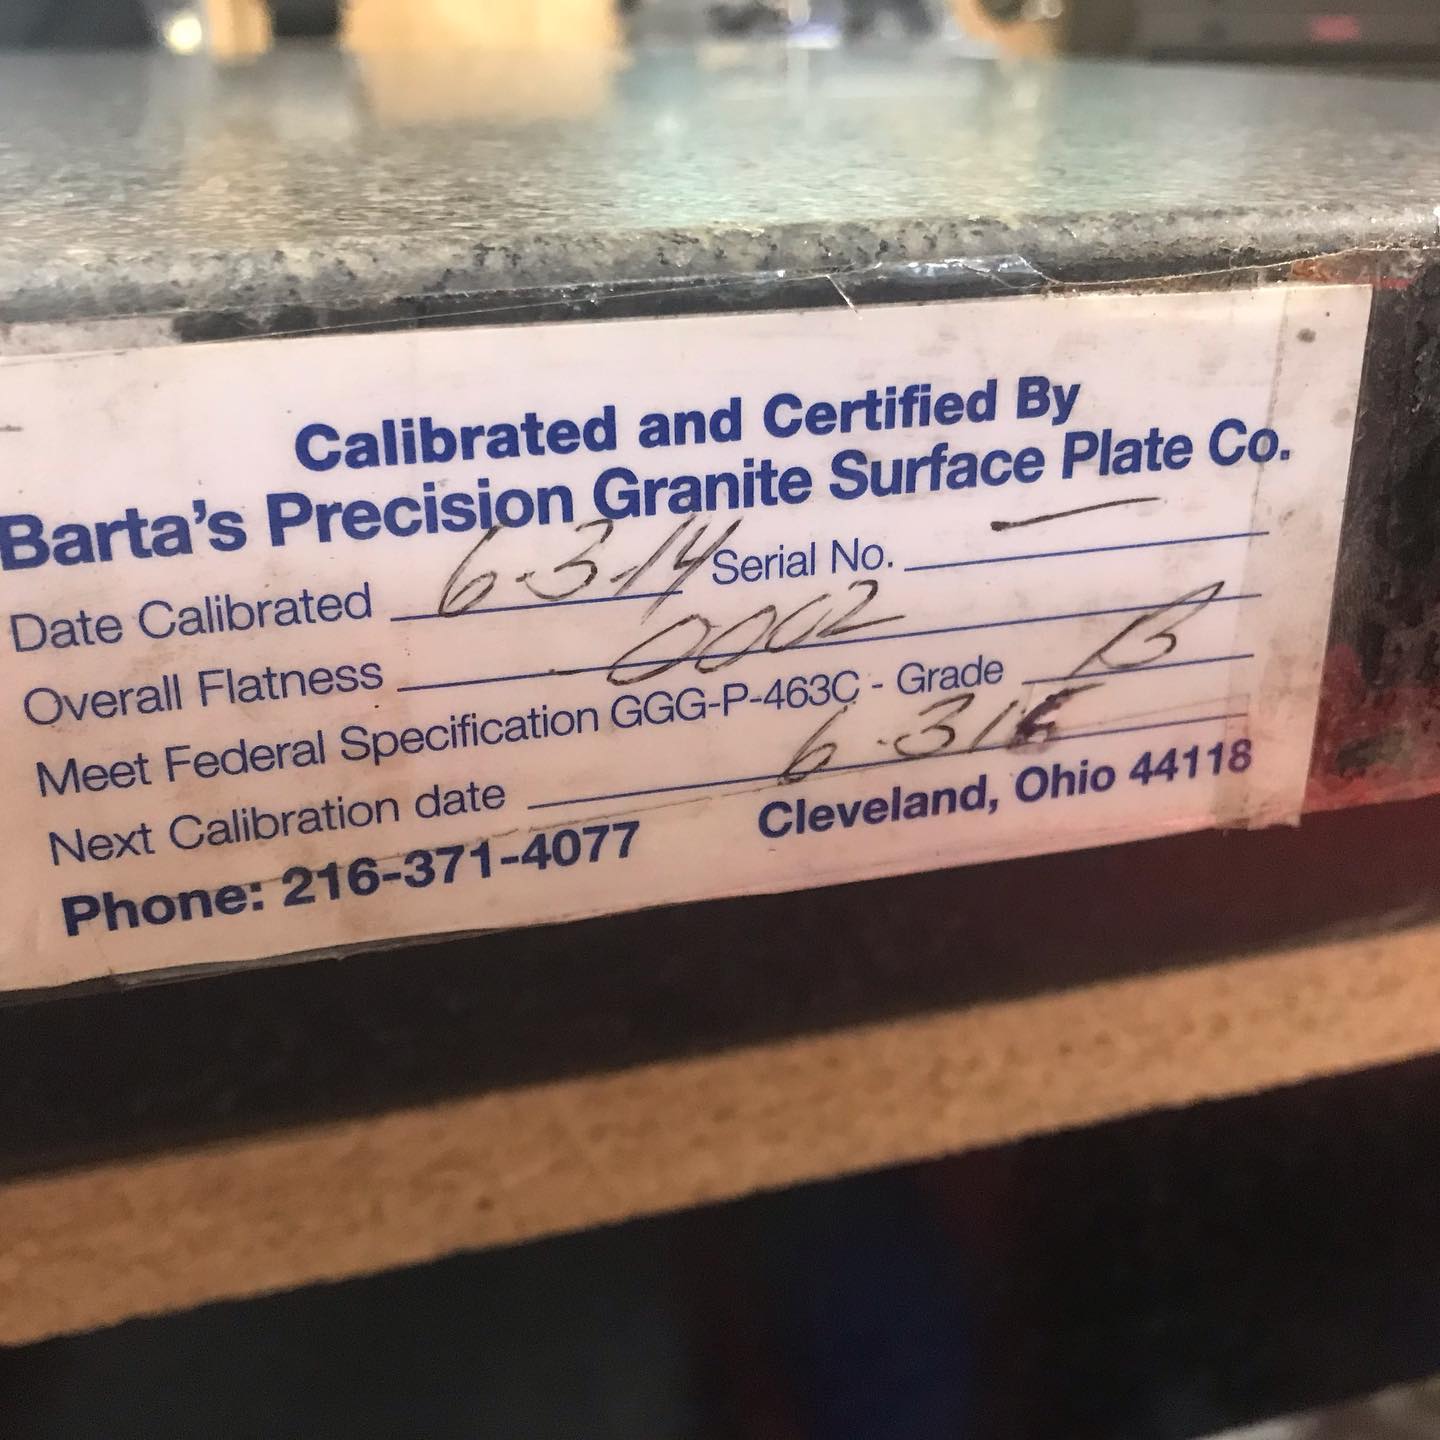
Lates auction score. 18” x 24” grade B surface plate for less than $40. Might need to build a cart/stand for this one. Debating on if I should keep the Starrett 12” x 18” since my shop is on the small size.
.
.
.
.
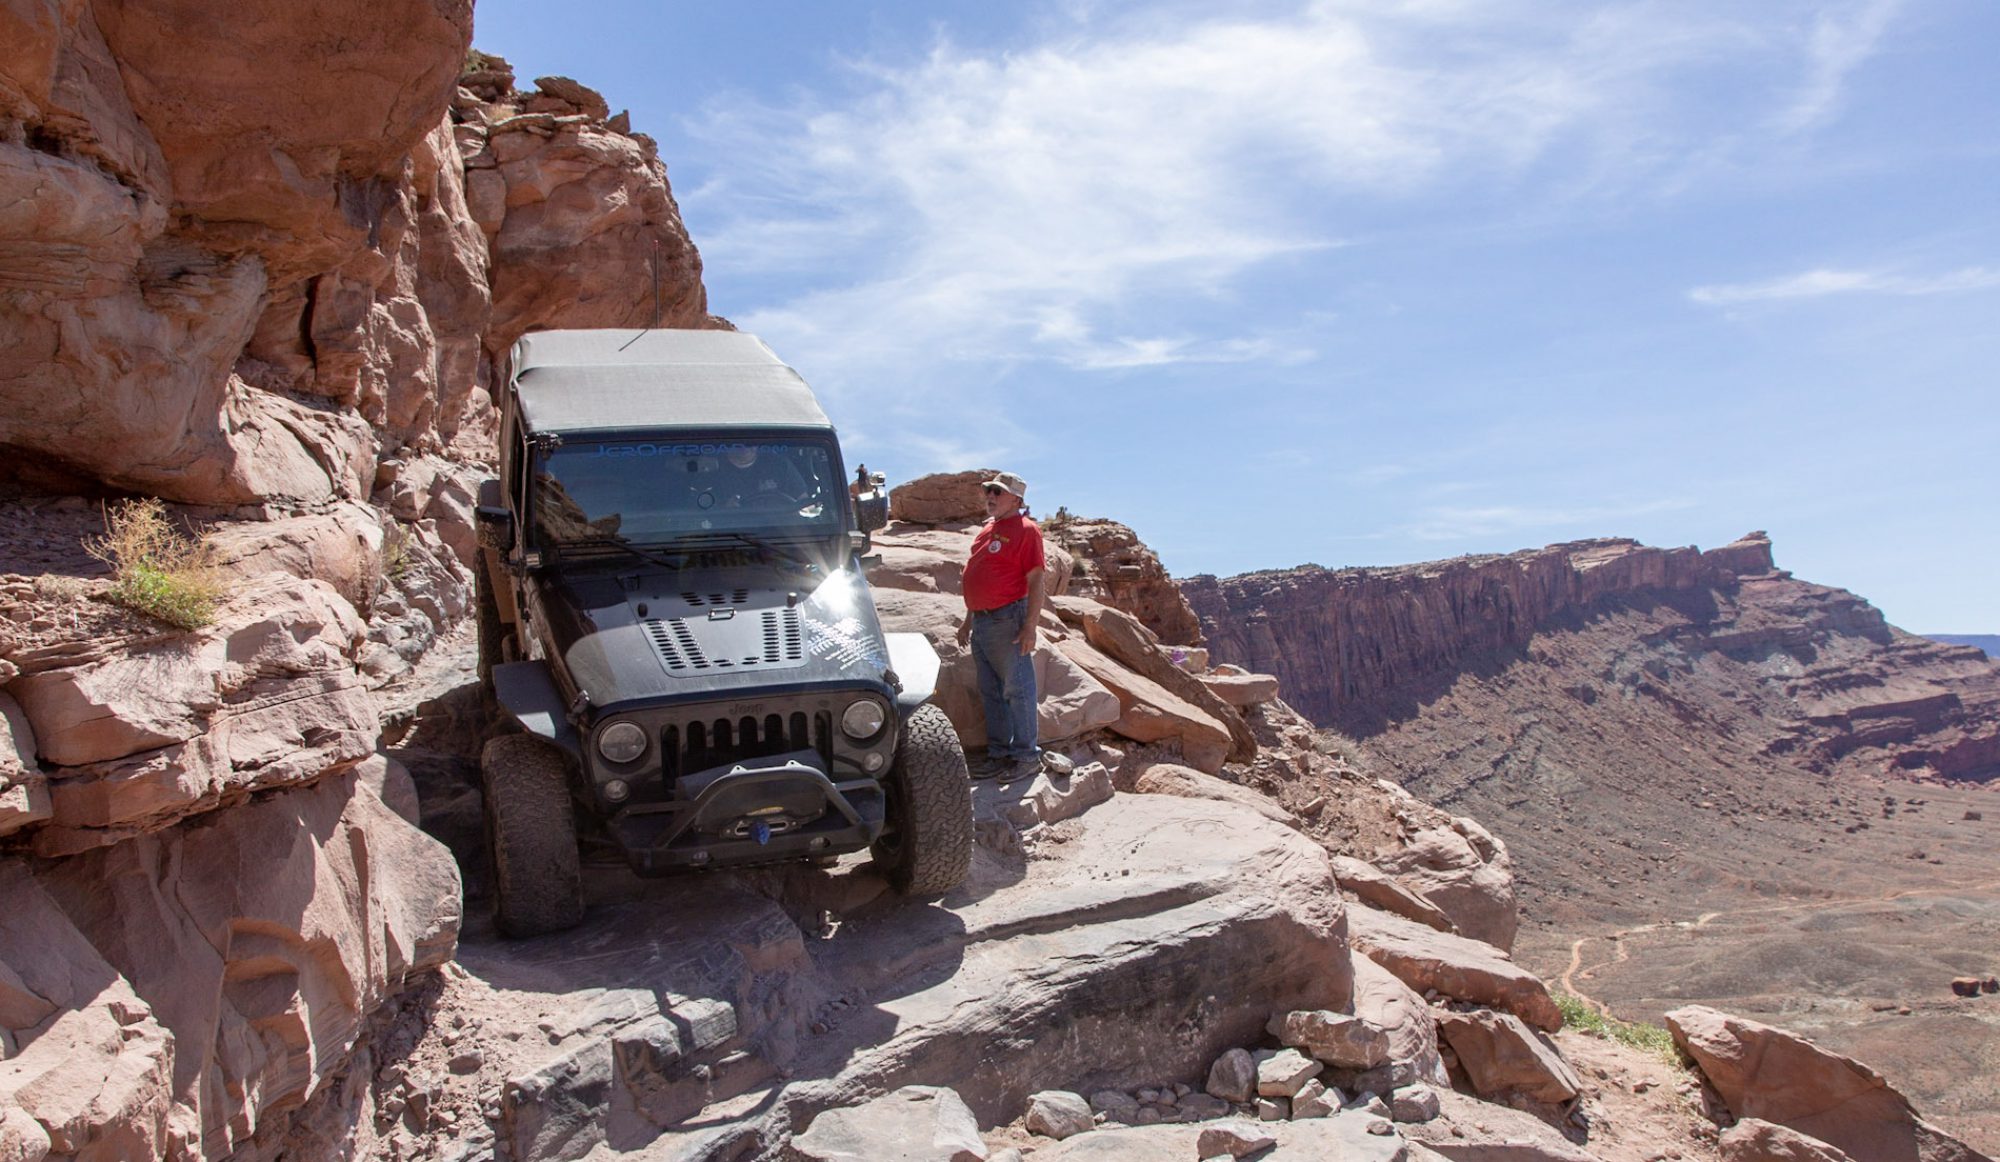
The adventures of a Jeep and its driver.
Lates auction score. 18” x 24” grade B surface plate for less than $40. Might need to build a cart/stand for this one. Debating on if I should keep the Starrett 12” x 18” since my shop is on the small size.
.
.
.
.
My next door neighbor has this big hunk of concrete in his front year that appears to have been used for an old flag pole that has long since rusted and fell over, I would imagine. He asked if I could weld him up something new that he could use to mount a smaller pole, something more like a naval yardarm that has provisions for multiple flags. He is going to use some 1″ black plumbing pipe for the new pole. He asked me if I could fabricate some kind of pivoting/hinged mount that we could bolt onto the concrete.
I turned a small piece on the 13″ South Bend lathe for the pivot and used my Primeweld TIG225X in SMAW mode to weld the pieces together.
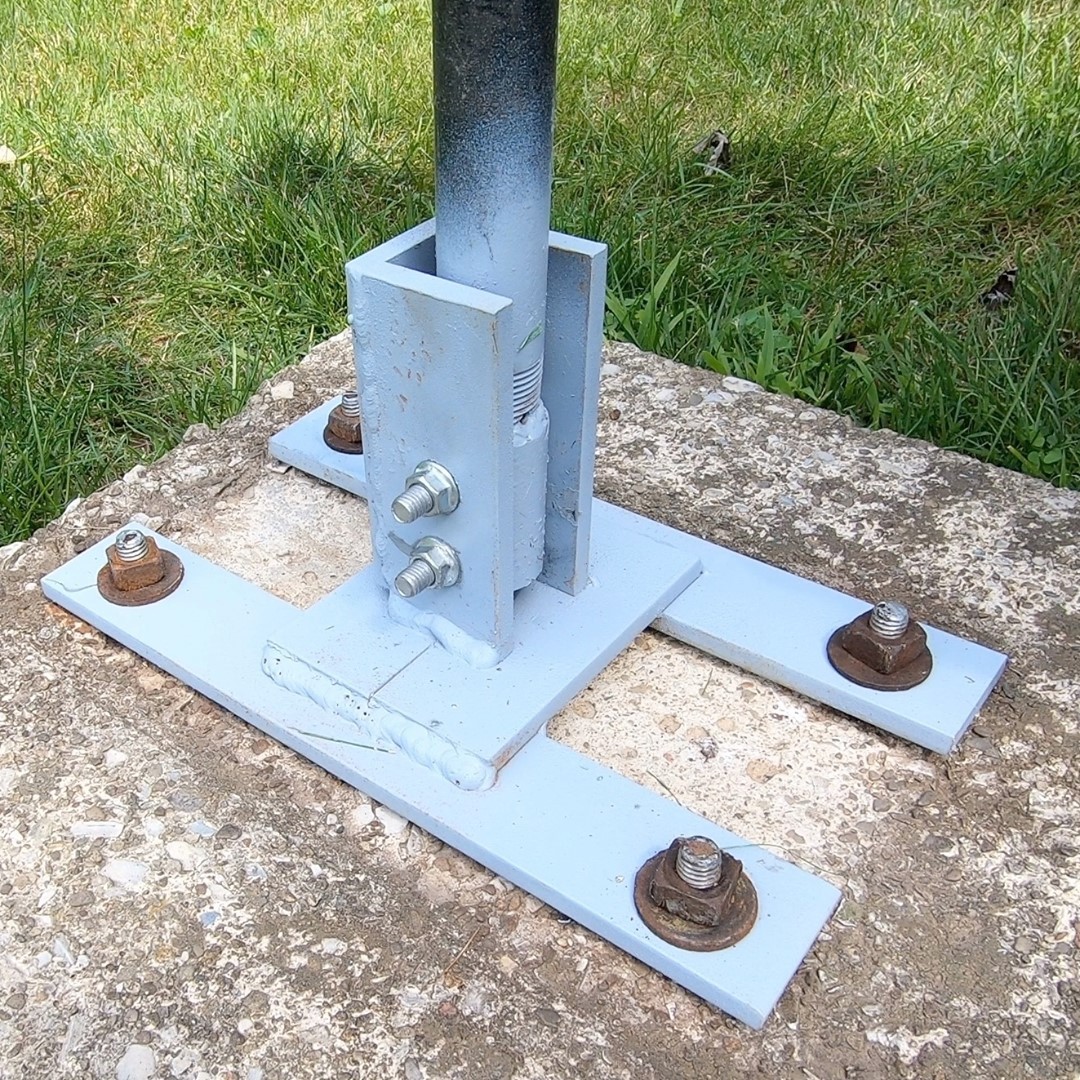
My neighbor asked me to build a hinged flag pole mount to replace the rusted one that was in his front year.
.
.
.
.

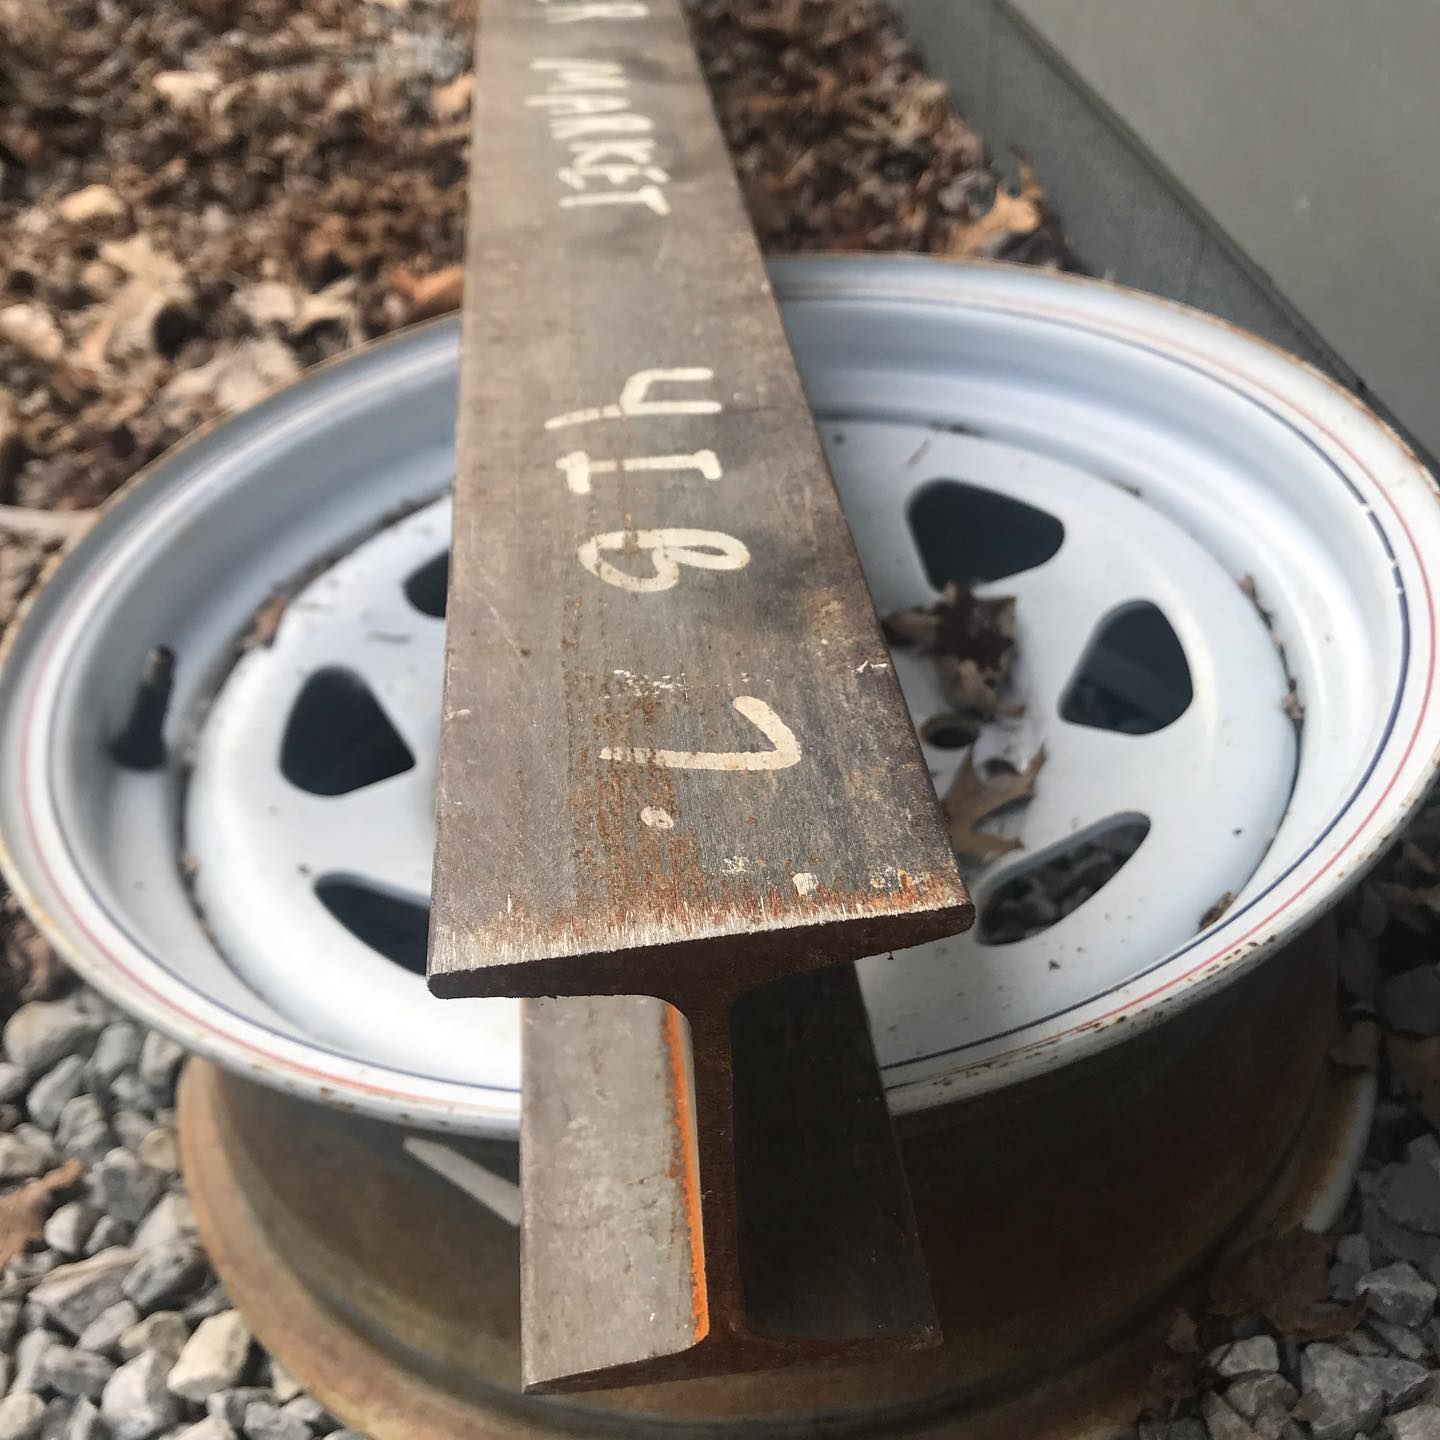
First two pieces of the jib crane! Scored this I beam and trolley off Fakebook Marketplace for a great deal. I’ve been thinking of putting something like this in the workshop to help move chucks, vises, and such on and off the lathe and mill. The older I get, the harder it will be to move these things around. Plus, if I get it built in time, it’ll help with the rehab of the mill.
.
.
.
.
The rear pinion seal on my Jeep has been leaking for a while – like, maybe 3 years 😬. The Jeep isn’t a daily driver, so I’ve just been ignoring it. Still plenty of fluid in the axle housing. But, I got tired of the spots on the garage floor. Time to replace it. Rather simple job, if you cheat a little.
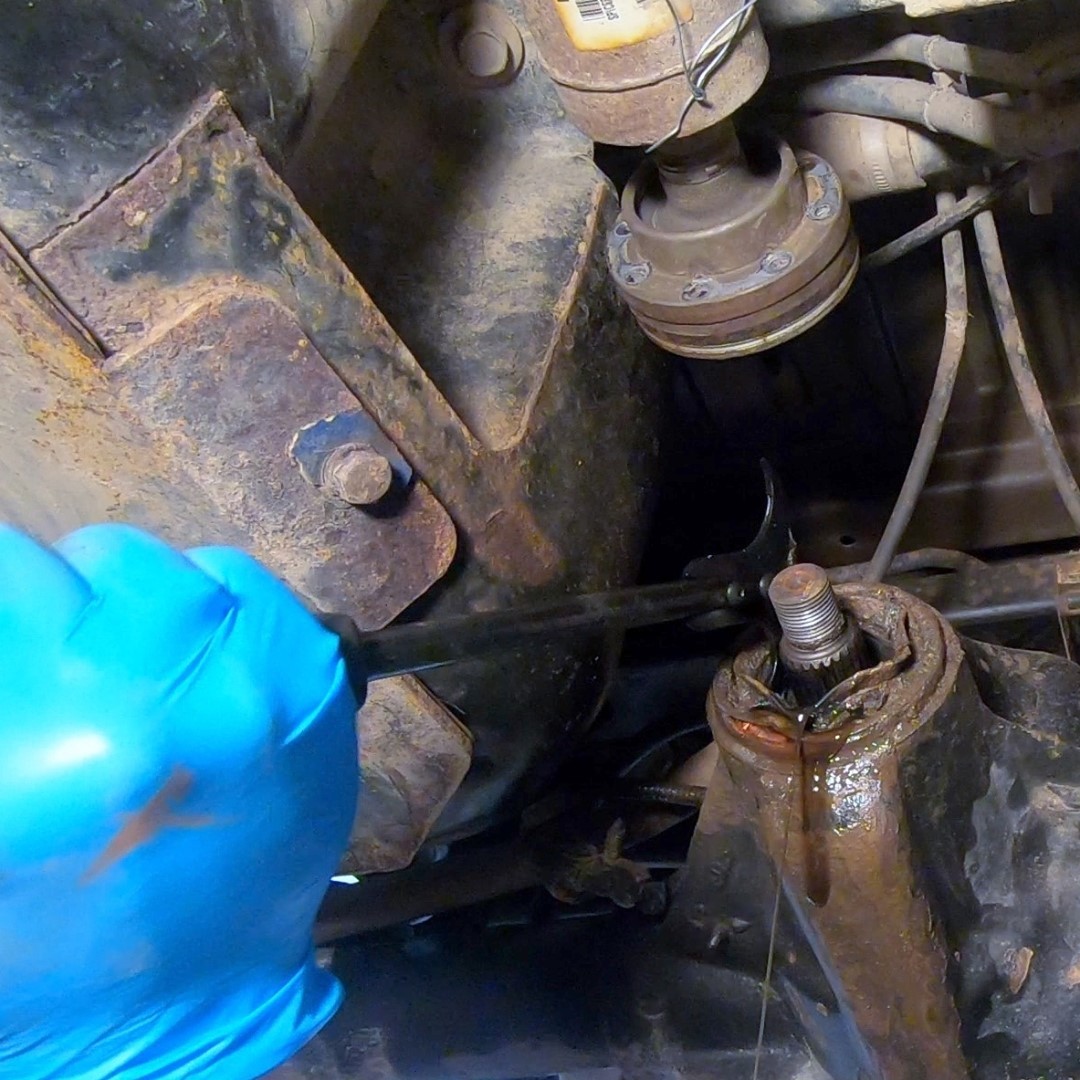
I’ve been ignoring this pinion seal leak for about 3 years now. I guess I should fix it. LOL! I made a short video of the fix – check the link in my bio.
.
.
.
.
.
.
I took clips from the videos that I recorded while restoring this 13″ South Bend Lathe built in 1941 and strung them together to show an example of the whole process. I had a lot of fun doing this restoration. There were some frustrating moments, but it feels good to have to “done.” Of course, for me, it’ll never really be done. There is more I could do to improve the lathe, such as having the ways ground and then scraping the saddle, but those things will have to wait. On to other projects!
Full videos:
Part 1 – Unloading https://youtu.be/yy-pogxmvws
Part 2 – Tailstock https://youtu.be/iw6OCAe_AEU
Part 3 – Three Jaw Chuck https://youtu.be/PzQa8ohTpFk
Part 4 – Thread Chasing Dial https://youtu.be/7gDcYqL_b_o
Part 5 – Compound Disassembly https://youtu.be/Qj_ulUO5c44
Part 6 – Cross Slide Disassembly https://youtu.be/pB4AeCUQwfk
Part 7 – Gear Train Disassembly https://youtu.be/HbZFitKRB40
Part 8 – Gear Box Disassembly https://youtu.be/Zqp8GGB4LUg
Part 9 – Apron Disassembly https://youtu.be/CyhednhJy0Y
Part 10 – Headstock Disassembly https://youtu.be/ly2VoyIfQr8
Part 11 – Bed, Legs, Motor and Chip Pan Disassembly https://youtu.be/MEXbe5jQBU0
Part 12 – Motor and Bed Assembly https://youtu.be/dmVBvkL6qT4
Part 13 – Saddle, Cross Slide and Compound Assembly https://youtu.be/HhUEEd_-g9M
Part 14 – Gear Box Assembly https://youtu.be/IAxK-WCSrOw
Part 15 – Headstock Assembly https://youtu.be/UREdBLno4ac
Part 16 – Apron Assembly https://youtu.be/leW-H07fvSQ
Part 17 – Motor Wiring https://youtu.be/1wNQQliJviI
Part 18 – Primary Gear Train https://youtu.be/7PwuKs95lsY
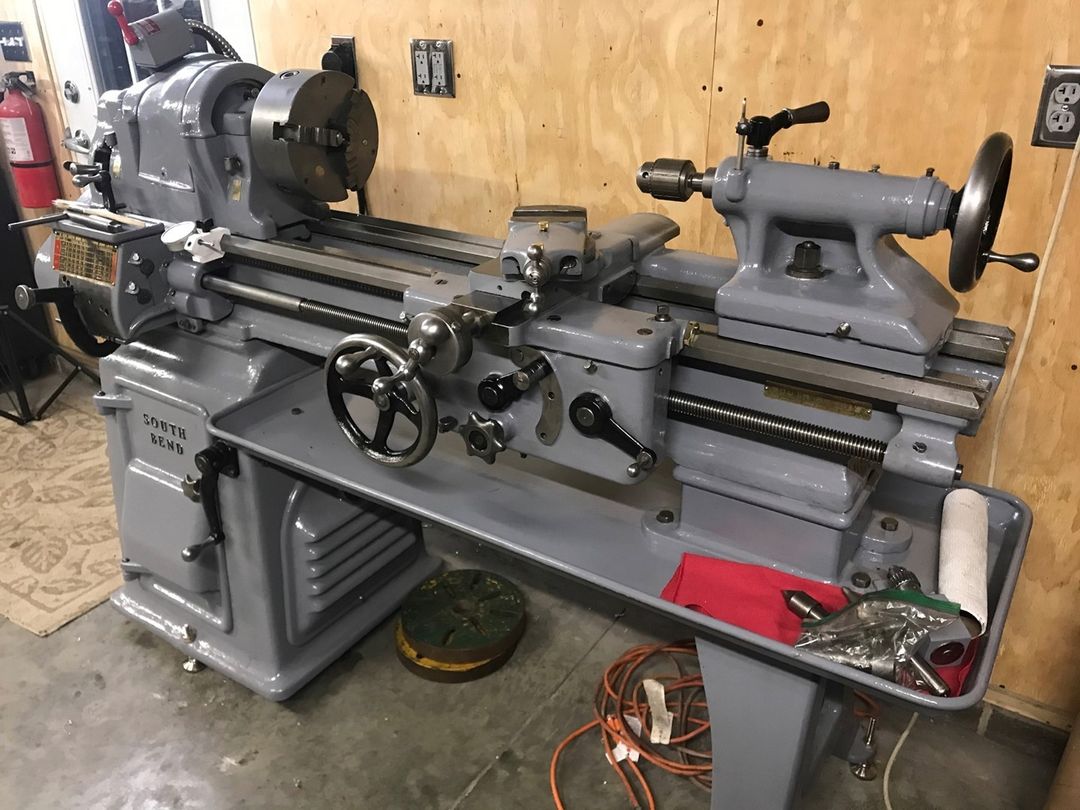
I took some random clips of the restoration process for this, a 1941 South Bend 13″ lathe. It was in pretty rough shape when I got it, but I took it apart, piece by piece, cleaned it, replaced what was worn or broken when possible, and put it back together. It runs great!
.
.
.
.
.
.
.