
A few quick updates.
While the axles were still in progress, I figured it was as good a time as any to replace the inner axle seals on the front housing. Rob came over and we went to work. I need to preface this by saying neither of us had ever done this before. But the procedure seemed simple enough. Remove the locker, replace the seals, put the locker back in. It’s important to make sure that everything you take out has to go back in the same way. The shims, bearing races, bearing caps and bolts all need to go back into the same side and orientation as they came out.
First step, we put the housing up on the bench.
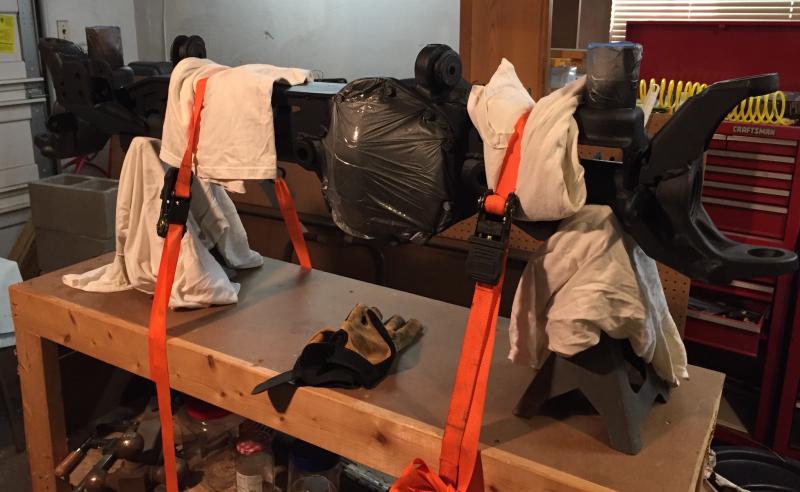
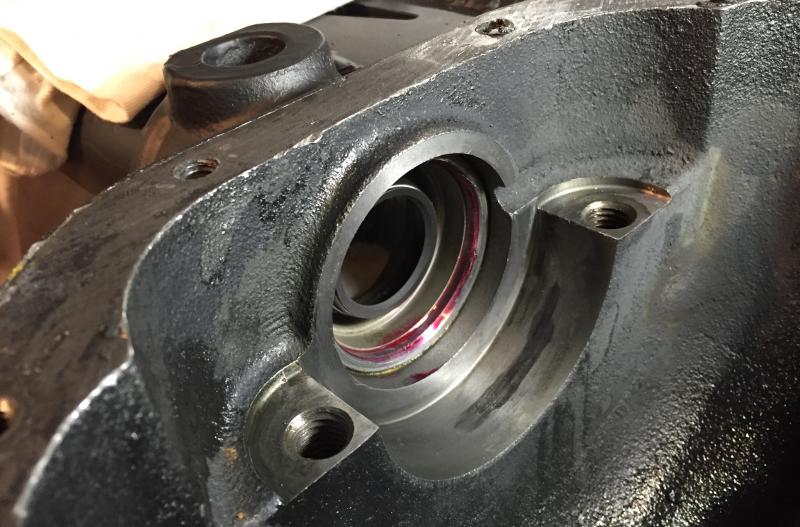
After rotating it pinion down, opened the housing, snapped a few pictures for reference, and removed everything. I put each piece into a ziplock baggie with a piece of paper that indicated where it came from.
The seals didn’t look bad, but, too late now. Took a piece of soft copper pipe and knocked out the seals from the outside into the housing, keeping sure not to knock any crap inside.
A fellow Jeeper was kind enough to ship me his Yukon seal press. this thing makes it a snap to install seals. I cleaned everything out and made sure there was no crud or grease where the seals were going.
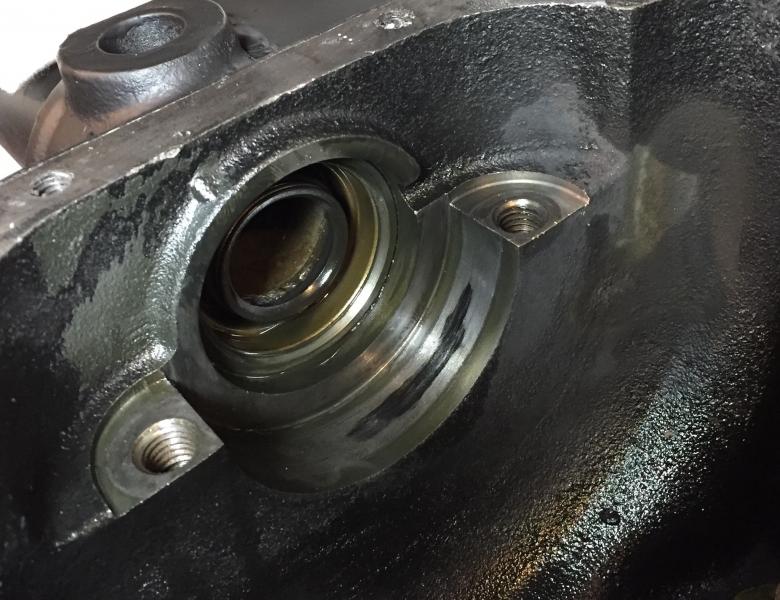
At Andy’s suggestion, I coated the outside of the seals with red lock tite. After setting one of the seals in place, and inserted the press, it was just a matter of using a wrench on the nut to press it into place. The other side was just as easy.
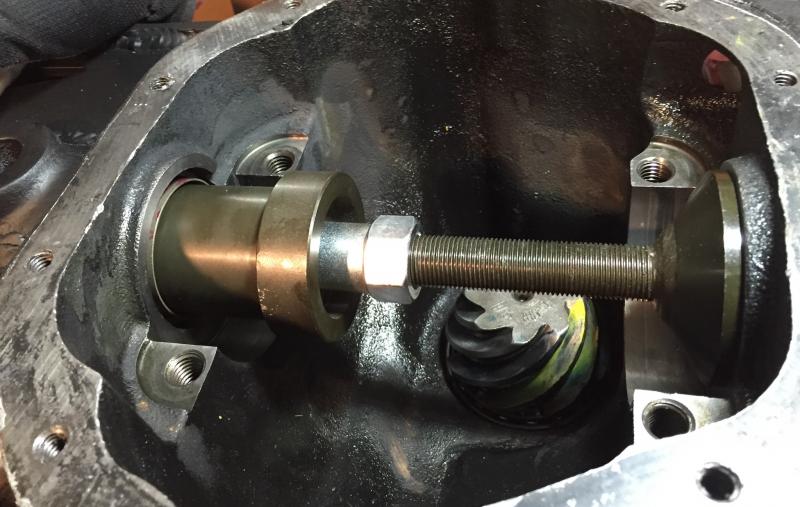
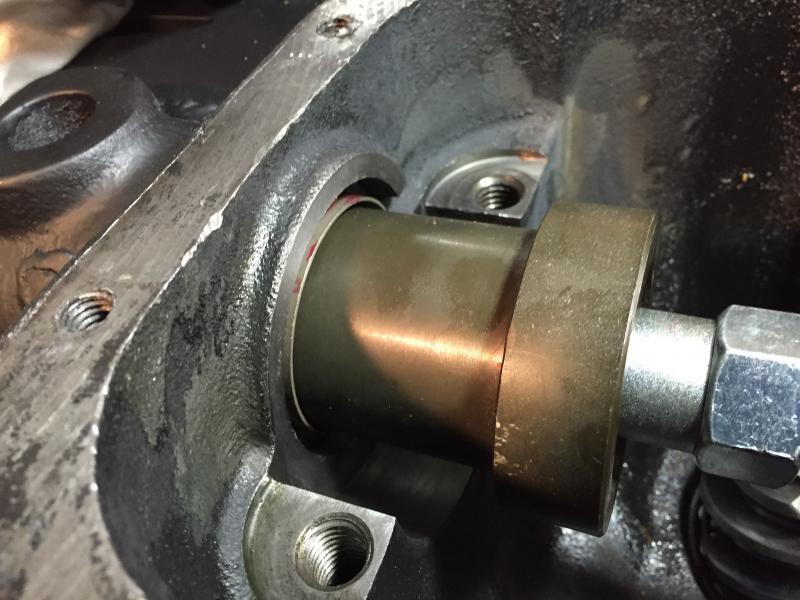
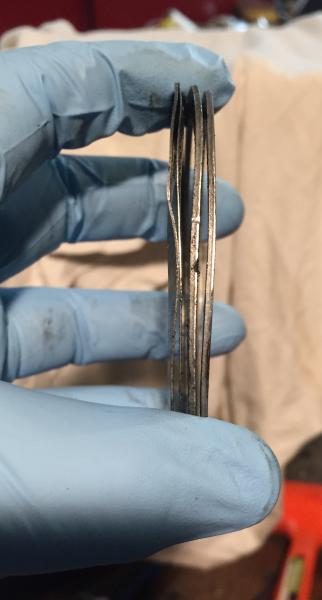
After the seals went in, it was time to put the locker back in. That did not go as well as planned. As hard as we tried, we couldn’t manage to get the locker and shims back in at the same time. I tried putting the locker in with the shims on one side, then slipping the other side in, that didn’t work. We tried to get both sets of shims in at the same time, and it just wasn’t going in right. We tried just about everything, using a hammer to try and tap the shims in, but I ended up damaging the shims to the point where I no longer trusted they would be usable.
I ended up taking everything back to Davis Race Car in Madison, OH and within about 20 minutes, with the help of a case spreader, we had everything back in with new shims. Jason Davis seemed to think the locker was in a little tighter than he normally would do, but there was nothing wrong with this install. Ran a quick contact pattern and it was perfect. The case spreader made a bug difference. Just needed to stretch the case a few thousandths of an inch.
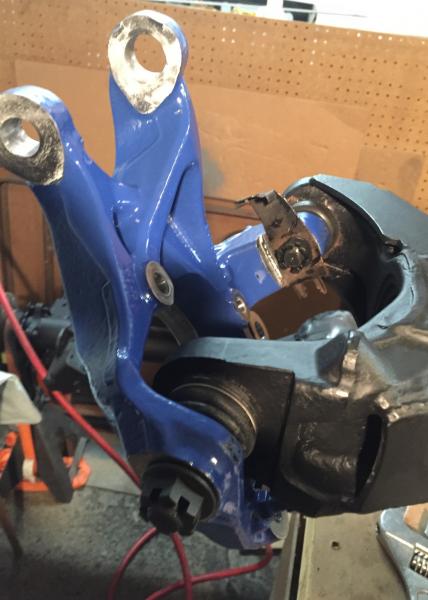
Before taking the axle up to Davis, we installed the ball joints. I bought a set of Teraflex Heavy Duty ball joints and rented a ball joint press from Advanced Auto. The only problem was this set did not come with an angled adapter to match the angle of the steering yoke. A little with work with a grinder solved that.
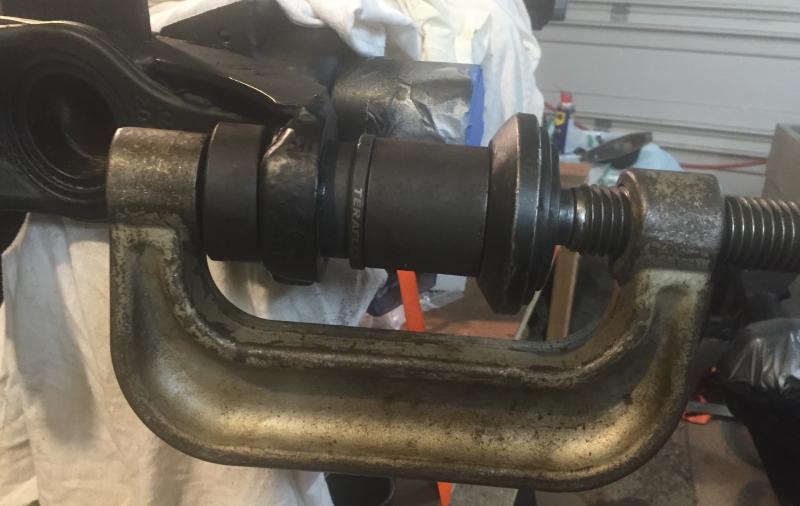


Still need to grease these, and Teraflex guarantees these for life, as long as they are properly maintained – a little grease every other oil change should do it.