
Next in the disassembly and teardown queue for this lathe was the cross slide. Only a few pieces to it. This lathe had been retrofitted with a larger 250 thousands dial, thus the feed screw and nut were “adapted” for an 8 TPI threaded screw. No real surprises here, except for the dial locking screw was not what it should be. I’m replacing it with a knurled thumb screw and a brass shoe after everything is painted.
I disassembled the cross slide on my 80 year old metal working lathe.
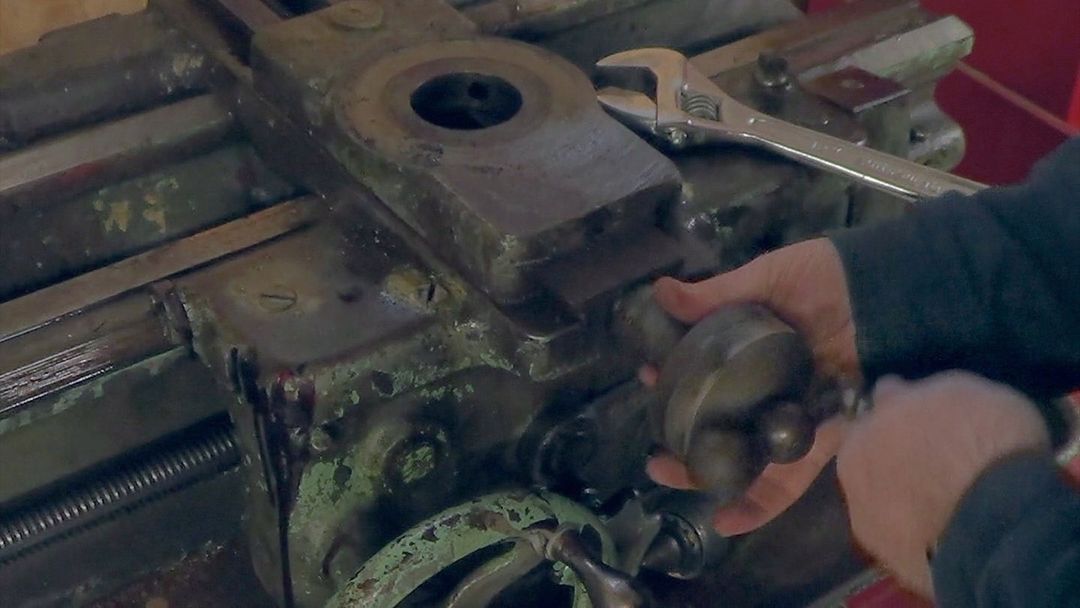
I disassembled the cross slide on my 80 year old metal working lathe. Lots of little pieces, and some that were just plain wrong.
.
.
.
.
.
.
.
Sneak peek of how the reversing lever is turning out.
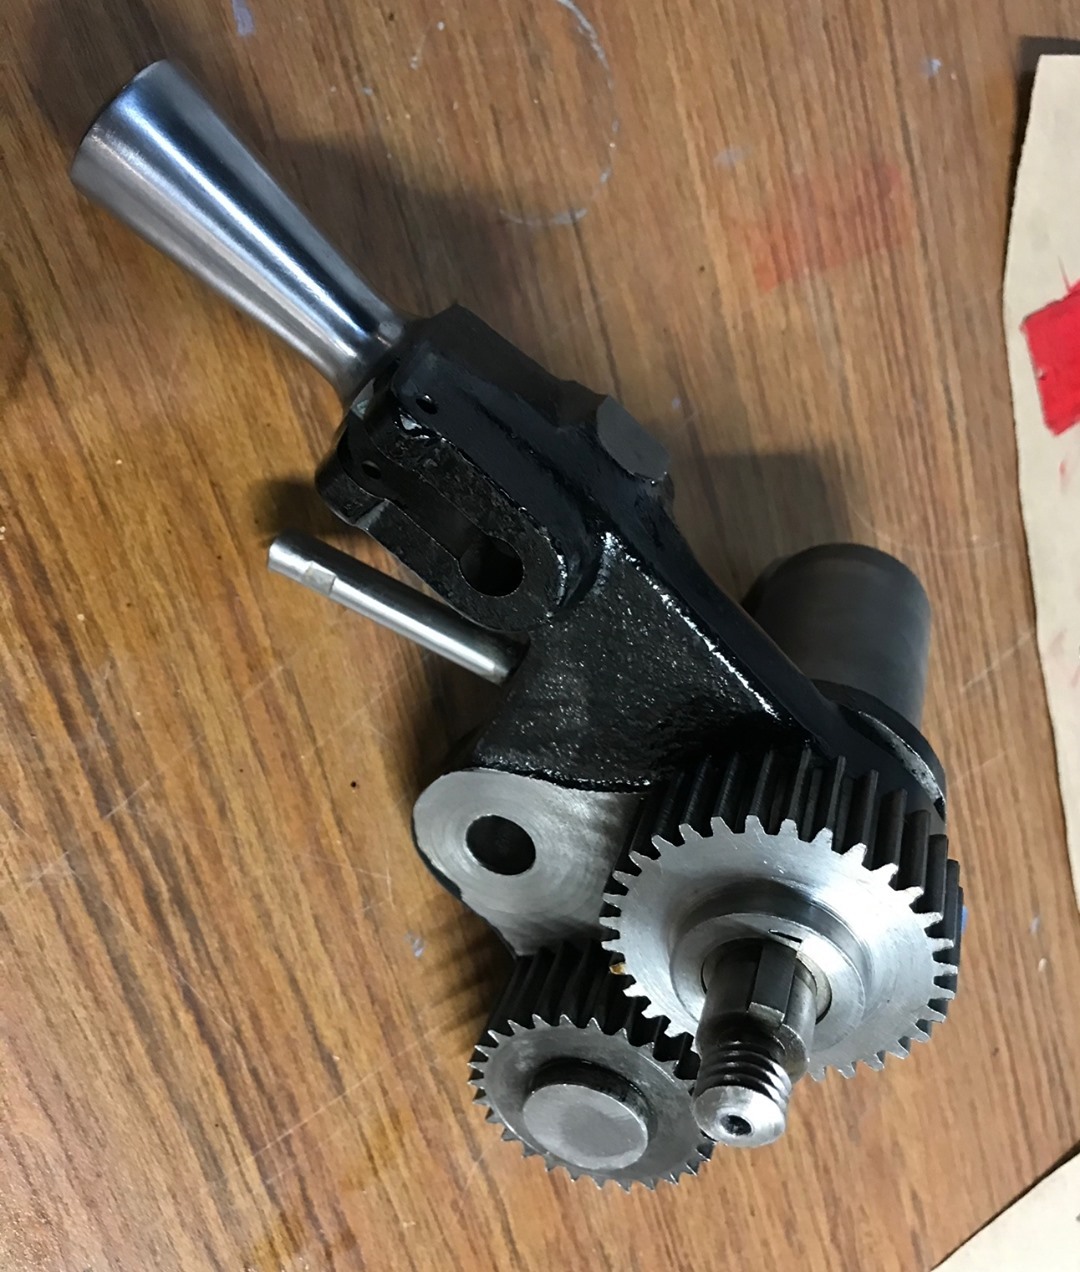
Sneak peek of how the reversing lever is turning out. I’m dropping a video on YT this Friday of the teardown of the main gear train on my 80 year old lathe.
.
.
.
.
.
.
.
Hard to believe it’s been two years since the workshop was framed and roofed.

Hard to believe it’s been two years since the workshop was framed and roofed. A lot has changed since this photo. And it’s planned usage changed a bit, too. For what was meant to be a combination workshop/winter Jeep storage is now becoming a fulltime workshop. No room for the Jeep with the addition of the lathe, and a future vertical mill.
.
.
.
.
.
.
Another year I will NOT be going to Moab. Oh well.

1941 South Bend 13″ Lathe Restoration – Part 5 – Compound Disassembly
Started the tear down of the carriage with the compound. The compounds sits atop the cross slide and serves to add another layer of control when cutting on a lathe (i.e. tapers, screwcutting, etc.). I’m just covering the disassembly in this video. I’ll paint it before it goes back together.
Picked up this 80 year old copy of the Machinery’s Handbook.

Picked up this 80 year old copy of the Machinery’s Handbook. This has charts, data, and specifications on just about anything you would need to make on a lathe or other machines. Things like how deep the threads for a 1-7/8″-8 spindle would be. A must have for any budding machinist. And I specifically wanted an edition as old as my lathe, for nostalgia more than anything.
.
.
.
.
.
.
.
You never realize how useful a 3D printer can be until you have a 3D printer.
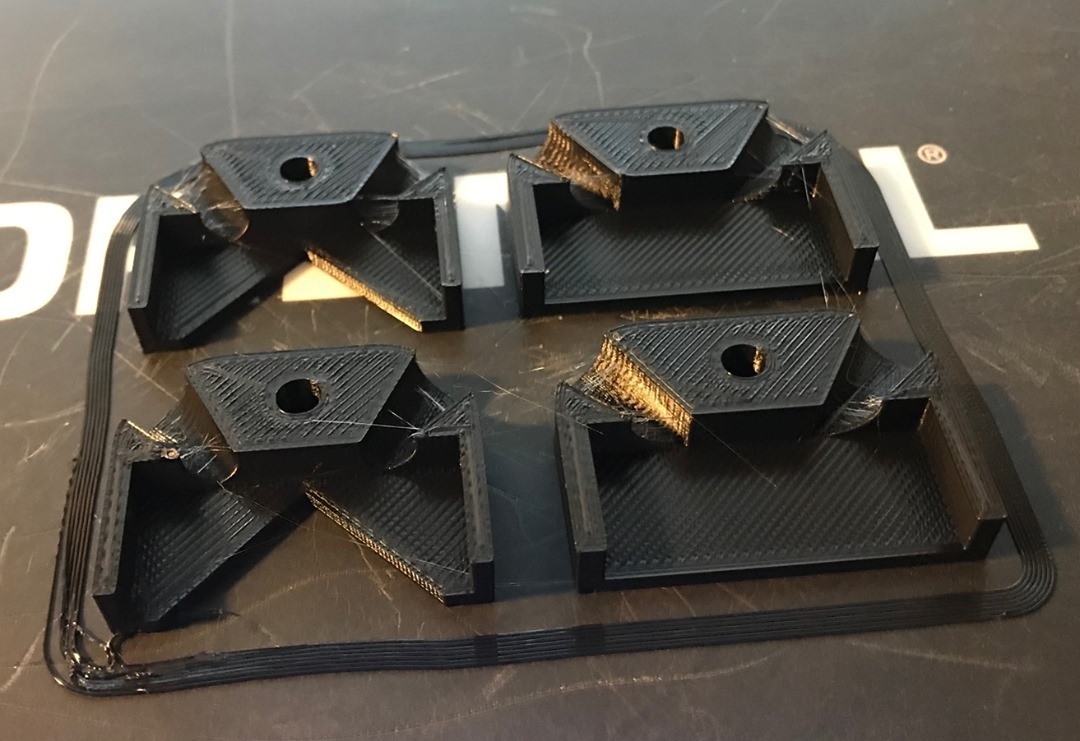
You never realize how useful a 3D printer can be until you have a 3D printer. The tailstock for my 1941 South Bend lathe did not have way wipers on it. The way wiper clears away junk on the ways (where the tailstock slides) preventing that junk from getting under it and damaging the ways. So I drew up and made a set of way wiper covers that I will mount on the tailstock with machine screws. I even incorporated some oil passageways to occasionally add more way oil.
.
.
.
.
.
.
.
Building a DIY Welding Square
This is the second of two welding squares I drew using Fusion 360 and then had cut on the waterjet at the CWRU Thinkbox maker space. Just a simple video of what steps I took to tack it together and weld it up. The welds aren’t perfect, but it is square. And practice, practice, practice.
Get the DXF files here:
Standard square: https://www.etsy.com/listing/1079117806/welding-square-dxf-files-for
Multi square: https://www.etsy.com/listing/1093722018/welding-multi-square-dxf-files-for
I made a second version of a welding square.
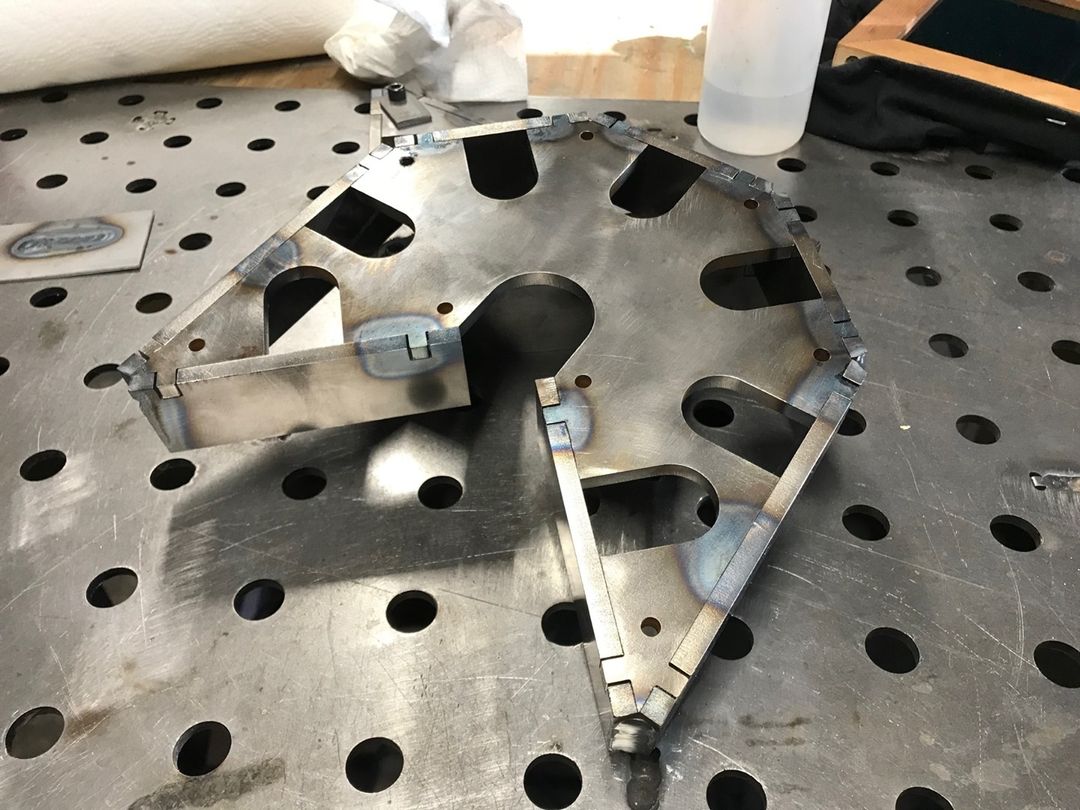
I made a second version of a welding square. These were drawn up in Fusion 360, exported as DXF files, and then sent to a CNC water jet controller and cut from .250 steel.
•
•
•
•
•