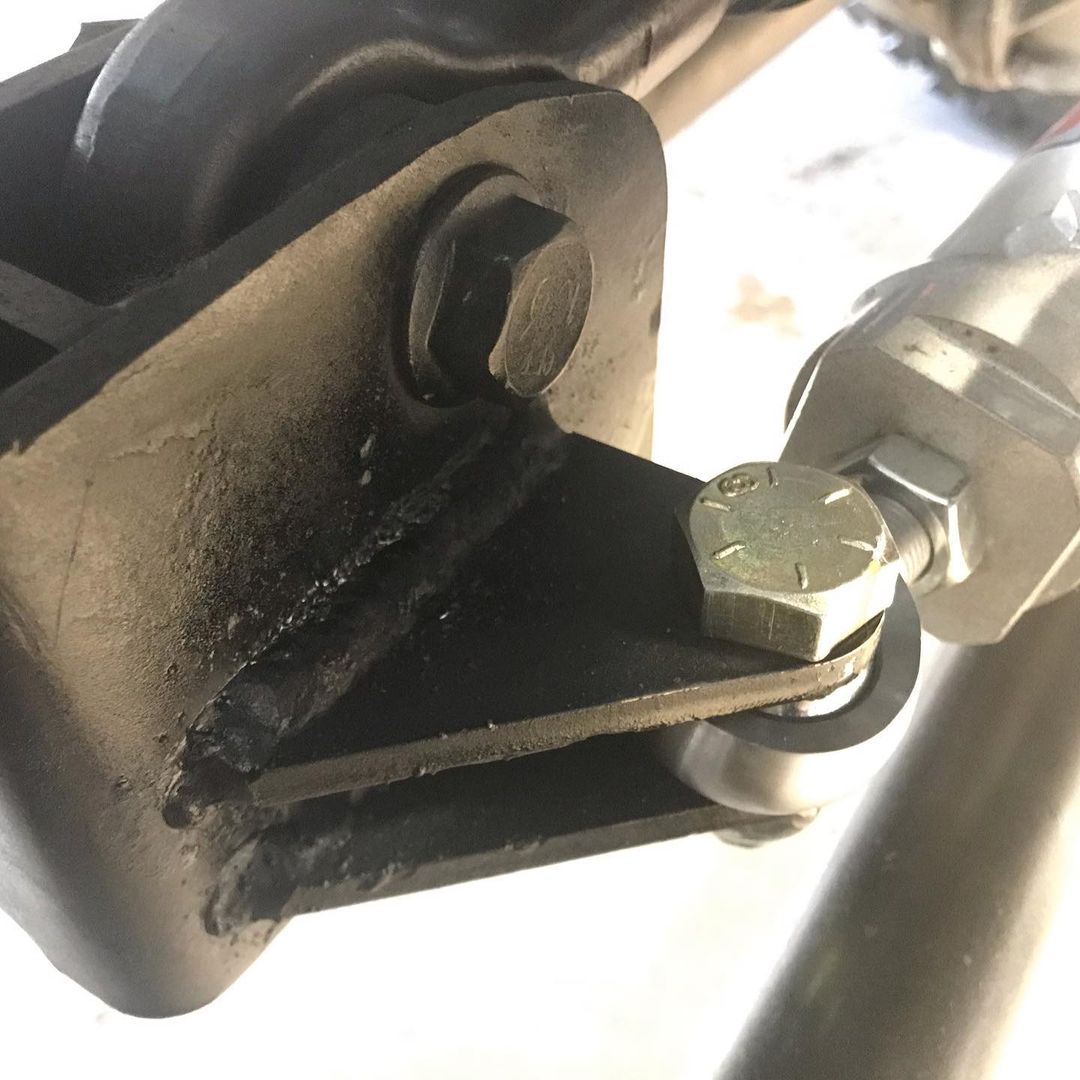
Helped a buddy finish up his hydro assist steering setup from @psc_performance_steering. Good thing black paint hides just how bad my welds are. 😉
.
.
.
.

The adventures of a Jeep and its driver.
Helped a buddy finish up his hydro assist steering setup from @psc_performance_steering. Good thing black paint hides just how bad my welds are. 😉
.
.
.
.
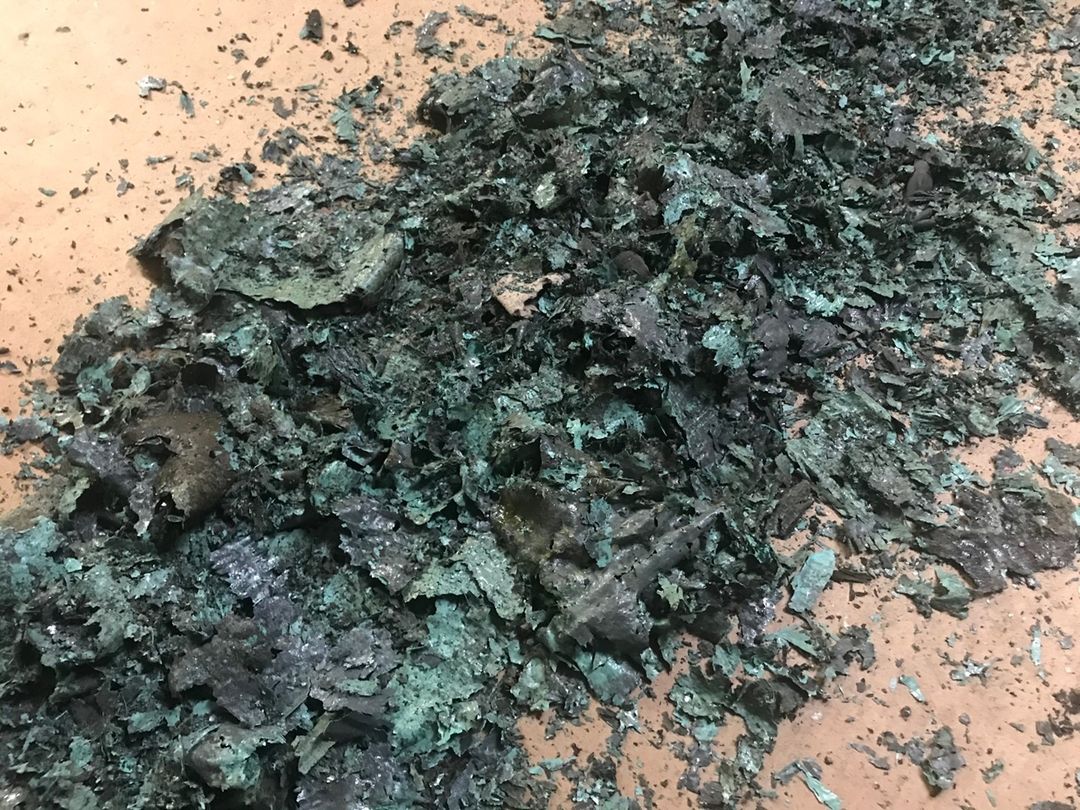
I have no idea how many layers of paint this is. But I am glad it’s no longer part of my lathe.
.
.
.
.
.
.
.
With EJS being canceled for this year, and then uncancled, and then canceled, and uncanceled … I lost track, is it on or not? Doesn’t matter. Sitting this one out. Maybe next year.
.
.
.
.
.
.
.
.
In this video, I disassemble the headstock of the 1941 13″ South Bend Lathe. This was fairly straightforward and gave me an opportunity to inspect the bearing surfaces and to determine if any parts need to be replaced. All in all, the headstock is in good shape.
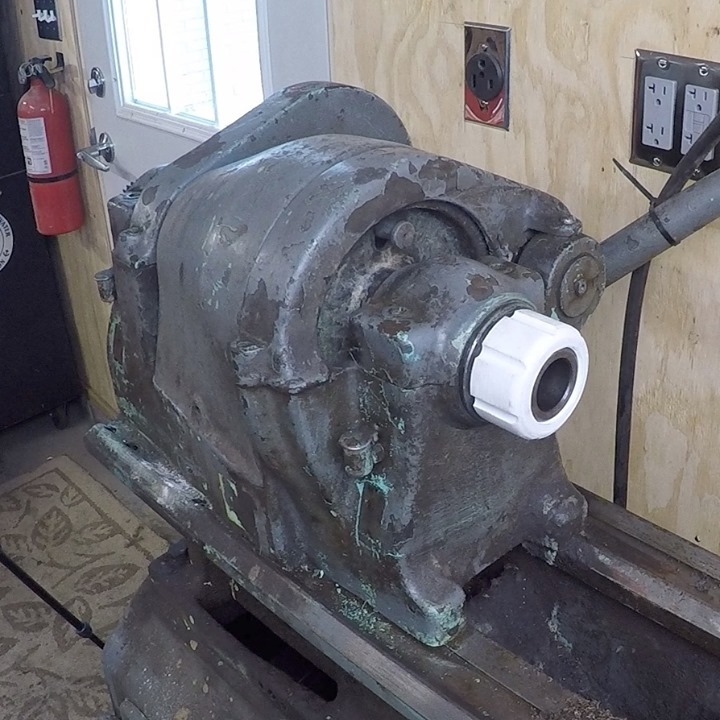
Continuing work on this 1941 South Bend Lathe. Spent some time taking apart the headstock. The white thing in the photo is a 3D printed thread protector. Not completely necessary, but I wanted to try making it. The headstock houses the drive pulleys as well as a back gear that slows the rotational speed of the spindle, as well as the spindle itself.
.
.
.
.
.
.
.
The splined shaft in the power feed clutch mechanism of my 1941 South Bend lathe has some wear and burrs on the ends of the splines. This is causing an issue with the effectiveness of the clutch. Since I have it apart, I’m going to go ahead and fix this now. I have no idea if this is the correct way to do this or not, never done anything like it before. But the risk is low. This shaft doesn’t spin at some crazy RPM, so I don’t see this causing any issues if I screw this up.
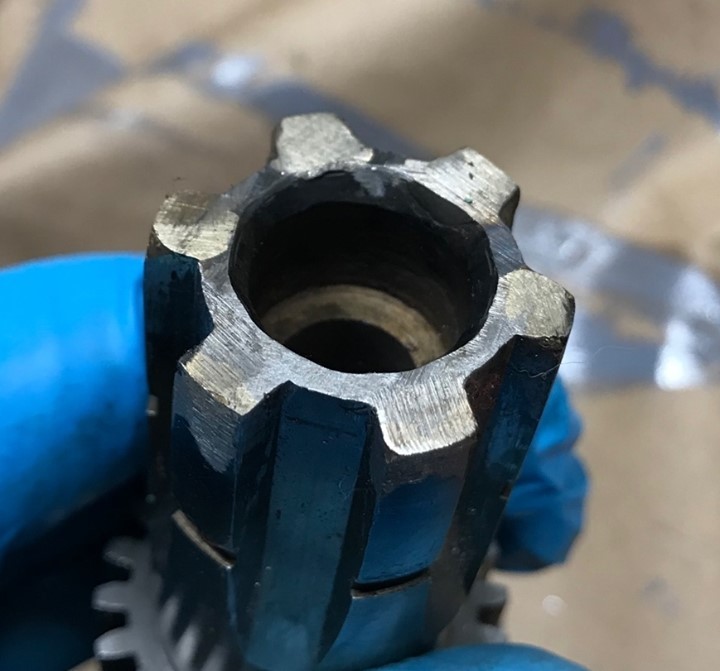
I used some @bluedemonweld Aluminum Bronze TIG rod to repair the worn splines on this shaft from the power feed clutch on an 80 year old lathe. I have never done something like this before, and I think it went well and came out OK. Check the link my bio for a video.
•
•
•
•
•
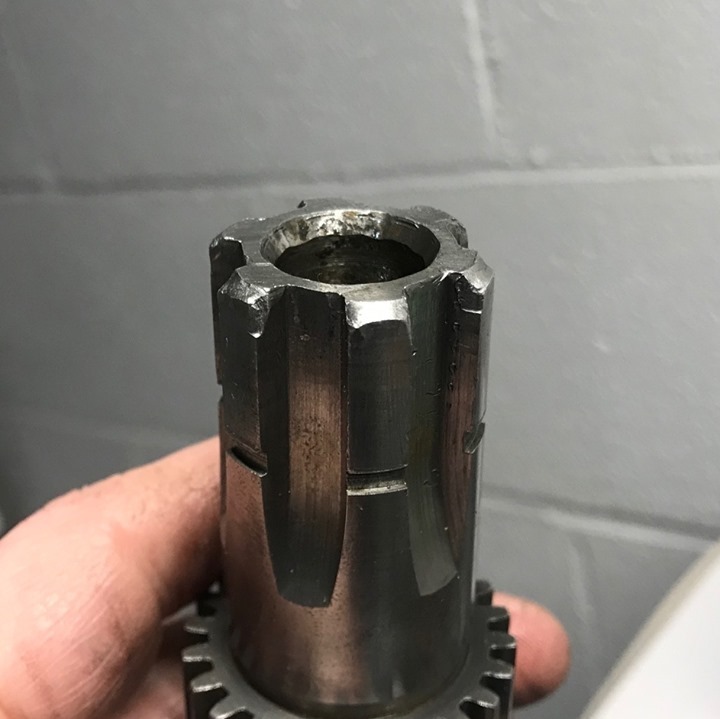
This is a splined shaft that is part of the power feed clutch on the 1941 South Bend lathe I am restoring. The splines have been rounded over at the top after 80 years of use. I’m thinking I might TIG braze some aluminum bronze on them and hand file them to shape. I’ve had good luck using it on cast steel, it should work here.
.
.
.
.
.
.
.
In this episode of the 1941 South Bend lathe restoration/refurbishment saga, I disassemble the apron. The apron has several gears and levers that are used to move the saddle and cross slide. A number of these parts are held together with taper pins that can only come out one way, unless the are busted in multiple pieces and no longer line up with the holes. The ride on the struggle bus was not always fun.