CV joints

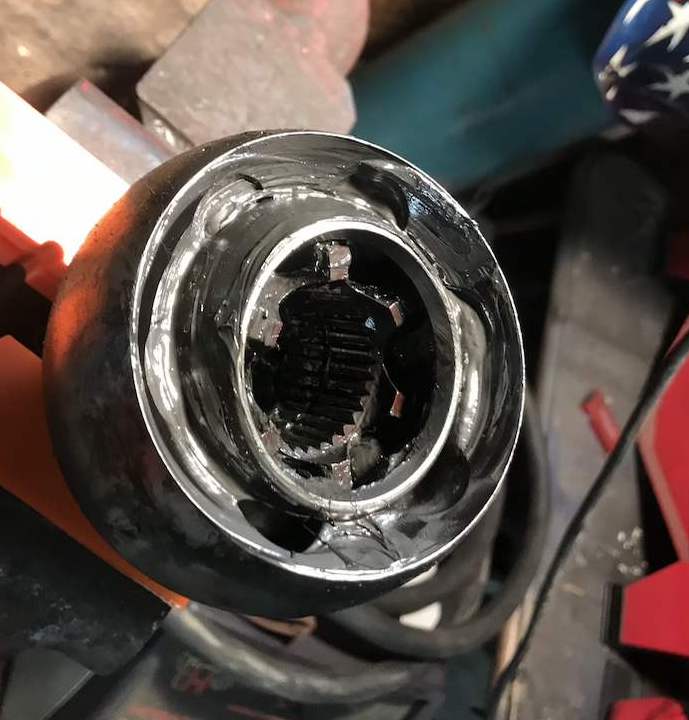
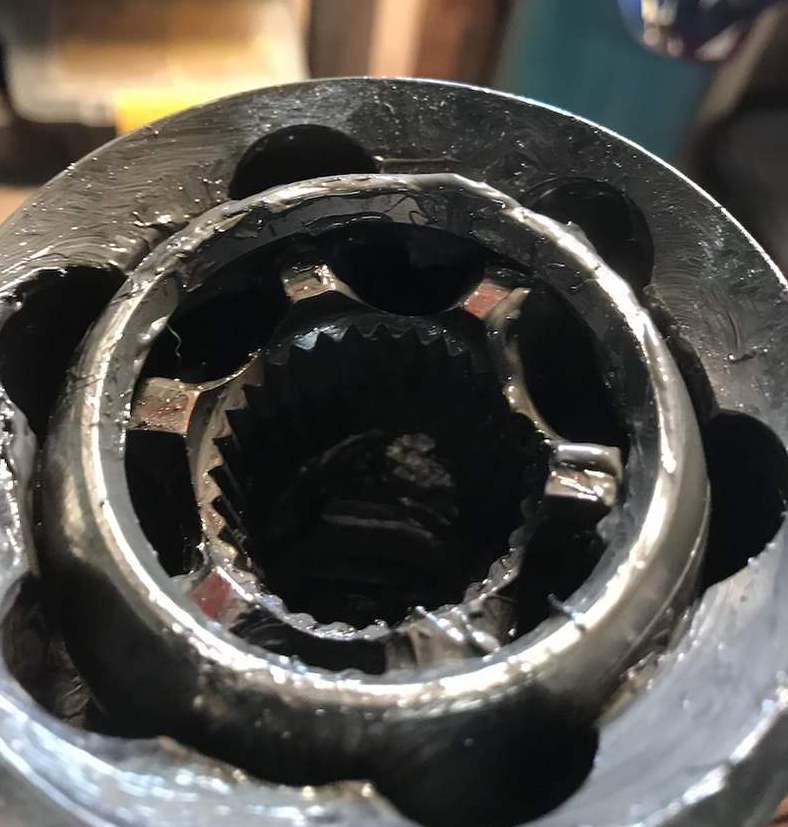
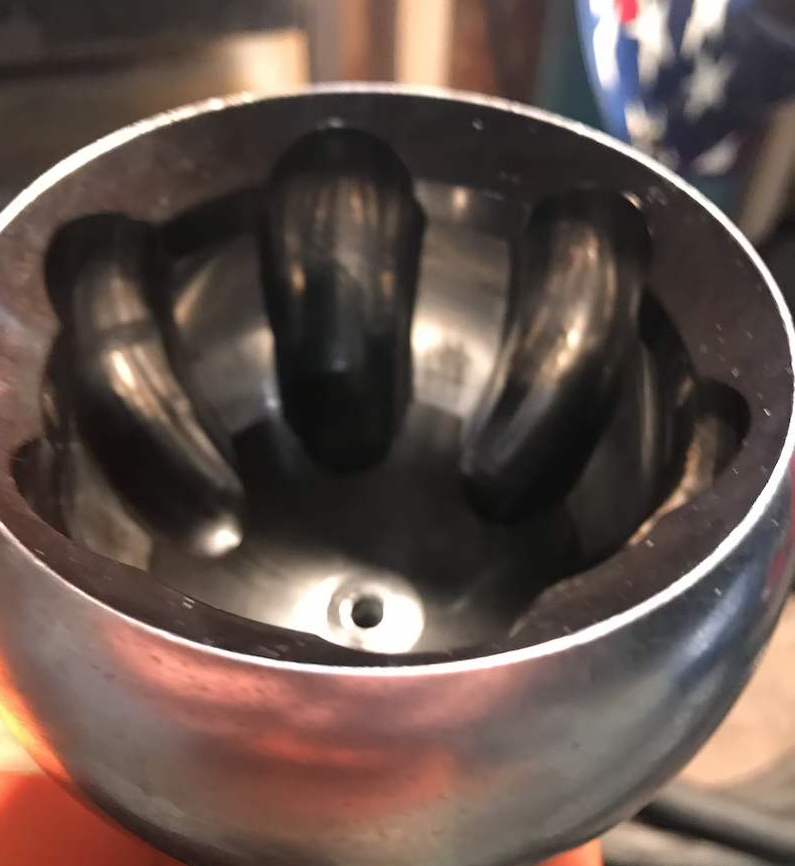
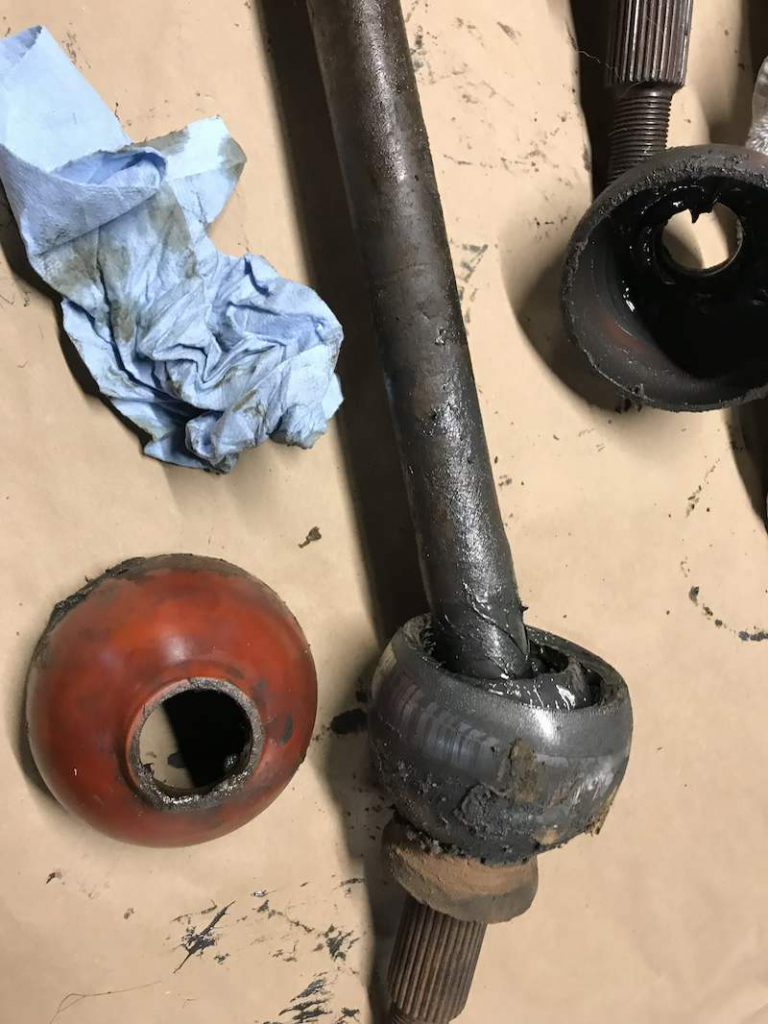
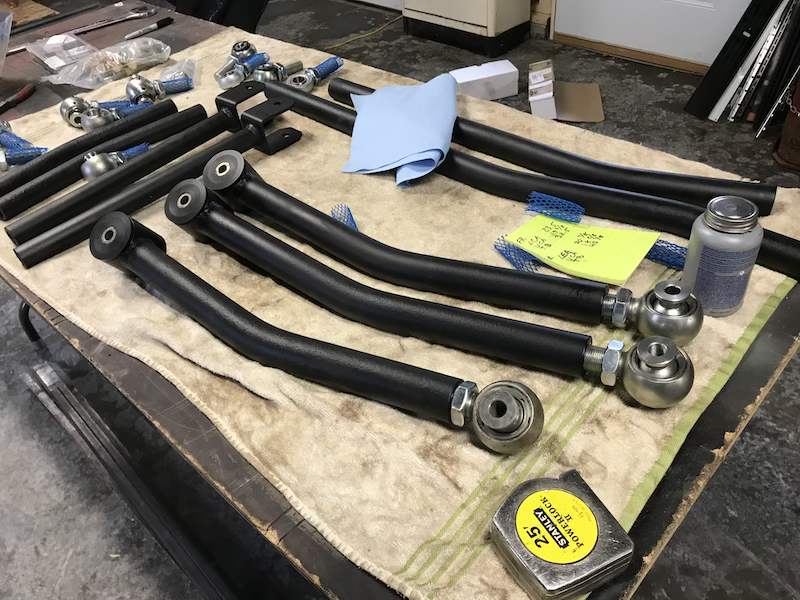
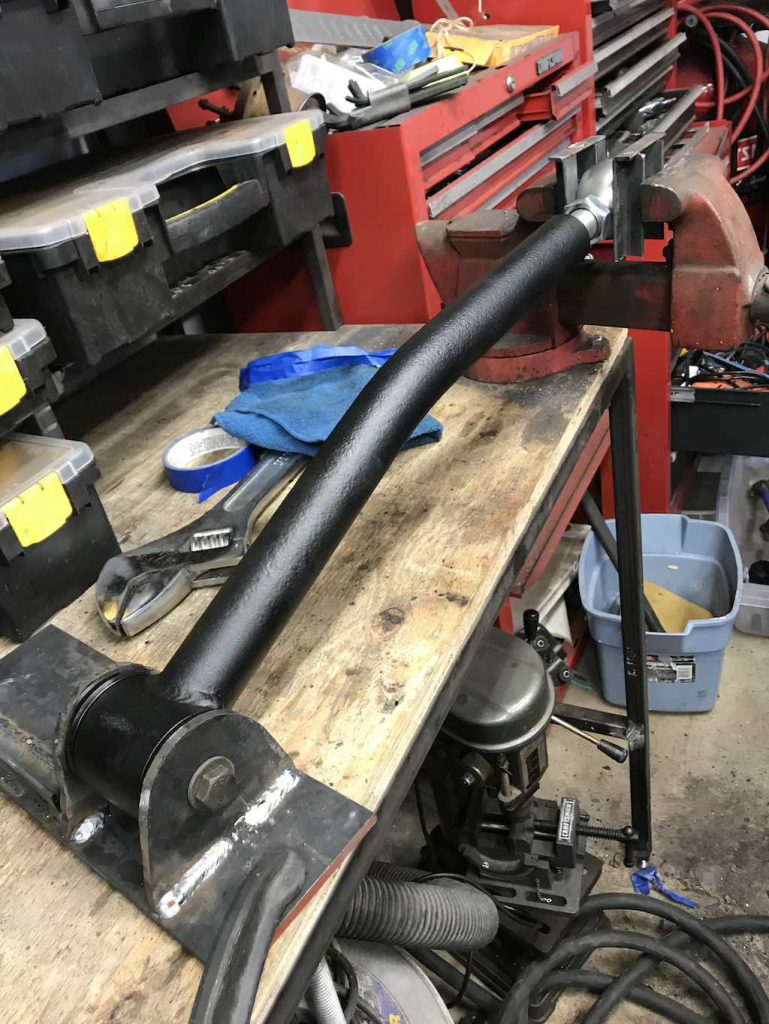
I started taking apart the CV joints. I need to use a brass punch (so I don’t dent the steel – the brass is softer) and manipulate the joint to get all the ball bearing out. Once out, the internal race can be removed and the joint cleaned out.

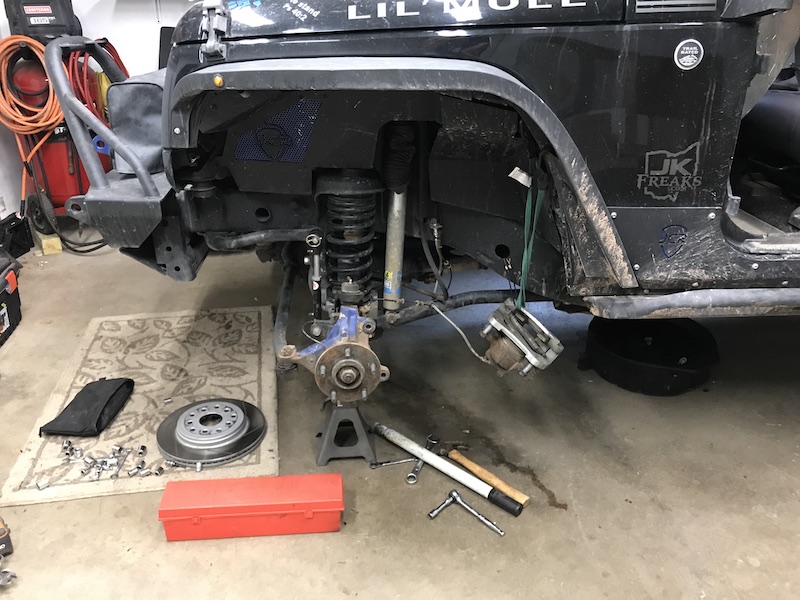
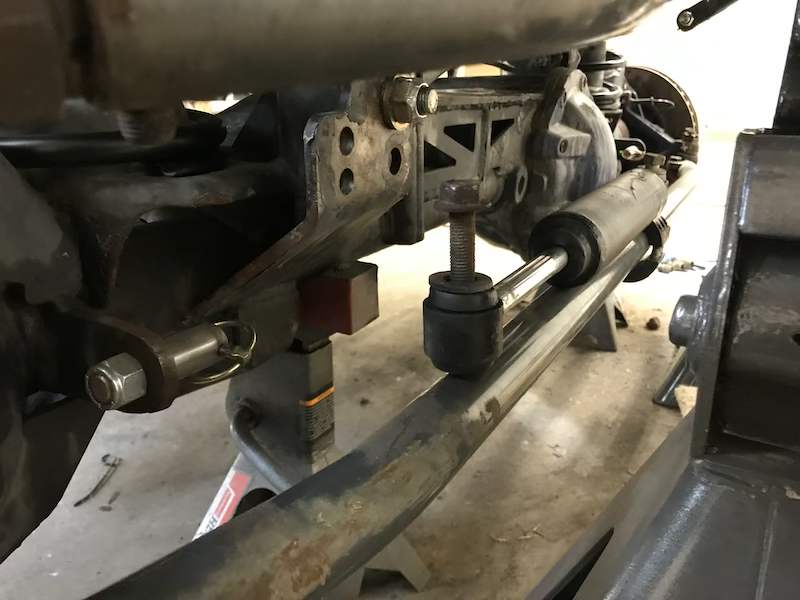
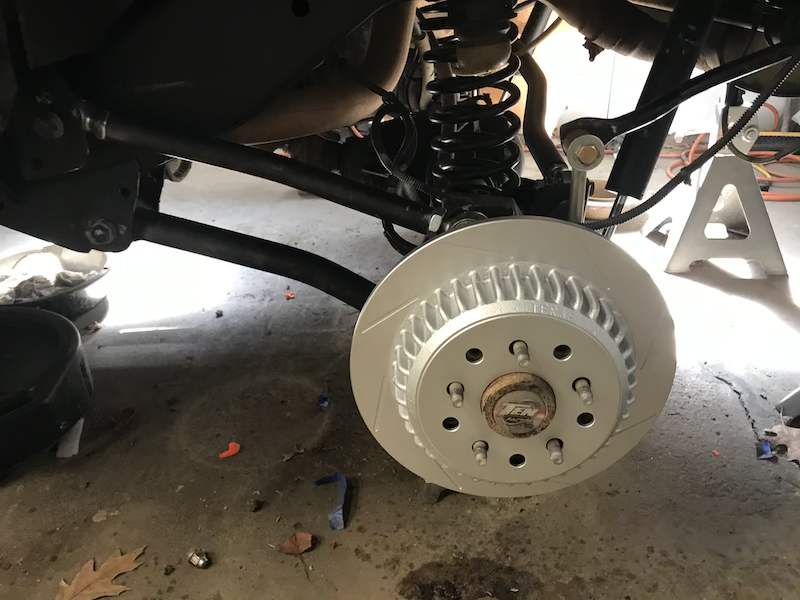
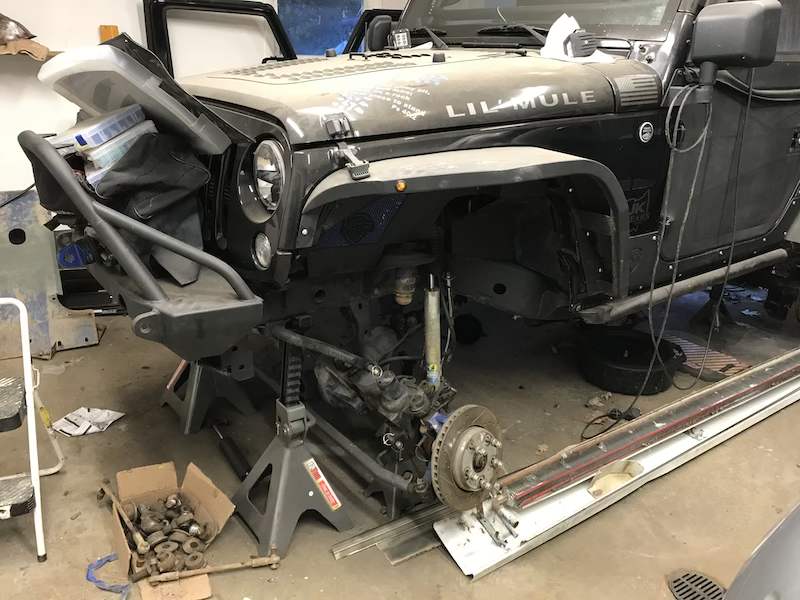
The axles are making a clicking noise while in 4WD and at full lock. Rebuilding the joints was the easiest option to seeing if it is the problem. If the clicking remains, at least I know the joints are in perfect order.

Front axle rebuild

Time to take care of the front axle. There has been a leak on the passenger side from the internal seals. Plus, I want to rebuild the CV joints in the axle shafts. I’m still going to need a couple tools, but I might as well start taking it apart.

Money Well Spent

Well, buying that TPMS setup for the trailer has paid off in spades. But this isn’t even the first tire issue I have had.

Not more than 45 minutes from home, the alarm started going off. Yup, flat tire. There I was, on the side of the freeway, trying to change a flat tire on a trailer. To make matters worse, I couldn’t get the spare off. The lug bolt holding it onto the bracket was stripped and it was just spinning. After a lot of persuasion, it finally came off and I was able to change the tire. I found a spare somewhere in Indiana. I also bought a second spare just in case.

The alarm went off again in Kansas. Another flat. While changing it, I see the tire next to it has a screw in it. Good grief.

Got that one changed as well. So I now had one good spare and one with a screw in it. The drive home is going to be a blast!

And then there were two

We decided that we were going to use GMRS/FRS radios to talk to one another on the trails. But I still like to have my CB. So I needed a place to hold two microphones.

I took my mount off and welded on a little extra steel for the other mount. Should prove effective. It does seem to be a little in the way of the airbag, but noone is ever really in the passenger seat, so I don’t see it as much of a problem. I’d like to replace this with something that can easily be removed, however.

Custom bracket

Andy used his CNC plasma to cut out a couple tabs that I welded onto my track bar mount for the steering stabilizer. The welds aren’t pretty, but it’s not going anywhere. It was nearly impossible to get the MIG gun in between the two tabs without taking the axle out of the Jeep. Now the shock is up and out of the way, and horizontal.

A few more things to button up

Got a lot done on the Jeep. Suspension is almost all wrapped up.

I still need to get the steering stabilize remounted. I hated the old mount. I took some measurements to build a custom mount that I will weld onto the track bar mount.

Teraflex big rotor kit is done. These rotors are beefy. I should be able to hold the Jeep on an incline and not feel like I have to put all my weight on the brake pedal.

When I was torquing all the bolts, I notices the passenger lower shock mount skid was worn almost all the way through. Wow. This started out as 3/16″ steel. I guess I drag my ass just a little too much. LOL! A little weld and some grinding it smooth took care of that. I might come back later and add an additional piece of plate steel to the bottom of this skid.

Continuing the rebuild

Easter Jeep Safari is right around the corner, so I need to get the Jeep finished. I’ve been spending so much time on the workshop over the winter, that the Jeep has been neglected a bit.

But now that I have the workshop, I have a lot more space to work. I moved my parts rack into the shop and used it to set the jam nuts.

I built this extension for the wrench to tighten the jam nuts. With this much leverage, I don’t think getting to 300 ft. lbs. of torque is going to be an issue. I have no way of knowing just how much torque I am putting on them, but I guarantee it’s enough.

Tailgate Table

My friend Rob sold me his M-PAC Springtail tailgate table. I have been wanting one for a while. I used to have a Smittybilt MOLLE. panel on here, but I never really liked it. I’ve been wanting a table for quite some time now.

I attached the table using nutcerts. A much better option than the little plastic clips they give you. The old panel was attached with some screws, which left some holes. I sanded the paint around them and used a little body filler and some factory matched paint to hide the old holes. Not 100% perfect, but you can’t tell they were even there unless you look for them.

Torque jig

When I put the control arms back together, one of the most important things is to make sure that the jam nuts on the flex joints are torqued down VERY well. Rock Krawler specifies 300 ft.lbs. of torque. This is needed in order to keep the jam not from backing off. Once it does the threads will start to wear and eventually the joint will just pop out of the control arm.

I built this jog from some 1/4″ steel. It’ll keep the one end clamped to the workbench. The other end is slipped into another jig into a vice, keep then flex joint properly oriented. I’ll then be able to get the wrench on the jam nut and crank on it. Should do the trick.